How to Apply Nail Wraps for Quick and Stylish Nails
Master nail wrap application with easy tips for salon-quality manicures at home. Quick, stylish nails in minutes without the mess!
Let's face it, we've all been there. You're getting ready for that important meeting or hot date, and suddenly you notice your nails look like they've been through a paper shredder. Yikes! That's where nail wraps come swooping in to save the day. These little beauties are basically your nails' best friend when you're pressed for time but still wanna look put together. If you've been wondering about how to apply nail wraps for quick and stylish nails, well, you've hit the jackpot with this guide. We're gonna walk through everything from prep work to the final flourish, and trust me, it's easier than trying to explain why you ate the last piece of cake.
What Are Nail Wraps Anyway?
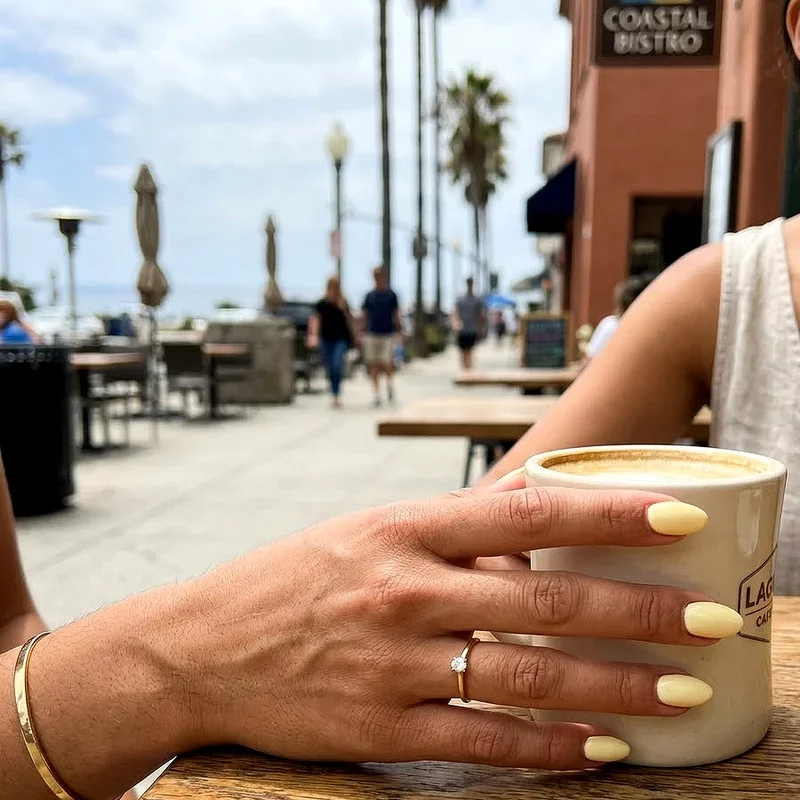
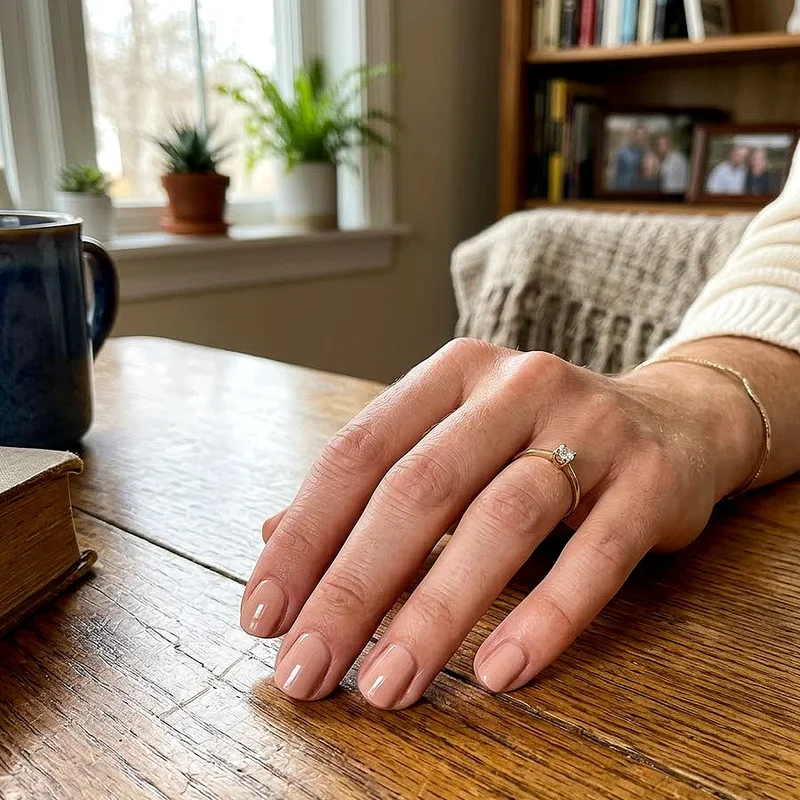
Before jumping into the nitty-gritty of application, let's chat about what these magical strips actually are. Nail wraps are thin adhesive strips made from various materials like vinyl, gel, or even real nail polish that's been dried into a film. They're kinda like stickers for your nails, but way cooler and definitely more sophisticated. Coming in every design imaginable, from simple solids to intricate patterns that'd make Picasso jealous, these babies have revolutionized the at-home manicure game.
The beauty of nail wraps? No drying time, no smudges, and definitely no need to be ambidextrous. Hallelujah! They're perfect for those of us who can't paint our non-dominant hand without looking like we let a toddler do it.
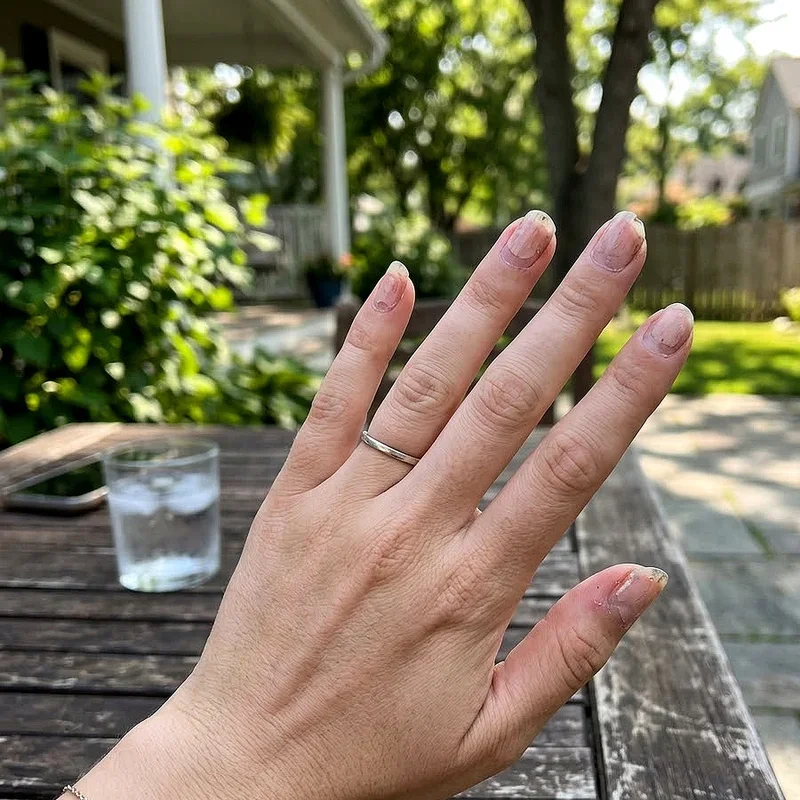
Getting Your Nails Ready for Their Makeover
Alright, rolling up our sleeves here! Prep work is where the magic really begins. You wouldn't paint a masterpiece on a dirty canvas, would ya? Same goes for your nails.
Step 1: Clean and Shape
First things first, remove any old polish hanging around. Even if your nails look bare, give 'em a quick swipe with nail polish remover. Oil and residue are sneaky little devils that'll make your wraps lift faster than you can say "manicure disaster."
Next up, shape those nails! Whether you're team square, oval, or somewhere in between, file 'em to your heart's content. Just remember to file in one direction, not back and forth like you're starting a fire. Your nails will thank you later.
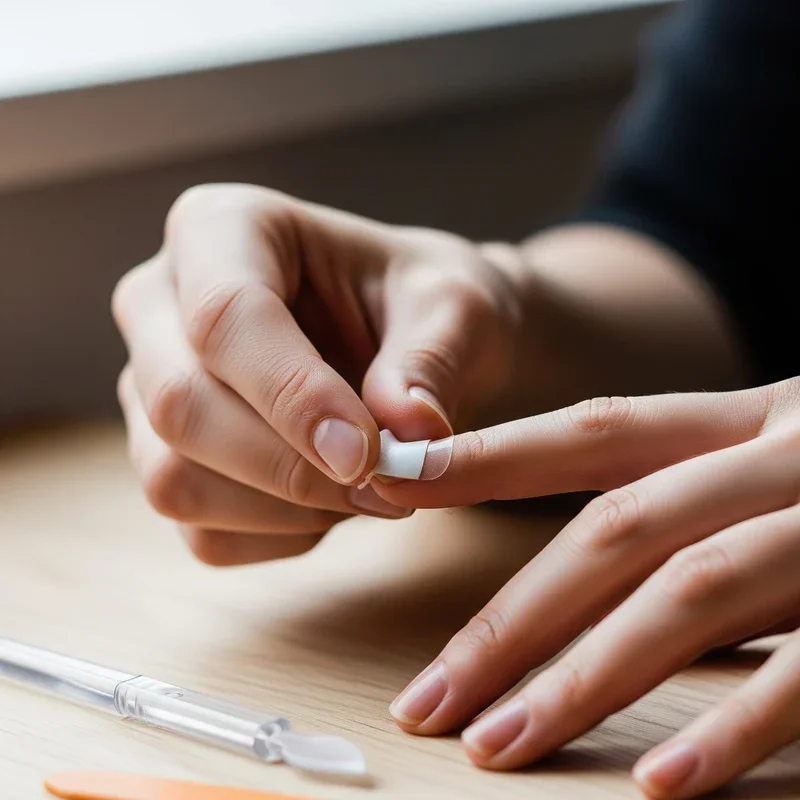
Step 2: Push Back Those Cuticles
Oh boy, cuticles can be real troublemakers when it comes to nail wraps. Using a cuticle pusher or orange stick, gently nudge them back. Don't go crazy though! We're going for neat, not a crime scene. If you've got hangnails or rough spots, now's the time to carefully trim them.
Step 3: Buff and Clean
Grab a buffer and lightly roughen up the surface of your nails. This gives the wraps something to grip onto, like how gecko feet stick to walls. Pretty cool, right? After buffing, wipe each nail with rubbing alcohol or nail dehydrator. This step's crucial, folks! Any oils left behind are gonna make your wraps peace out prematurely.
How to Apply Nail Wraps for Quick and Stylish Nails: The Main Event
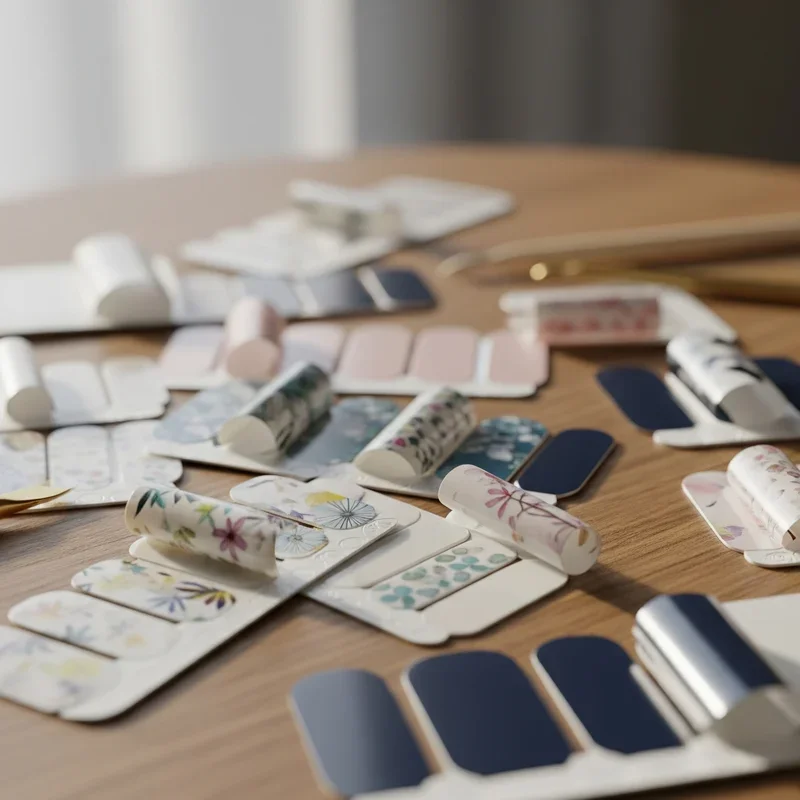
Choosing Your Weapon (Er, Wrap)
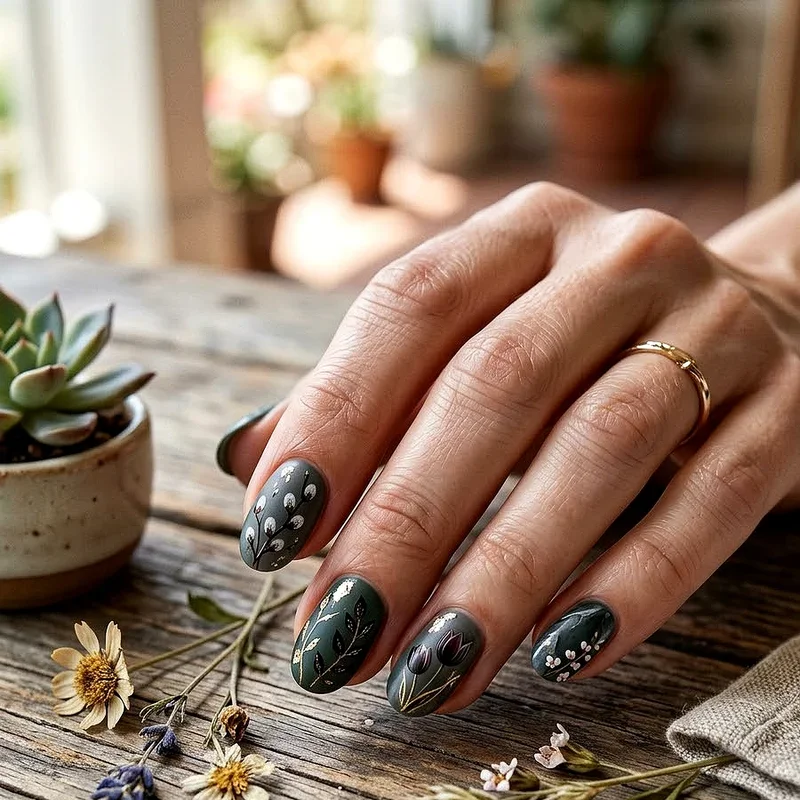
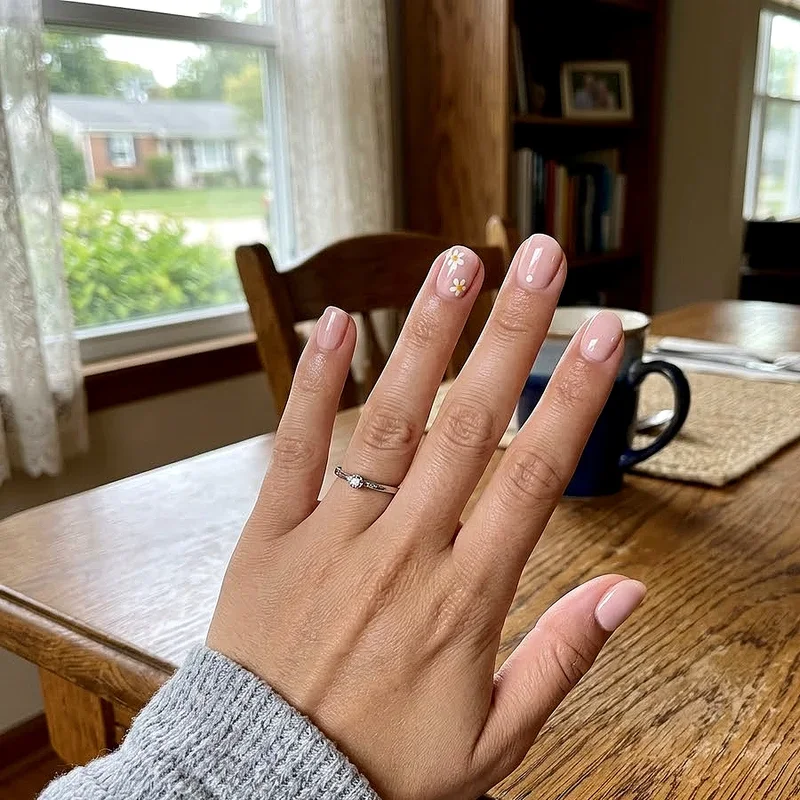
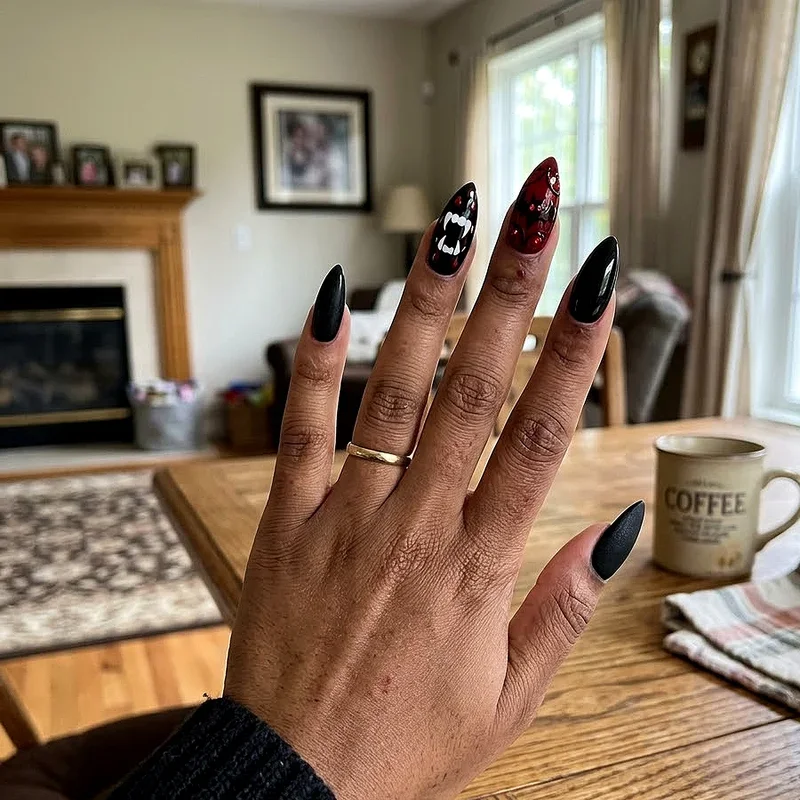
With your nails prepped and ready, it's time to pick your design. Whether you're feeling floral, geometric, or just plain fabulous, there's a wrap out there calling your name. Most sets come with multiple sizes, so hold different ones up to your nails to find your Goldilocks fit. Not too big, not too small, just right!
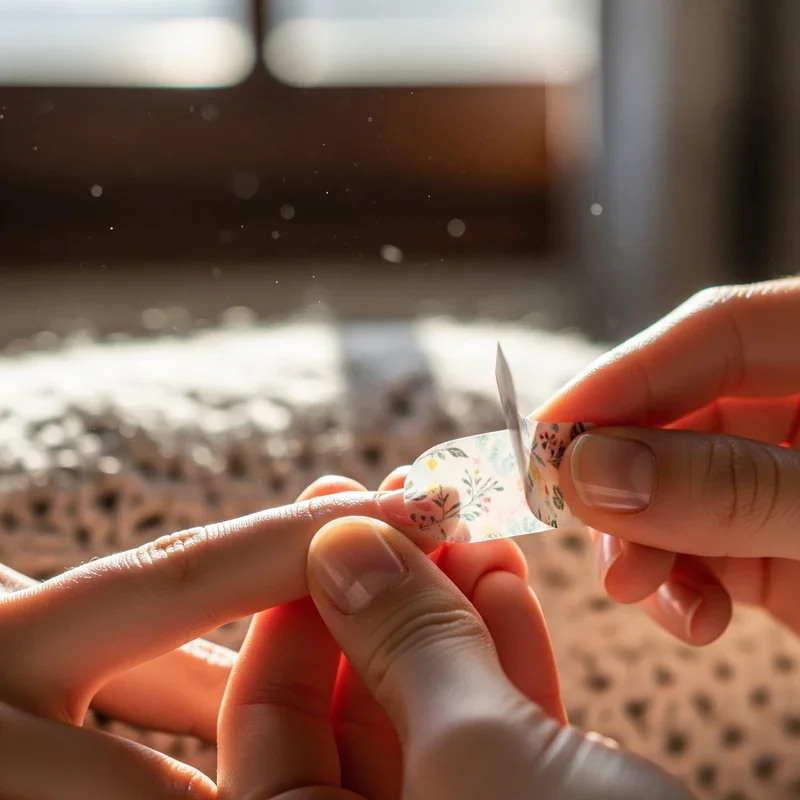
The Application Process
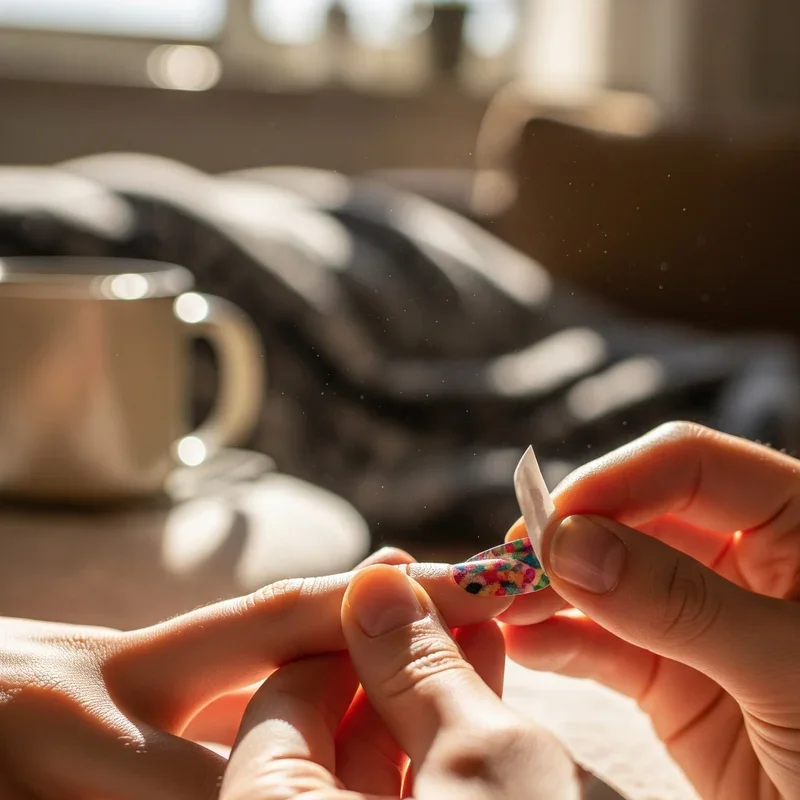
Here's where things get exciting! Peel that wrap off its backing carefully. Pro tip: warm it up between your fingers for a few seconds first. This makes it more pliable and easier to work with.
Start at the cuticle line, leaving just a tiny gap (about the width of a business card)
Press down the center first, then smooth outwards toward the edges
Use a rubber cuticle pusher or your finger to really seal those edges
Stretch the wrap slightly if needed to cover the entire nail
Don't worry if it's not perfect on the first try! These things are pretty forgiving, and you can usually peel 'em back and reposition if needed. Just don't do it too many times, or the adhesive gets cranky.
Trimming the Excess
Once your wrap's in place, you'll have some overhang. No biggie! You've got options here:
File it off by holding the file at a 45-degree angle and filing downward
Use nail clippers to trim most of the excess, then file the rest
Score the wrap with scissors at the nail edge, then bend and tear
Whatever method you choose, make sure you seal that free edge by running your finger along it. This prevents water from sneaking in during your next shower.
Sealing the Deal: Making Your Wraps Last
Wanna know the secret to wraps that stick around longer than your New Year's resolutions? It's all in the finishing touches!
Heat Setting
Grab your hair dryer (yeah, really!) and give each nail a quick blast of warm air. About 10-15 seconds per nail should do it. This activates the adhesive and helps mold the wrap to your nail's natural curve. Genius, right?
Top Coat or No Top Coat?
Here's where nail wrap enthusiasts split into two camps. Some swear by applying a clear top coat for extra durability and shine. Others say it's unnecessary and can actually cause premature peeling. My take? Try both ways and see what works for your lifestyle. If you're rough on your hands, that top coat might be your new BFF.
Troubleshooting Common Nail Wrap Woes
Wraps Lifting at the Edges
Ugh, nothing's worse than a wrap that starts peeling after just a day! Usually, this happens 'cause:
Oils weren't completely removed during prep
The wrap wasn't sealed properly at the edges
You got 'em wet too soon after application
The fix? Better prep next time, and avoid water for at least an hour after application.
Wrinkles and Bubbles
Finding yourself with wrinkly wraps? You might be stretching them too much during application. Remember, gentle stretching is key! For bubbles, try pricking them with a pin and smoothing them out, or use the warm air trick to help them settle.
Wraps Won't Stick at All
If your wraps are sliding off faster than socks on a hardwood floor, double-check your prep routine. Sometimes our nails are just naturally oilier, and that's okay! You might need to use a primer or dehydrator before application.
Removing Nail Wraps Without the Drama
All good things must come to an end, including your fabulous nail wraps. When it's time to say goodbye, here's how to do it without turning your nails into a disaster zone:
Soak a cotton pad in nail polish remover (acetone works best)
Place it on your nail and let it sit for about 30 seconds
Gently push the wrap off from the cuticle toward the tip
Any stubborn bits can be carefully scraped off with an orange stick
Never, and I mean never, try to peel them off dry. That's a one-way ticket to damaged nail city, population: you.
Creative Tips and Tricks for Next-Level Nail Art
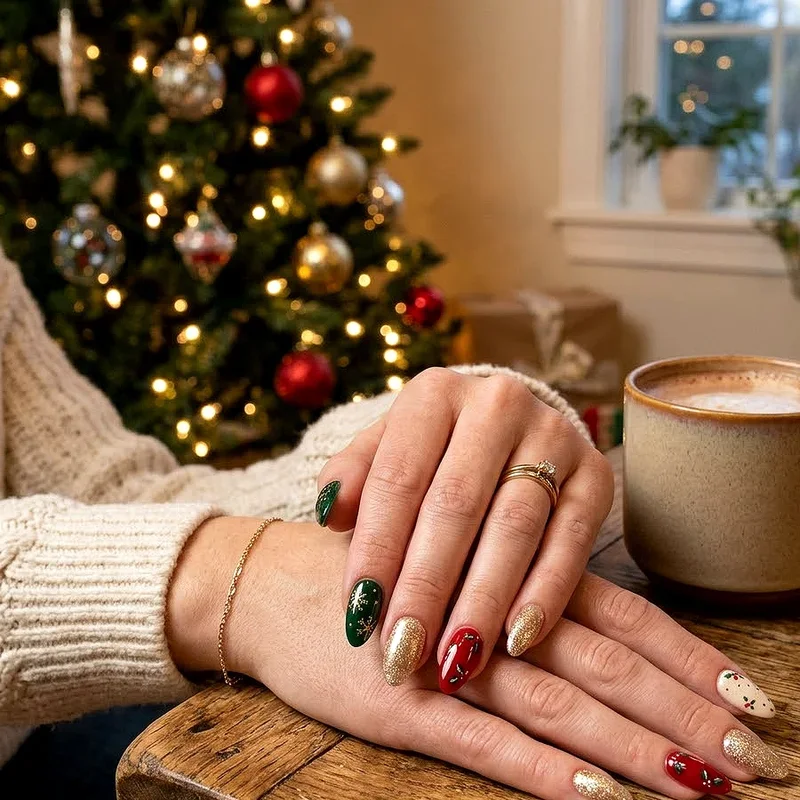
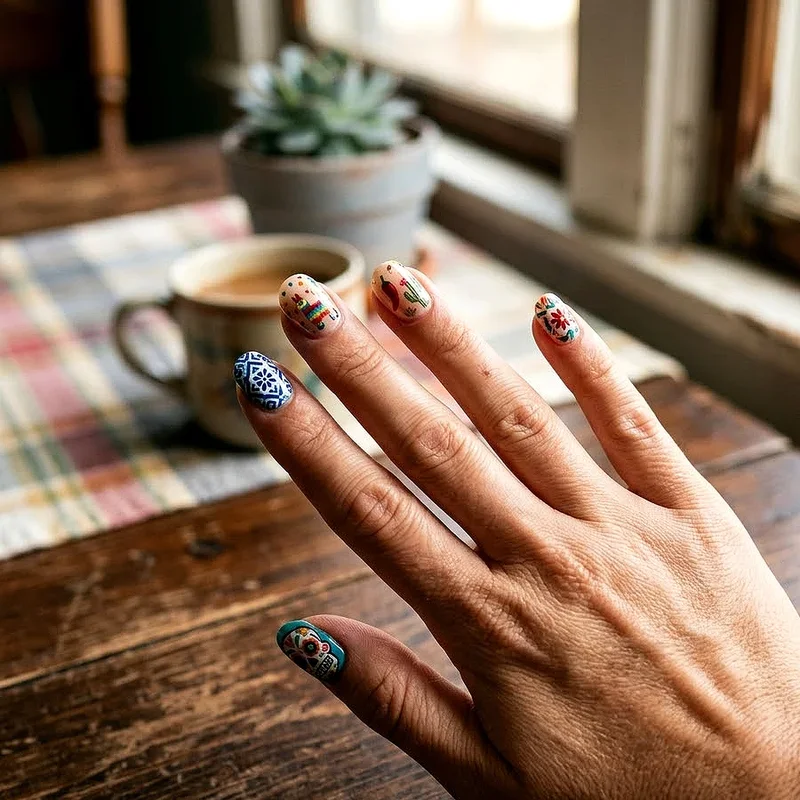
Mix and Match Magic
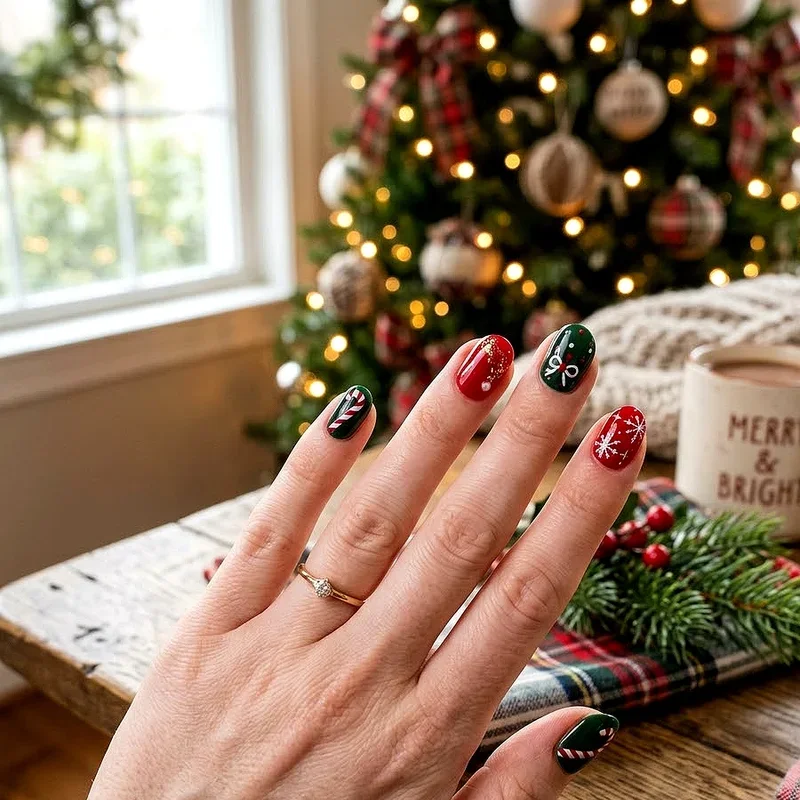
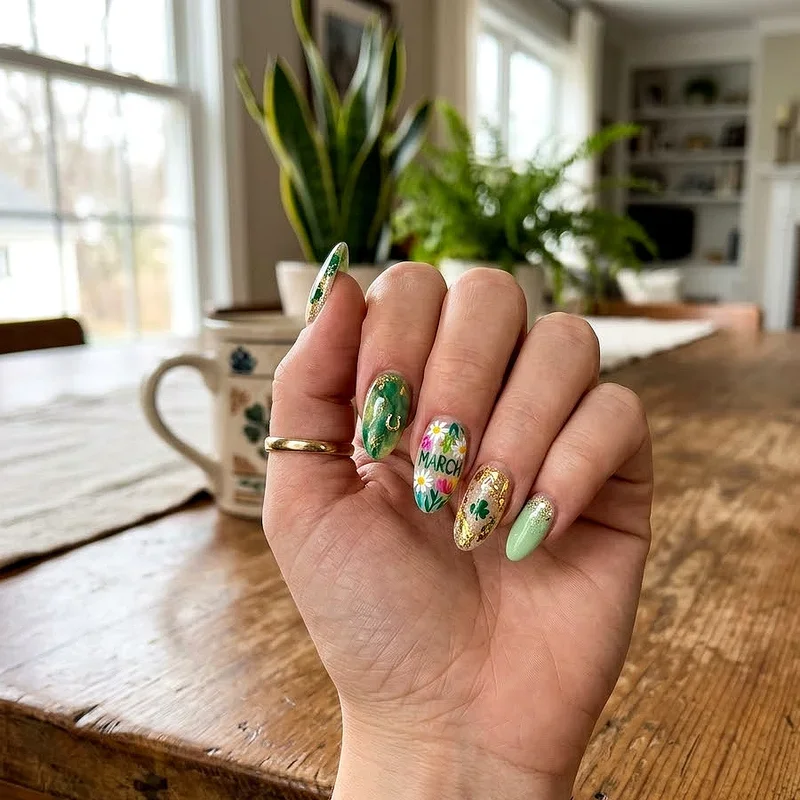
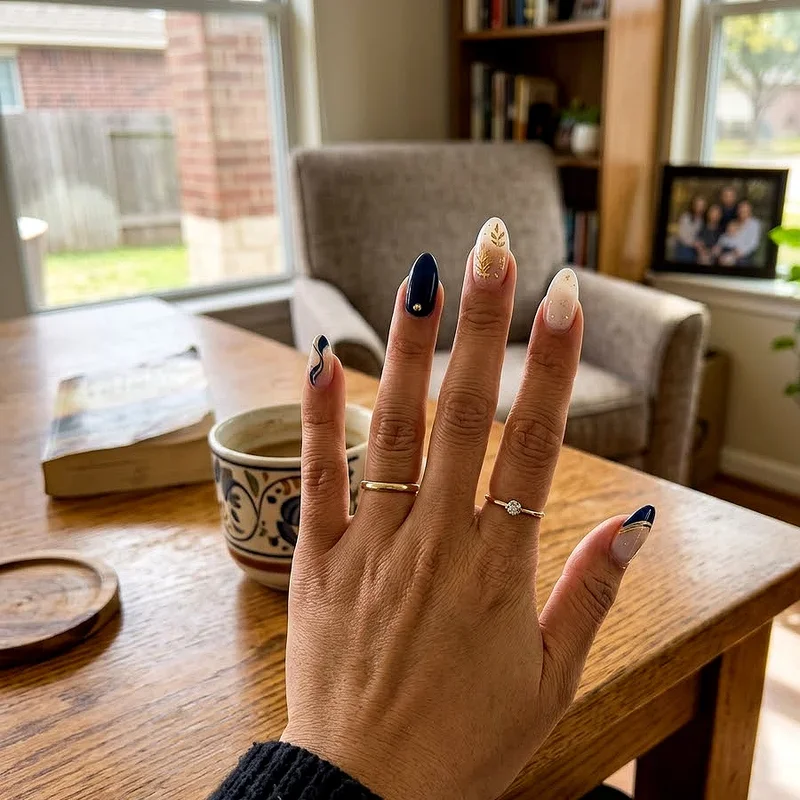
Who says you gotta use the same design on every nail? Mix different patterns for an eclectic look that screams "I'm creative and I know it!" Try pairing florals with stripes, or go for an accent nail that really pops.
Layering Like a Pro
Feeling extra? You can actually layer nail wraps! Start with a solid color base, then add smaller decorative wraps on top. It's like creating your own custom design without needing any artistic skills whatsoever.
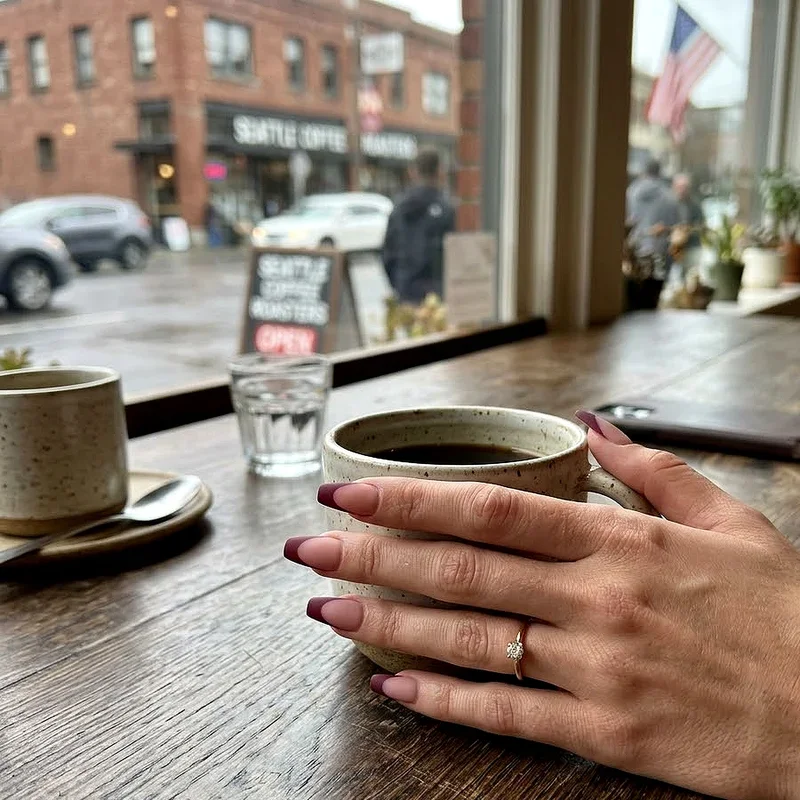
French Manicure Hack
Cut your wraps into strips and use them just on the tips for an instant French manicure. Way easier than trying to paint those perfect white tips, and you can use any color or pattern you fancy!
Caring for Your Wrapped Nails
Once you've mastered how to apply nail wraps for quick and stylish nails, keeping them looking fresh is the next challenge. Here's the lowdown on maintenance:
Wear gloves when cleaning (those harsh chemicals are wrap kryptonite)
Apply cuticle oil daily to keep everything moisturized and flexible
Avoid using your nails as tools (I know, easier said than done!)
File away any lifting edges immediately to prevent further peeling
Keep hand lotion handy but avoid getting it under the wrap edges
The Environmental Angle
Let's talk sustainability for a hot minute. While nail wraps aren't exactly eco-friendly (most are made from vinyl or plastic), they do have some green points. No polish means no harsh chemical fumes, and many brands now offer biodegradable options made from plant-based materials. Plus, they last longer than regular polish, meaning less frequent changes and less waste overall.
Budget-Friendly Beauty
Here's something that'll make your wallet happy: nail wraps are surprisingly economical! A set typically costs between $5-15 and gives you enough for at least one full manicure, sometimes two if you're strategic about sizing. Compare that to a salon visit, and you're looking at serious savings. Plus, no tipping required when you're your own nail tech!
When to Choose Wraps Over Polish
Wondering when wraps trump traditional polish? Here's when these babies really shine:
Before a vacation (no drying time at the airport!)
When you're short on time but need to look polished
If you're terrible at painting your non-dominant hand
For intricate designs you couldn't possibly paint yourself
When you need your mani to last through a specific event
If you're sensitive to nail polish fumes
Conclusion
So there you have it, folks! Everything you need to know about getting those Instagram-worthy nails without the salon price tag or the steady hand of a surgeon. Nail wraps really are a game-changer for anyone wanting quick, stylish nails without the fuss. With a little practice and patience, you'll be wrapping like a pro in no time. Remember, perfection's overrated anyway, it's all about having fun with your style!
Read next: 15 Square Nail Ideas for a Clean, Modern Look
Frequently Asked Questions
Q1: How long do nail wraps typically last on your nails?
A: Usually between 5-10 days with proper application and care.
Q2: Can nail wraps damage your natural nails underneath?
A: No, when removed properly they won't damage healthy nails.
Q3: Are nail wraps safe to use during pregnancy?
A: Yes, they're generally safer than traditional polish with fumes.
Q4: Can you use nail wraps on acrylic or gel nails?
A: Absolutely! They work great on both artificial nail types.
Q5: How many applications can you get from one pack?
A: Typically 1-2 full manicures depending on nail size and brand.
Stay up to date with our latest ideas!