15 Beginner Nail Design Ideas Anyone Can Try at Home
Discover 15 easy beginner nail design ideas you can try at home today. No salon needed, just simple tools and creative inspiration.
You dont need a cosmetology degree or a drawer full of fancy tools to rock gorgeous nails. Seriously, some of the most stunning nail looks out there started on someone's kitchen table with a handful of basic polishes and a toothpick. Whether youve never painted beyond a single color or youre just looking for fresh inspiration that wont make you want to throw your hands in the air, youre in the right place. This guide walks you through 15 beginner friendly nail design ideas that anyone can pull off at home. Think of it as your personal nail art starter pack, minus the intimidation factor. Grab your favorite shades, settle into a comfy spot, and lets turn those fingertips into tiny canvases of self expression.
1. Classic French Tips with a Twist
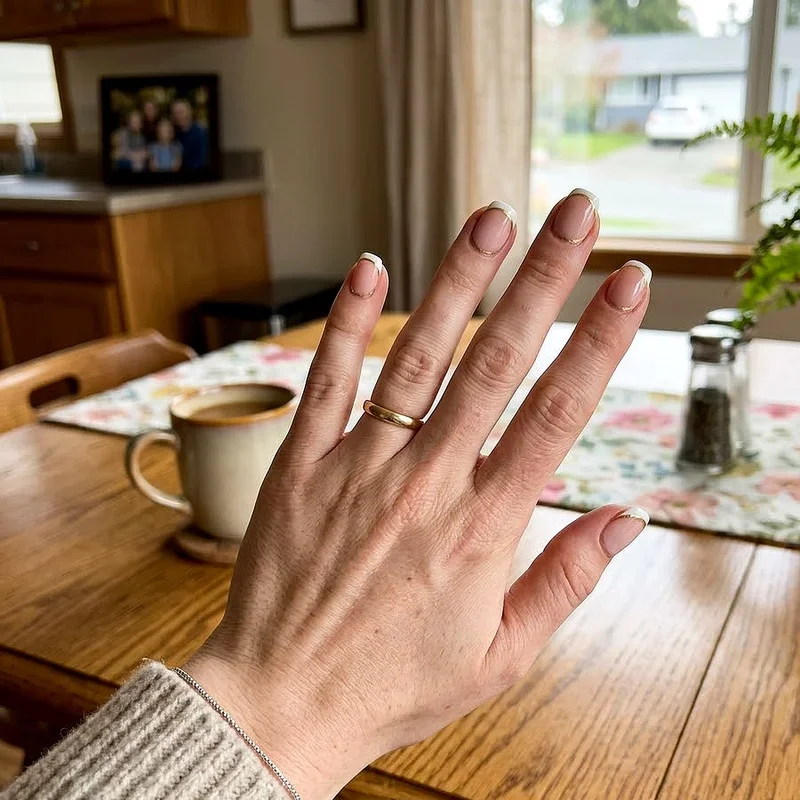
French tips have been around forever, but that doesnt mean they have to feel outdated. Instead of sticking with the traditional white tip on a nude base, why not swap in a bold color like cherry red, electric blue, or even neon green? You can use small adhesive strips or thin tape to create a clean line across the tip of each nail, and then carefully paint your chosen color above it. Once you peel the tape away, youll have crisp, salon worthy tips without any freehand stress. The beauty of this design lies in its simplicity and versatility. You can match the tips to your outfit, your mood, or even the season. Its a classic that reinvents itself every single time you sit down to paint.
2. Simple Polka Dots
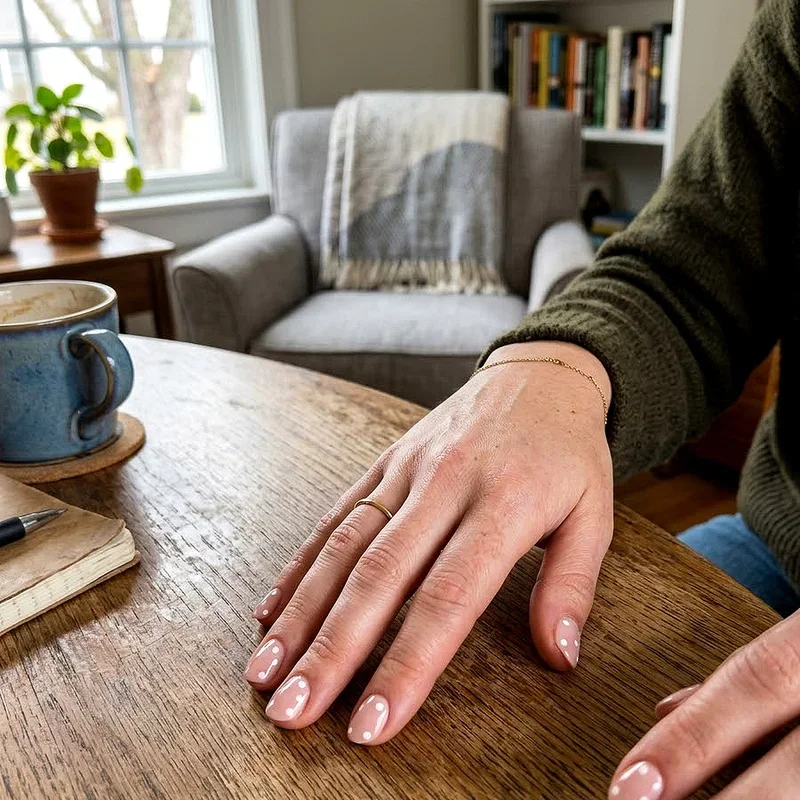
If you can hold a bobby pin, you can create polka dots. That is honestly the entire barrier to entry for this design, and its about as low as it gets. Start with a solid base color, let it dry completely, and then dip the rounded end of a bobby pin or a dotting tool into a contrasting polish. Press gently onto your nails in whatever pattern feels right to you. You can go uniform and symmetrical or scatter dots randomly for a more playful vibe. Try white dots on a navy base for a nautical feel, or go wild with multicolored dots on black for a confetti celebration look. Polka dots are forgiving, fun, and practically impossible to mess up.
3. Ombre or Gradient Nails
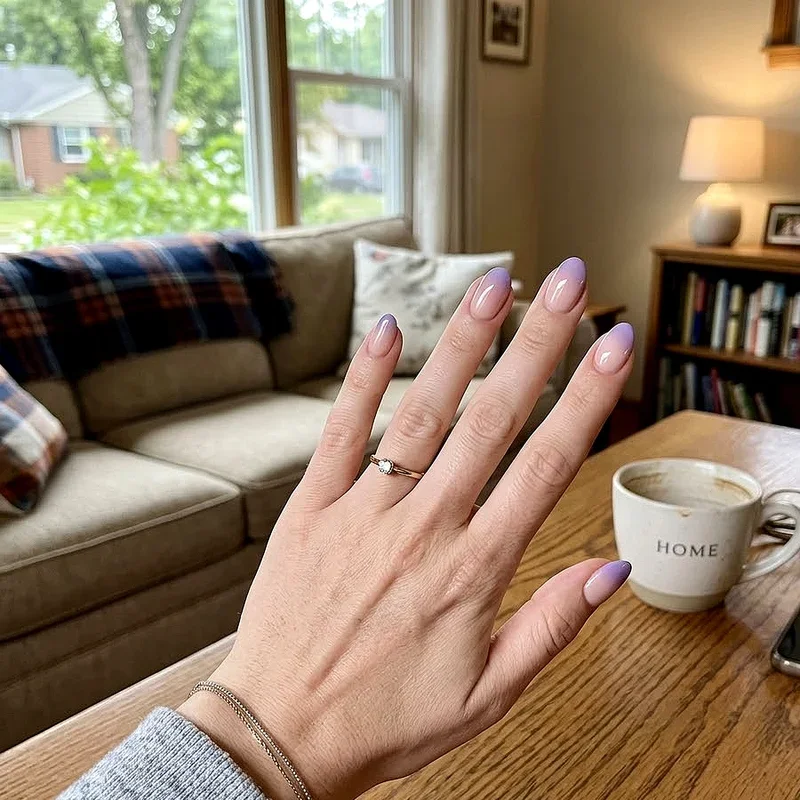
Ombre nails look incredibly sophisticated, yet the technique is surprisingly straightforward once you know the trick. All you need is a small makeup sponge, two or three polish colors that blend well together, and a healthy bit of patience. Paint your chosen shades in stripes directly onto the sponge, then press it gently onto your nail in a smooth rolling motion. The colors will blend together naturally where they meet, creating that gorgeous gradient effect people pay good money for at salons. Dont worry if polish gets on the skin around your nails because a quick cleanup with a small brush dipped in acetone fixes everything perfectly. Each additional coat you add deepens the color transition and makes the whole thing look even smoother.
4. Minimalist Line Art
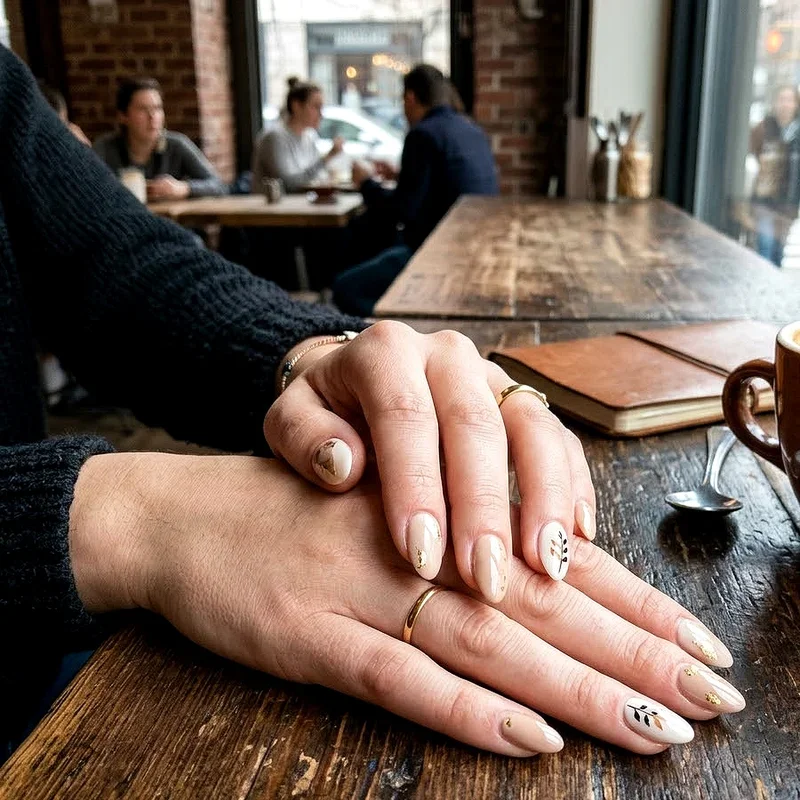
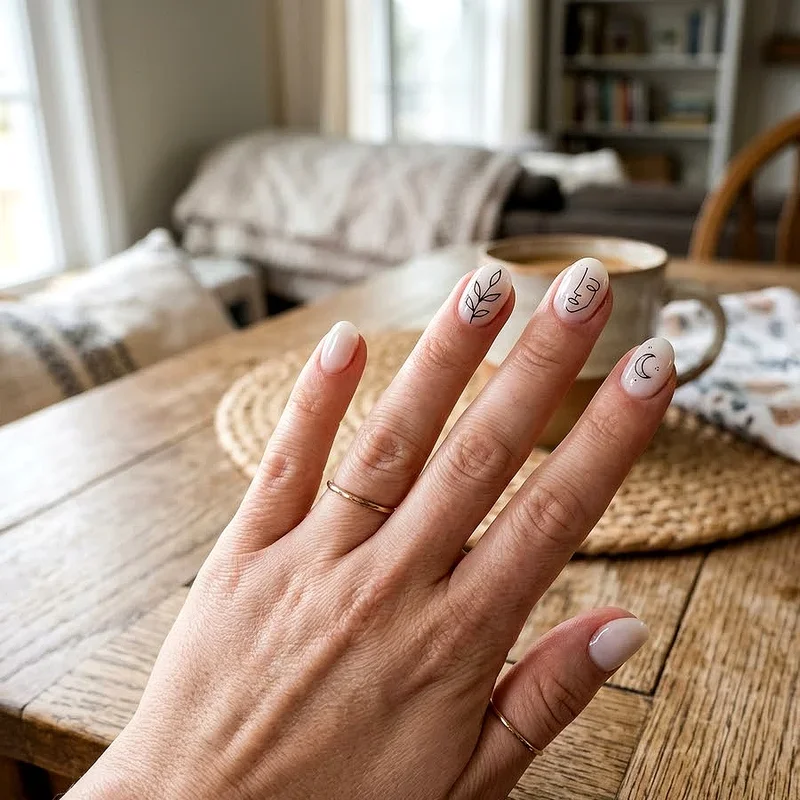
Sometimes less truly is more, and minimalist line art nails prove that point beautifully every single time. Using a thin nail art brush or even a fine tipped marker designed specifically for nails, you can draw simple lines, geometric shapes, or abstract curves over a neutral base coat. Think single diagonal lines across each nail, tiny triangles near the cuticle, or a delicate swirl from one corner to another. The key here is confidence in your stroke rather than perfection. Slightly wobbly lines actually add character and give the design an organic, hand drawn quality that feels intentional and artistic. This style works brilliantly for anyone who wants their nails to look effortlessly cool without spending hours on elaborate details or complicated techniques.
5. Glitter Accent Nail
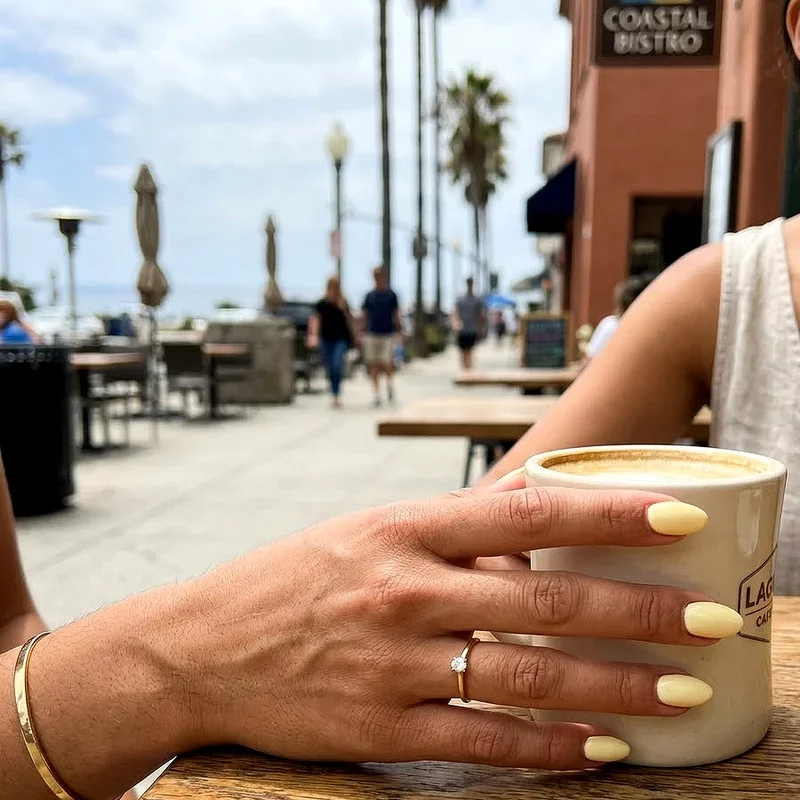
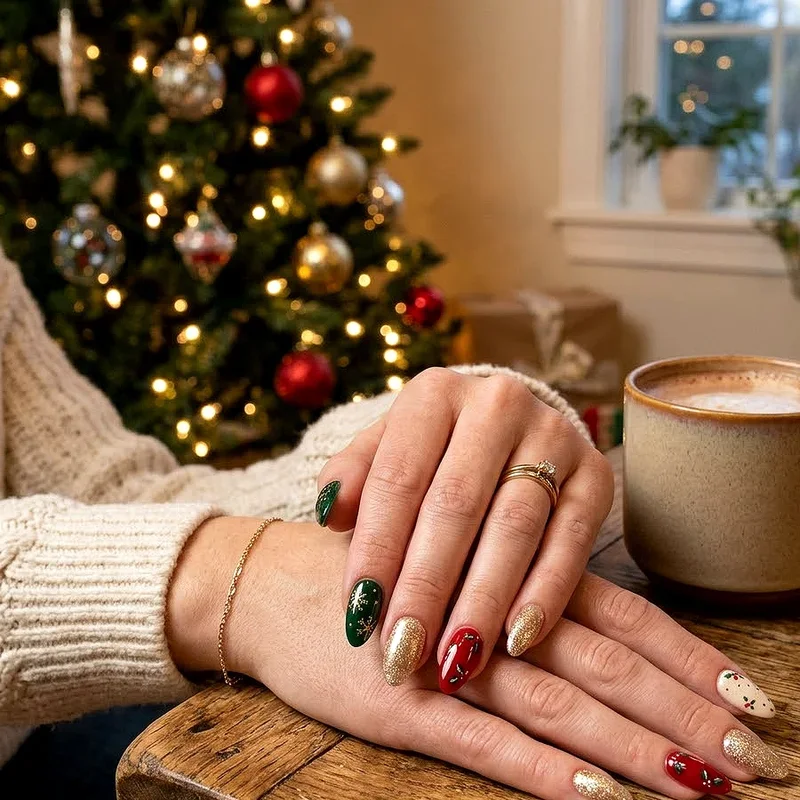
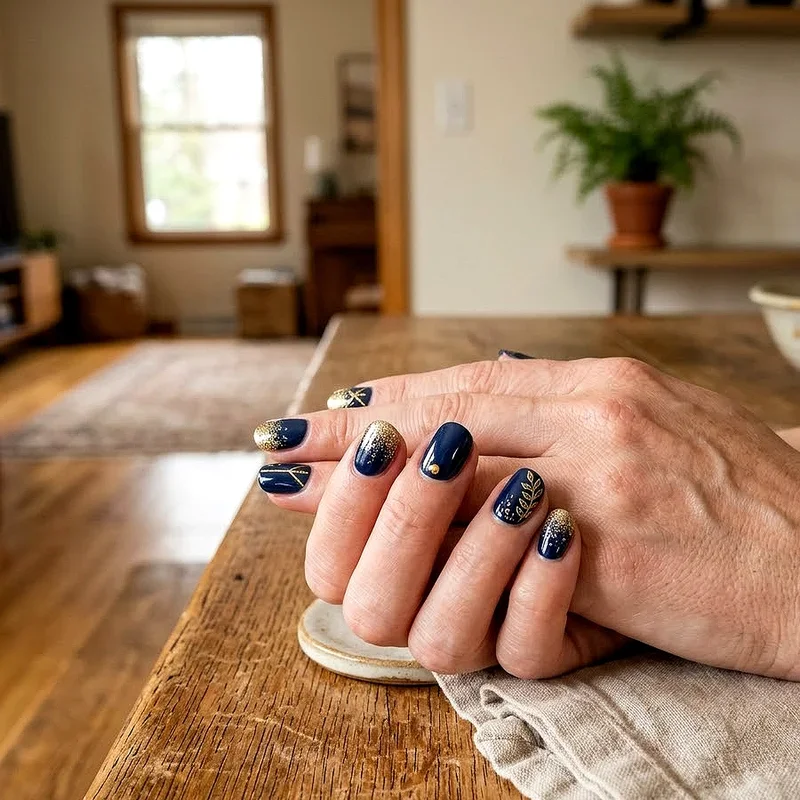
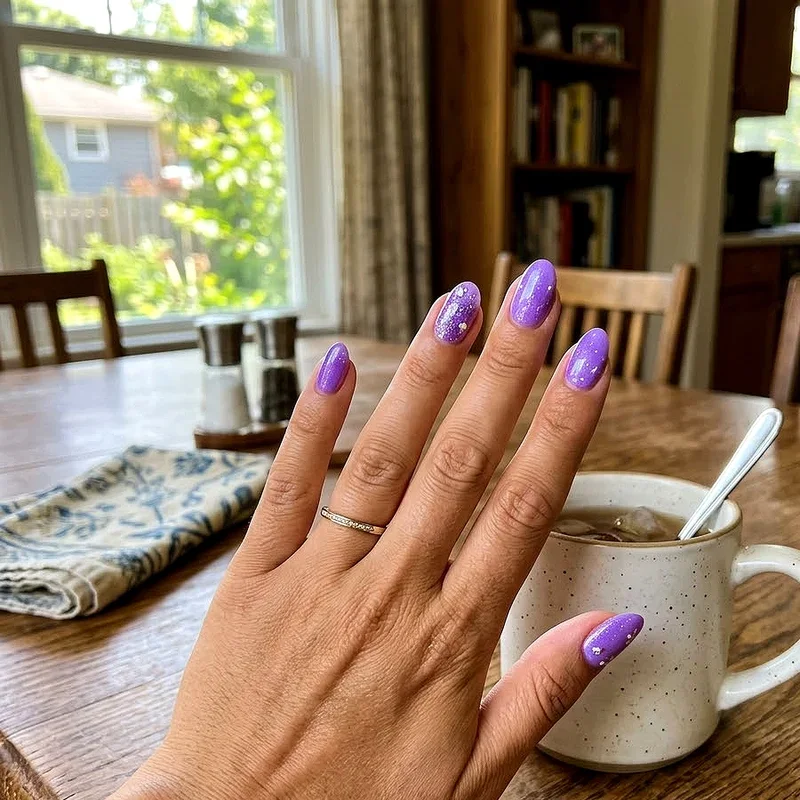
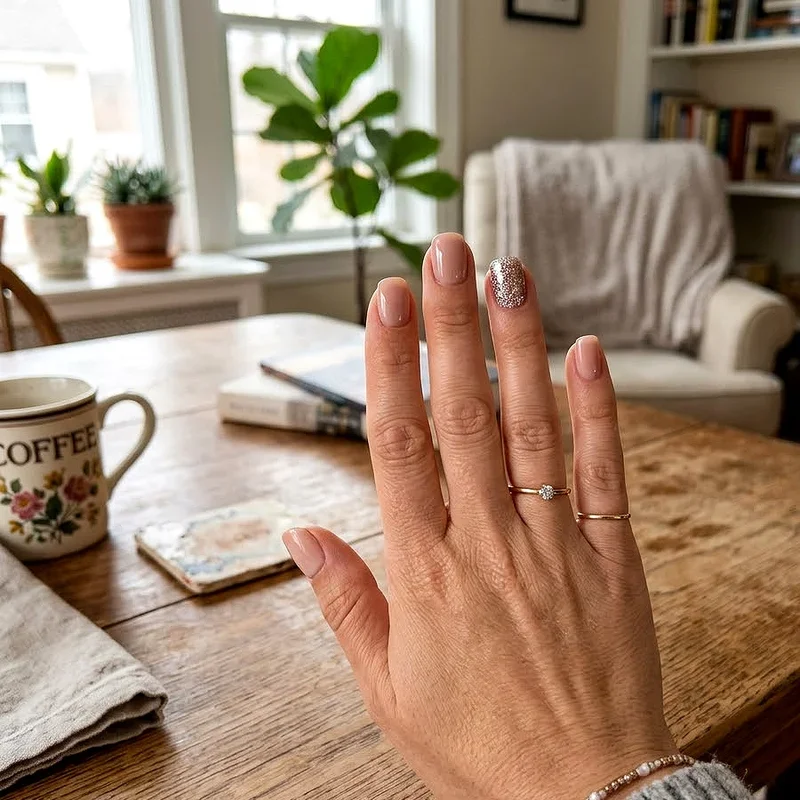
Why glitter up all ten fingers when one standout nail can steal the entire show? The glitter accent nail is a beloved beginner move because it requires zero artistic skill and delivers maximum sparkle with minimum effort. Simply paint nine of your nails in a solid color, then coat your ring finger or any finger you fancy with a glitter polish. The contrast between the matte or cream finish and the shimmering accent creates visual interest that looks completely intentional and curated. You can also layer glitter polish over a matching base for a more blended effect, or pack chunky glitter onto the tip for a gradient sparkle. Its the easiest way to add drama without committing to a full glitter overload.
6. Color Block Nails
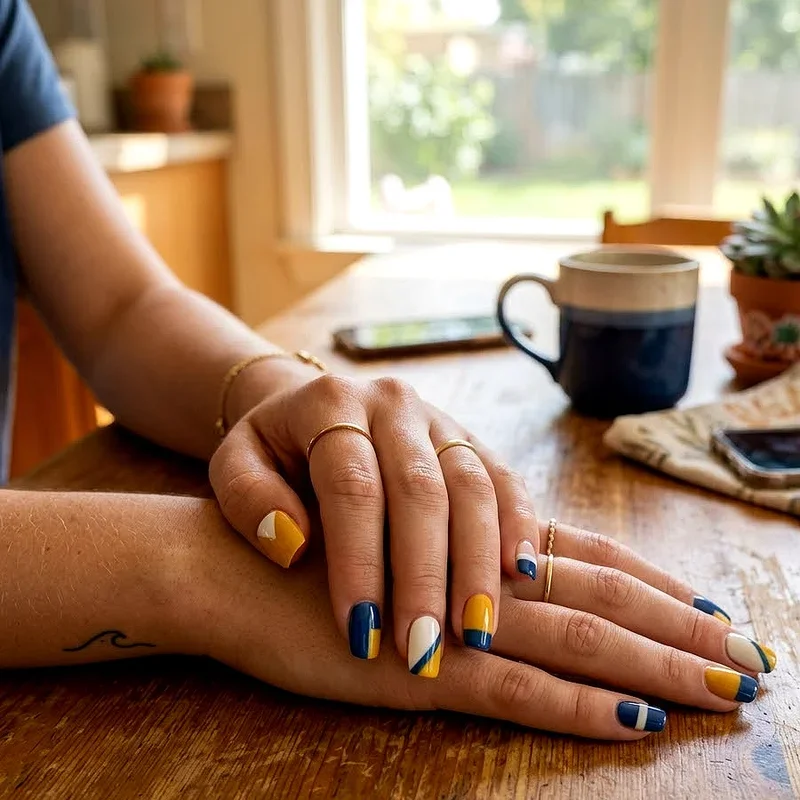
Color blocking is basically painting by numbers for your nails, and the results look incredibly modern and graphic. Choose two or three complementary colors and section off parts of each nail using tape as your guide. Paint one section, let it dry, reposition the tape, and paint the next section in a different shade. When you remove the tape, youll have clean, sharp lines separating bold blocks of color. The geometric look feels very editorial and fashion forward, yet the actual process couldnt be simpler. Try pairing mustard yellow with dusty rose, or cobalt blue with bright white for combinations that feel fresh and unexpected. Each nail can feature the same color arrangement or you can mix it up for variety.
7. Floral Nail Stamps
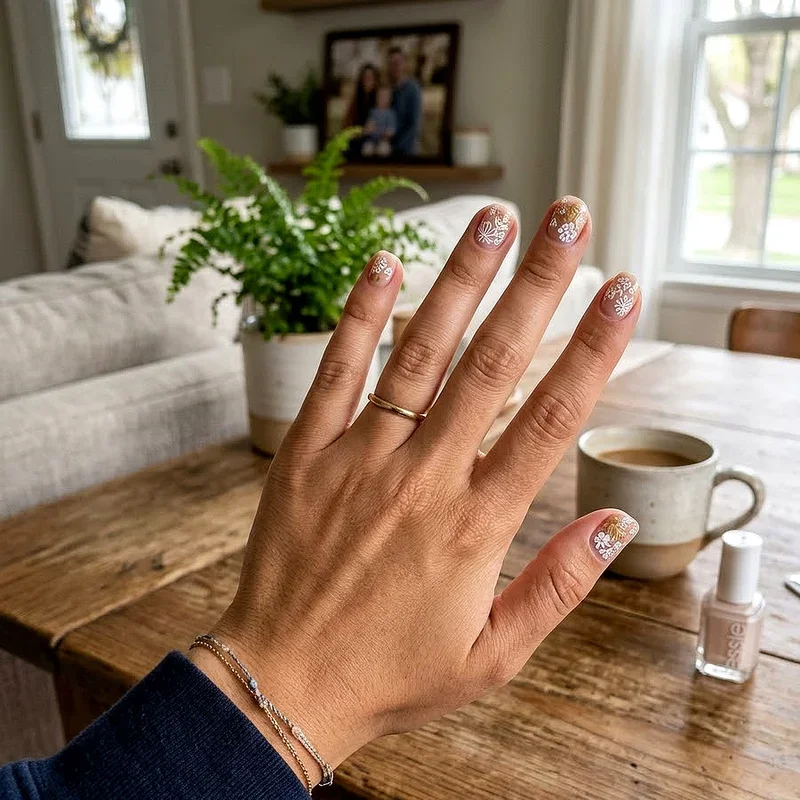
If drawing tiny flowers freehand sounds like a nightmare, nail stamps are about to become your best friend. These affordable stamping kits come with metal plates engraved with intricate designs, a silicone stamper, and a scraper. You apply polish to the plate, scrape off the excess, press the stamper onto the design, and then transfer it directly onto your nail. The whole process takes seconds per nail and produces results that look hand painted by a professional. Floral patterns are especially popular because they suit every season and occasion. You can stamp over any base color and the designs always look polished and deliberate. Its the closest thing to cheating in nail art, and absolutely nobody will judge you for it.
8. Marble Swirl Nails
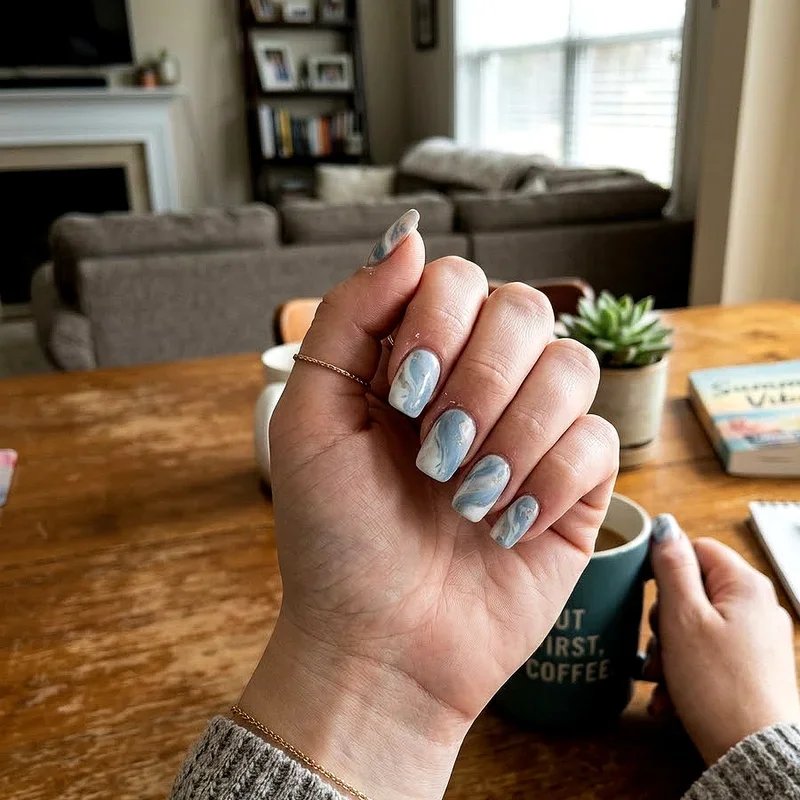
Marble nails look like tiny pieces of luxury stone sitting at the ends of your fingers, and creating them at home is way easier than you might imagine. The water marble technique involves dropping polish onto water and swirling the colors with a toothpick before dipping your nail through the surface. Alternatively, you can achieve a similar look by dabbing different polish colors onto your nail and swirling them together using a toothpick or thin brush while everything is still wet. The organic patterns that emerge are completely unique every single time, meaning no two nails will ever look identical. White and grey combinations mimic real Carrara marble beautifully, but you can experiment with any color palette that catches your eye and appeals to your personal taste.
9. Tape Striping Designs
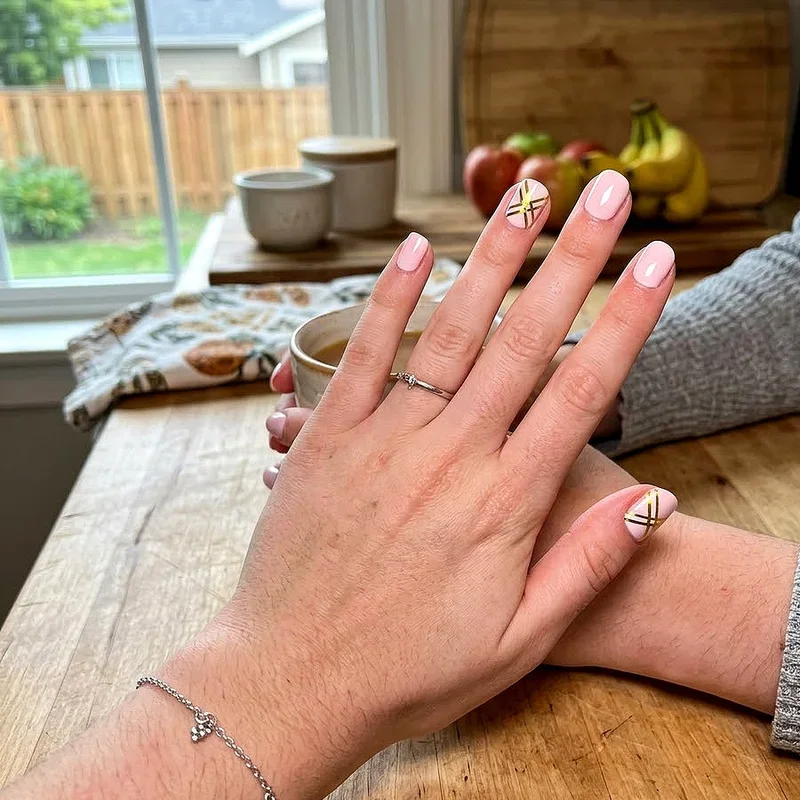
Thin nail art tape is one of the most underrated tools in a beginners nail art kit, and it costs practically nothing. You can use it two ways. First, as a guide by placing tape strips across your dried base coat, painting over them, and peeling them away to reveal clean stripes of the base color underneath. Second, you can apply the tape directly as a decorative element, pressing metallic gold or silver strips onto your nails and sealing them under a top coat. Either approach produces results that look precise and intentional. Try creating a simple cross pattern, parallel lines running diagonally, or even a starburst design radiating from one corner. The tape does all the precision work so your hands dont have to.
10. Pastel Rainbow Nails
Who says you have to pick just one color when you can wear an entire rainbow across your fingertips? Pastel rainbow nails are cheerful, eye catching, and ridiculously simple to execute. Just assign a different pastel shade to each nail, working through a soft spectrum of colors from thumb to pinky. Think baby pink, lavender, sky blue, mint green, and butter yellow for a dreamy combination that feels like springtime regardless of the calendar. You can keep each nail a solid single color for the cleanest look, or add a quick top coat with fine shimmer for extra dimension. This design works beautifully on both short and long nails and never fails to spark compliments and conversations wherever you go out in the world.
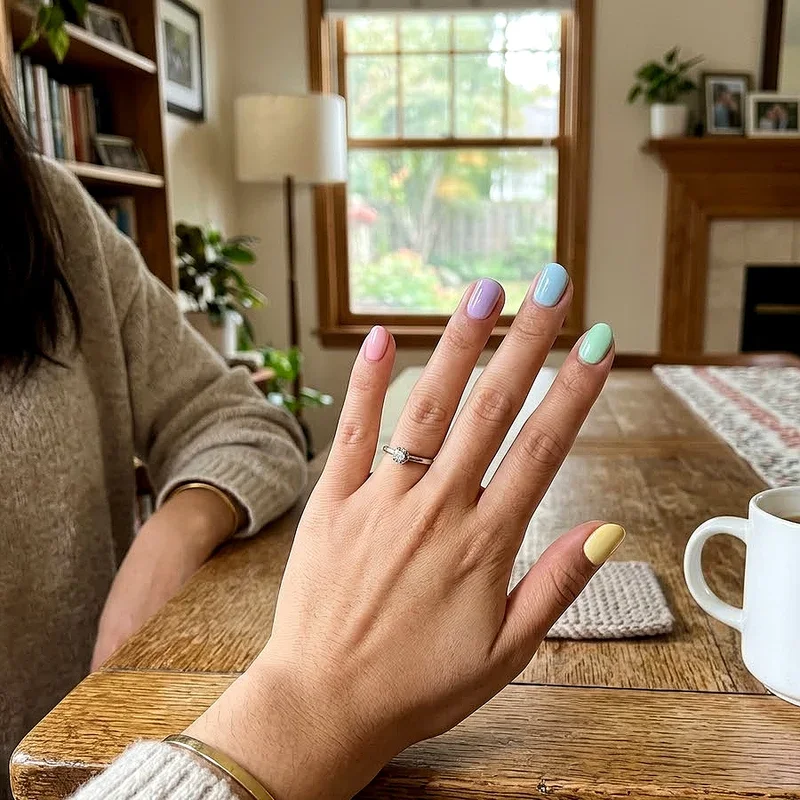
11. Negative Space Nail Art
Negative space designs use the bare nail itself as part of the artwork, creating a modern and edgy aesthetic that feels very current in the nail world. The concept is simple. You paint portions of your nail while intentionally leaving other sections unpainted or covered only with a clear coat. Use tape or small stickers as masks to block off areas before applying your chosen color. When you peel the mask away, the natural nail peeks through in geometric shapes, stripes, or organic curves. The contrast between painted and bare sections creates visual depth that makes the design look far more complex than it actually is. A nude or sheer pink base coat helps even out your natural nail tone if you prefer a slightly more polished unpainted section.
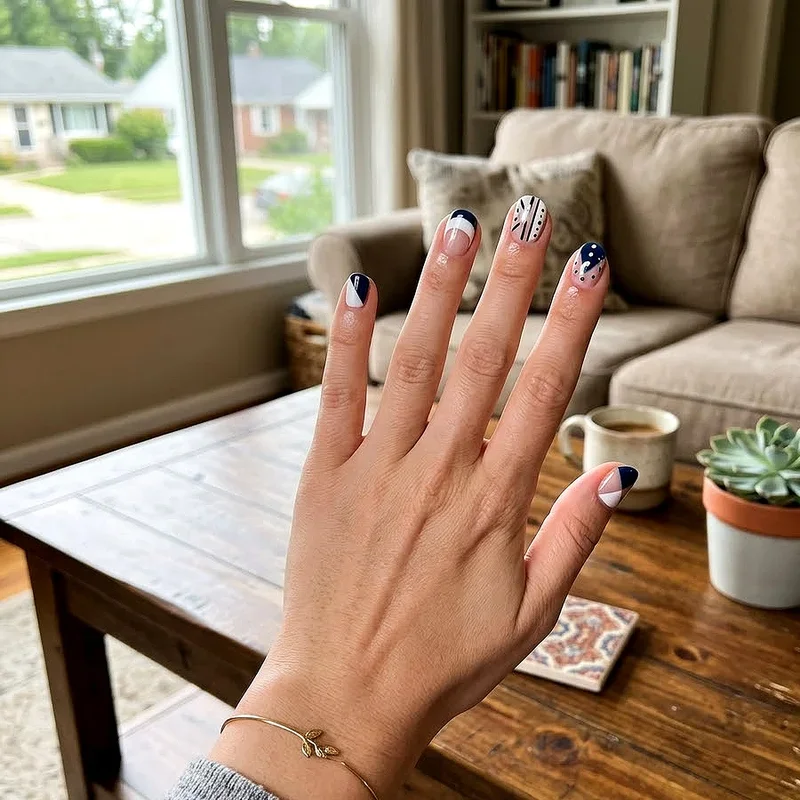
12. Heart and Star Stickers
Nail stickers are the ultimate shortcut for beginners who want intricate designs without any of the skill requirement, and theres absolutely no shame in using them. You can find sheets of tiny hearts, stars, moons, butterflies, and every imaginable shape online or at beauty supply stores for just a couple of dollars. Apply your base color, let it dry thoroughly, position the stickers wherever you like, and then seal everything with a generous top coat. The top coat step is crucial because it locks the stickers in place and prevents edges from lifting throughout the week. Mix and match shapes and sizes for a whimsical scattered look, or place a single heart on each ring finger for something subtle, romantic, and understated.
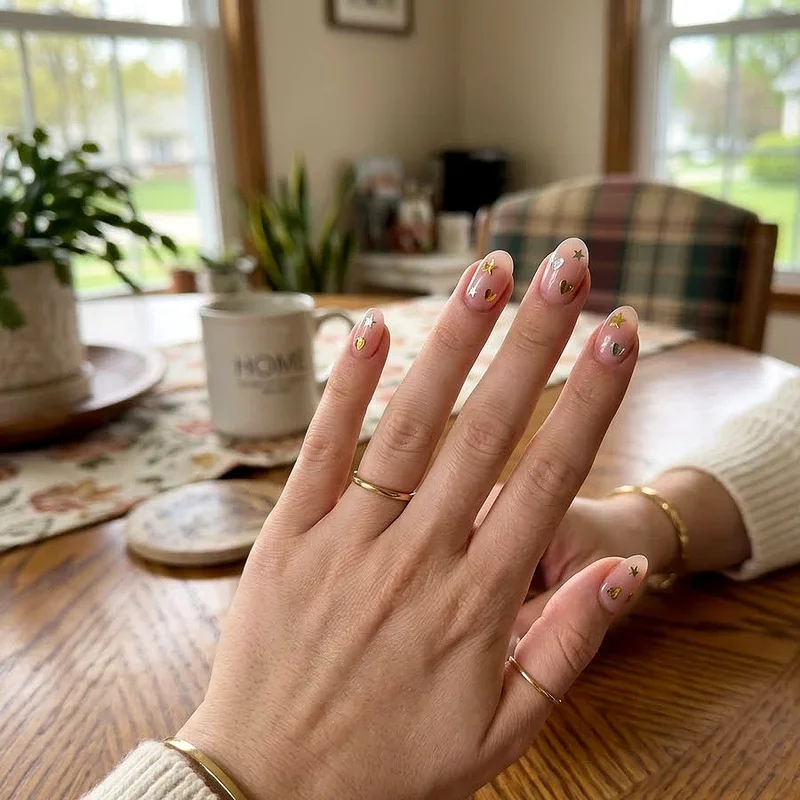
13. Matte Top Coat Magic
Sometimes the most dramatic transformation comes not from the design itself but from the finish you choose. A matte top coat can take any ordinary nail color and turn it into something unexpectedly chic and sophisticated. That bright red you always wear suddenly looks like velvet. Your favorite dark navy transforms into something moody and mysterious. The application process is identical to applying any regular top coat, making this one of the easiest design upgrades available to beginners. You can also create interesting contrast by applying matte top coat to some sections of your nail and leaving others glossy, producing a pattern that plays with light and texture simultaneously. Its a whole new dimension of nail art that requires zero artistic ability whatsoever.
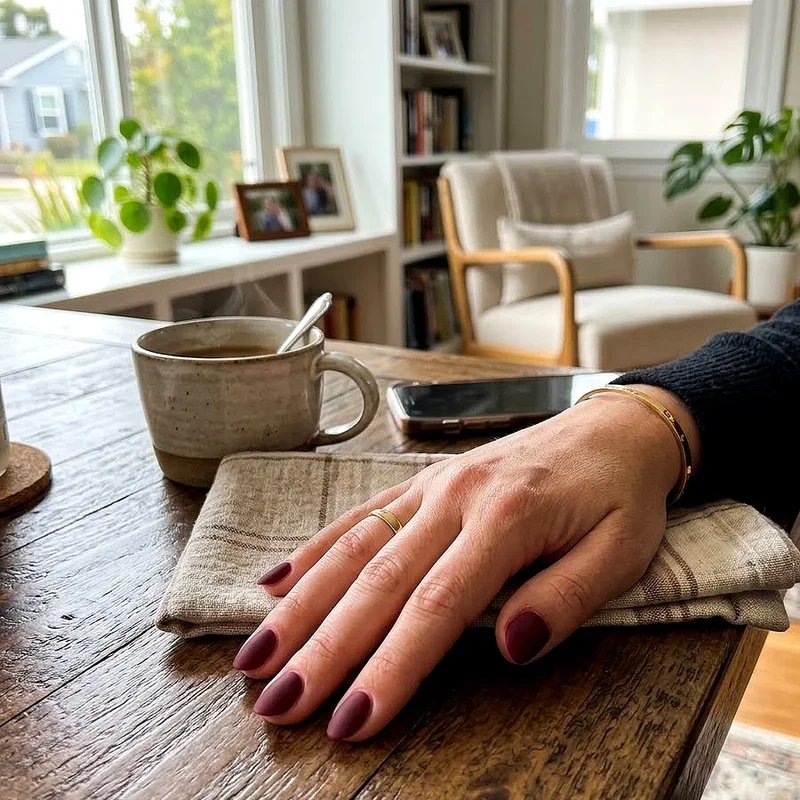
14. Two Tone Diagonal Nails
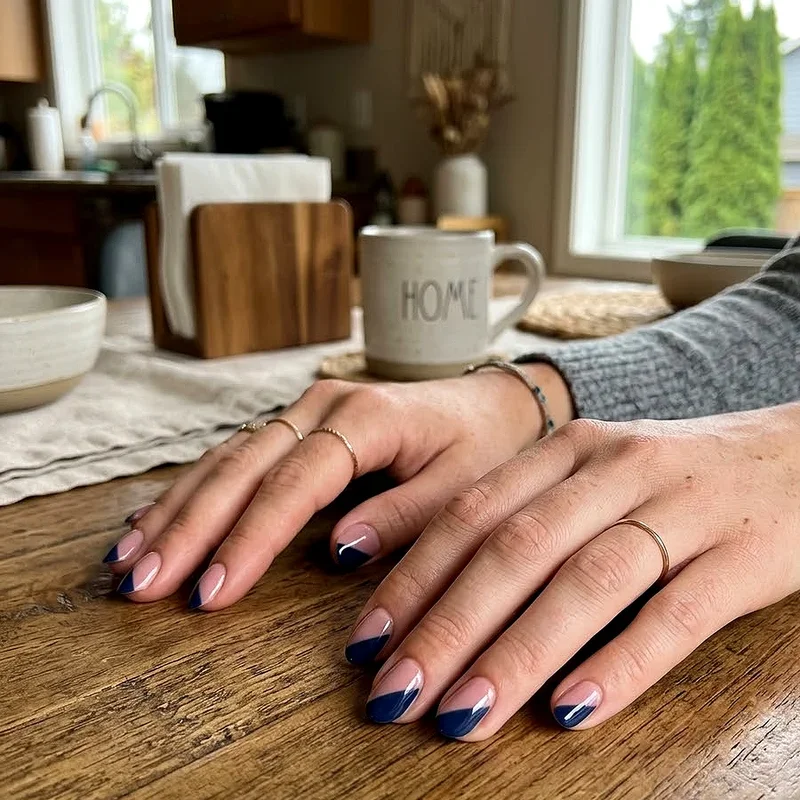
Diagonal two tone nails create a striking visual effect that looks like it requires steady hands and professional training, but it genuinely does not. Place a strip of tape diagonally across your nail after your base color has completely dried. Paint the exposed section with your second color, wait a moment for it to set slightly, and then carefully peel away the tape to reveal a sharp diagonal line separating two distinct shades. The angle creates movement and energy that straight horizontal or vertical lines simply cant match. Try combining complementary colors like coral and teal, or keep things monochromatic with light pink and deep burgundy for an elegant tonal effect. You can alternate the diagonal direction on each nail for added visual interest.
15. Newspaper Print Nails
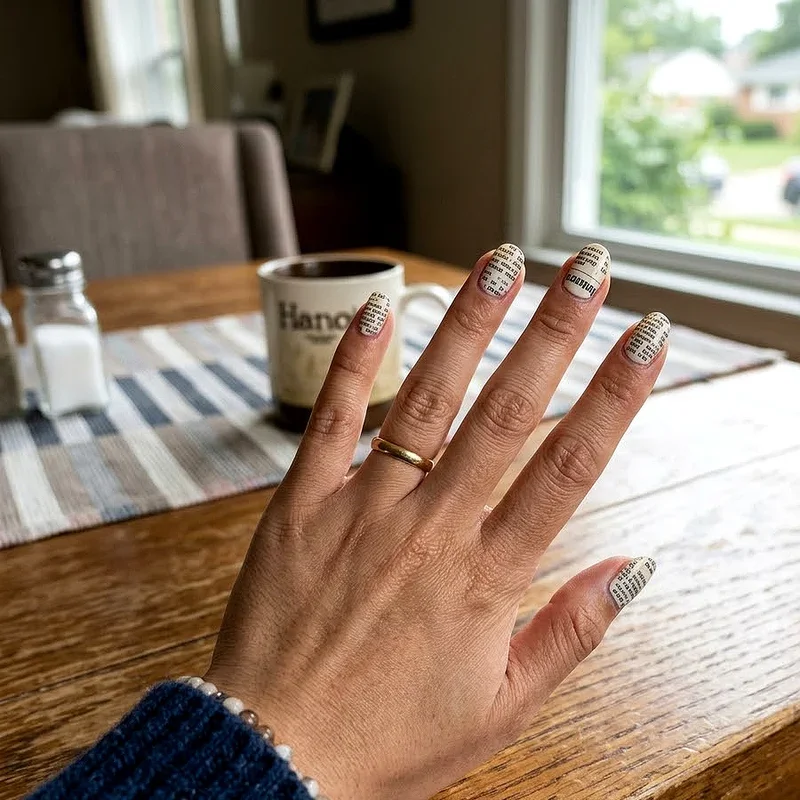
This vintage technique never fails to impress people because the results look impossibly detailed for something so simple. Paint your nails with a light base color, ideally white or pale grey, and let them dry completely. Then dip a small section of newspaper text into rubbing alcohol for about ten seconds and press it firmly onto your nail. Hold it still for a moment and peel it away carefully. The ink transfers directly onto the polish, leaving behind actual printed text on your nail surface. The slightly imperfect, slightly smudged quality of the transfer gives it an artistic, vintage aesthetic that feels wonderfully eclectic and unique. Seal everything with a clear top coat immediately to preserve the delicate print and prevent any smudging throughout your day.
Conclusion
You really dont need expensive tools, years of practice, or a steady surgeons hand to create beautiful nail designs at home. Every idea on this list uses basic supplies you can find at any drugstore and techniques simple enough for a complete beginner. The real secret is just starting somewhere, experimenting freely, and remembering that nail polish remover exists for a reason. Your nails are tiny canvases waiting for your personal touch, so grab a few colors and let your creativity run wild this weekend.
Frequently Asked Questions
Q1. What basic tools do I need for beginner nail art?
A: You need polish, a base coat, top coat, tape, dotting tools, and a cleanup brush.
Q2. How long should I let each coat dry between steps?
A: Wait at least two to three minutes between each coat for the best possible results.
Q3. Can I do nail art on short nails?
A: Absolutely, most beginner nail designs actually look fantastic and very proportional on shorter nail lengths.
Q4. How do I make my nail designs last longer?
A: Apply thin even coats, use a quality top coat, and wrap polish around nail edges.
Q5. What is the easiest nail design for a complete beginner?
A: Polka dots using a bobby pin are the simplest and most forgiving design to start.
Stay up to date with our latest ideas!