15 Flower Nail Ideas for a Fresh and Feminine Look
Discover 15 stunning flower nail designs that bring spring to your fingertips. From daisies to roses, create fresh and feminine looks easily.
Have you ever noticed how a simple floral design can instantly transform your nails from ordinary to extraordinary? Flower nail art has become the ultimate expression of femininity and elegance in the beauty world. Whether you're preparing for a spring wedding, want to brighten up your winter days, or simply love the delicate beauty of botanical designs, floral nails offer endless possibilities for creative expression. From minimalist daisies to intricate rose gardens, these designs can match any mood, outfit, or occasion. In this comprehensive guide, we'll explore fifteen stunning flower nail ideas that will help you achieve that fresh, feminine look you've been dreaming about. Get ready to turn your fingertips into a blooming masterpiece that captures the essence of nature's beauty.
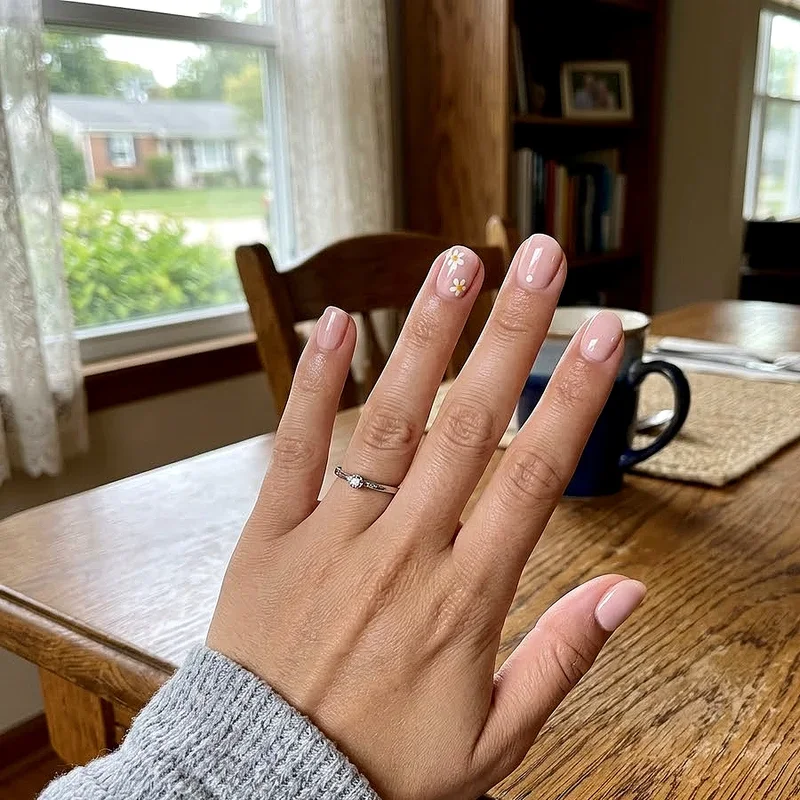
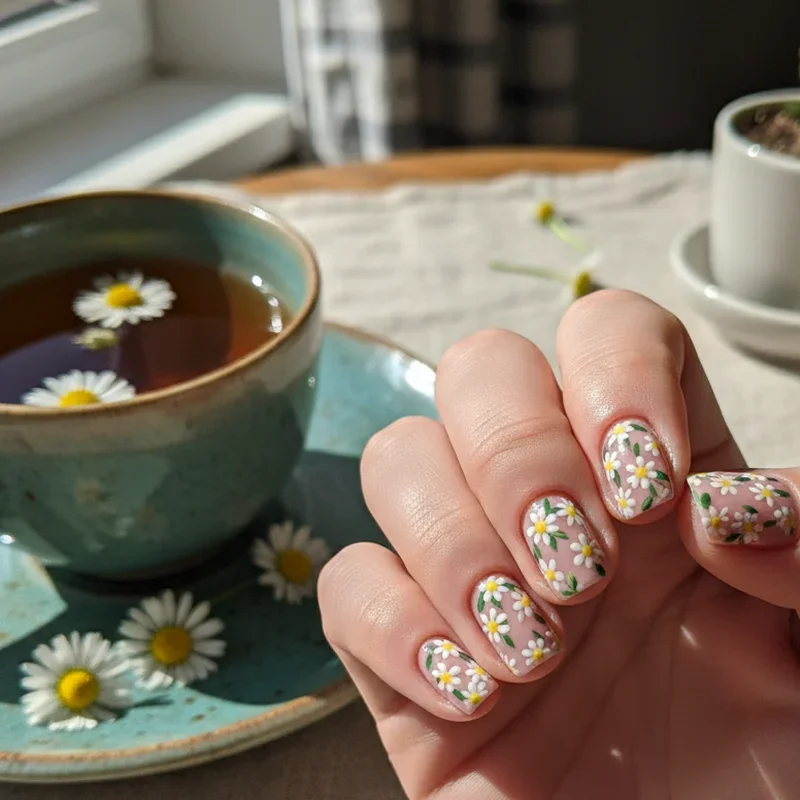
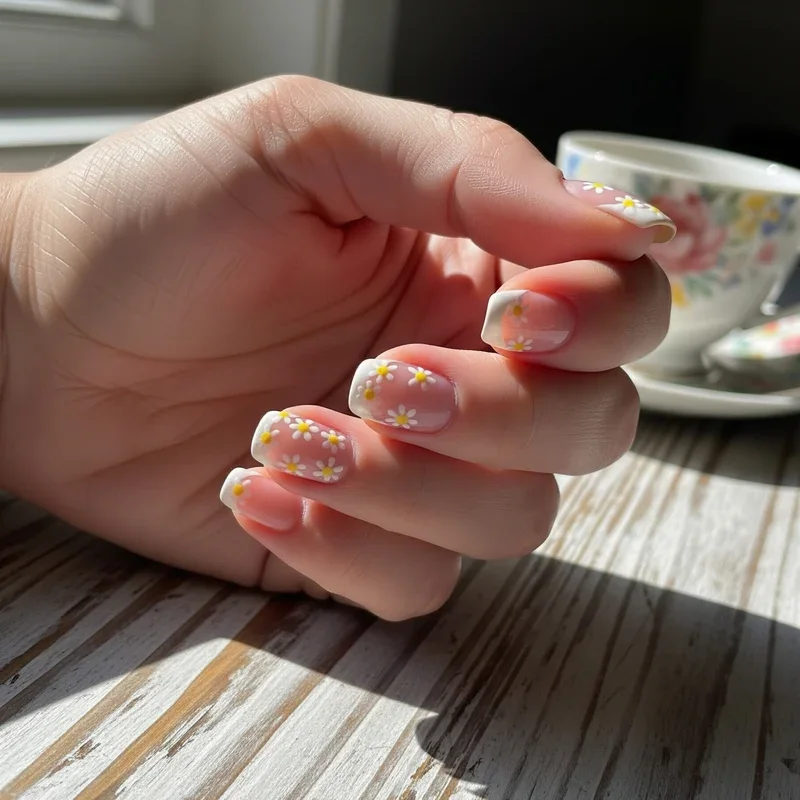
1. Classic French Tips with Tiny Daisies
Transform your traditional French manicure into something special by adding delicate daisy details along the white tips. This design perfectly balances sophistication with playfulness, making it ideal for both office settings and casual weekends. Start with your favorite nude or pink base color, then paint crisp white tips as you normally would. Using a thin nail art brush or dotting tool, create small white daisies with yellow centers right where the tip meets the nail bed. The beauty of this design lies in its versatility; you can add just one daisy per nail for subtlety or create a chain of flowers for more impact. This timeless combination ensures your nails look polished and feminine without being overwhelming.
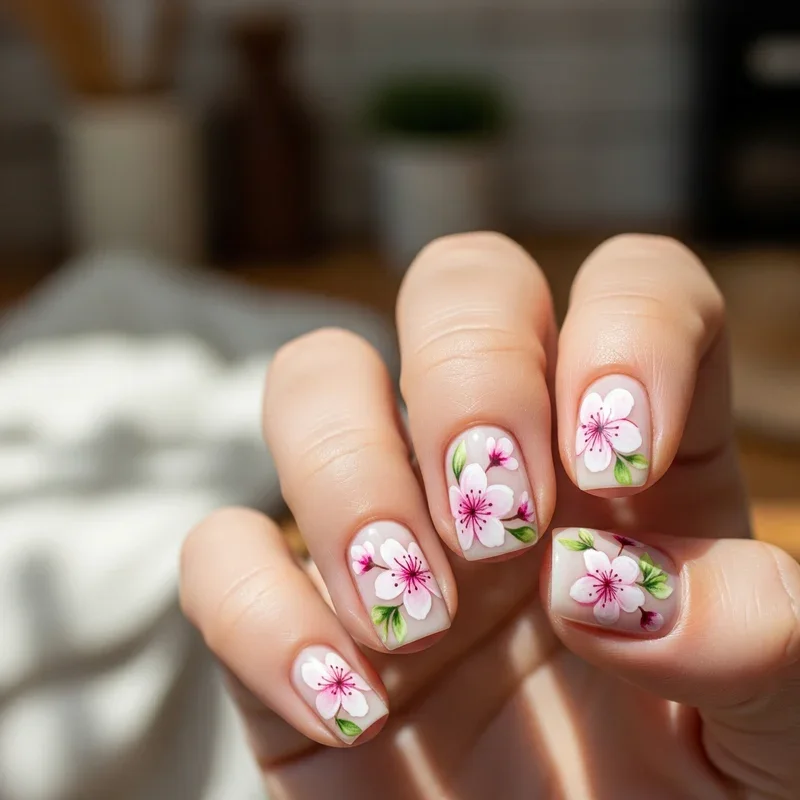
2. Watercolor Cherry Blossom Dreams
Channel the ethereal beauty of Japanese spring with watercolor cherry blossoms that seem to float across your nails. This artistic technique creates a soft, dreamy effect that looks like it belongs in an art gallery. Begin with a sheer pink or white base coat to serve as your canvas. Using diluted pink and white polish, create translucent petals that blend seamlessly into each other. Add delicate brown branches using a ultra-fine brush, positioning them diagonally across the nail for dynamic movement. The key to mastering this look is working with wet polish to achieve that signature watercolor blend. Finish with tiny dots of darker pink in the flower centers for depth and dimension that brings your cherry blossoms to life.
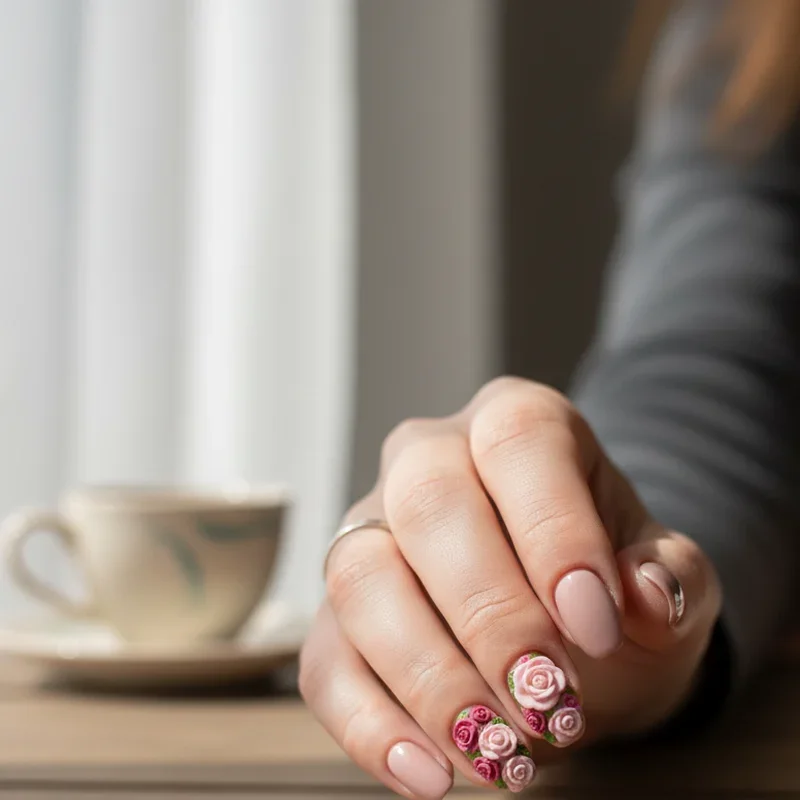
3. 3D Rose Embellishments for Special Occasions
When you need nails that make a statement at weddings or formal events, three-dimensional roses deliver unmatched elegance and drama. These sculptural beauties transform your nails into miniature works of art that demand attention. Start by applying a classic red, pink, or white base that complements your outfit. Using acrylic powder or specialized 3D gel, carefully sculpt tiny roses directly onto the nail surface, typically positioning them on accent nails to avoid overwhelming the design. Each petal should be individually crafted and layered to create realistic depth and texture. Add small rhinestones or pearl accents around the roses for extra glamour. While these designs require more maintenance and skill to create, the stunning results make them worth the extra effort for those special moments.
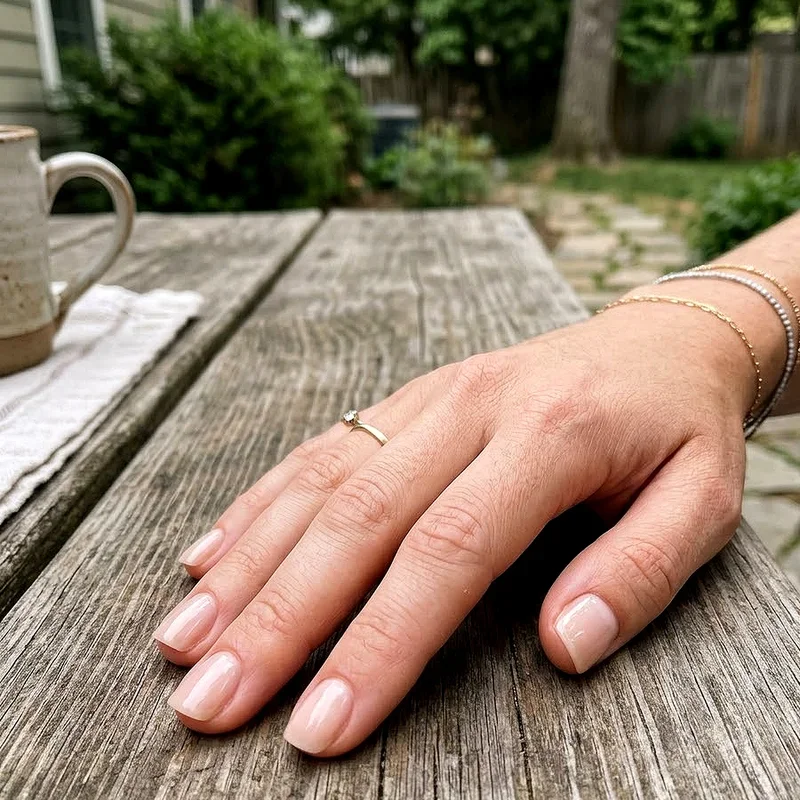
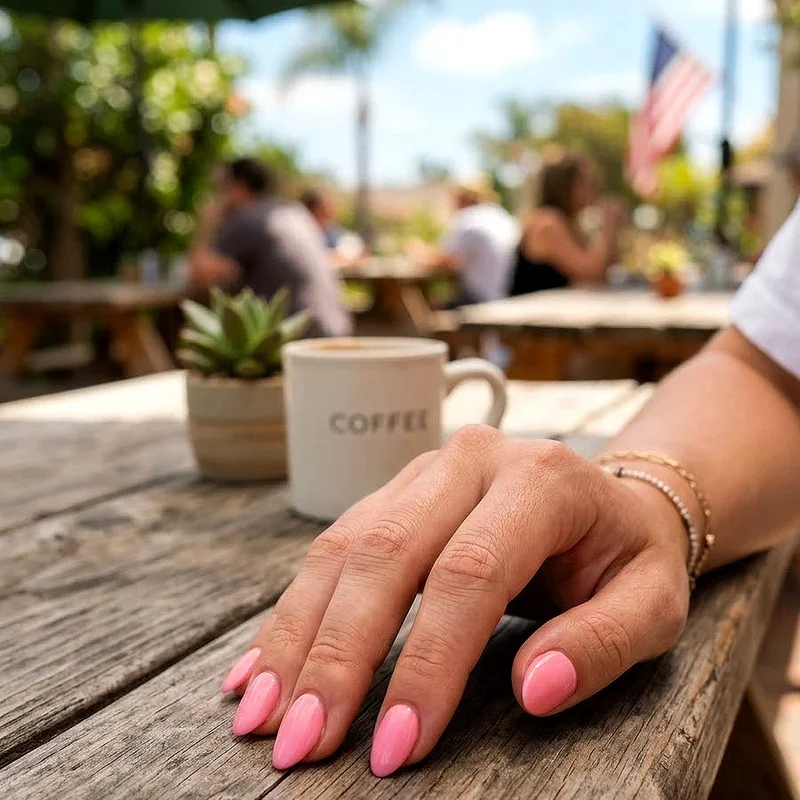
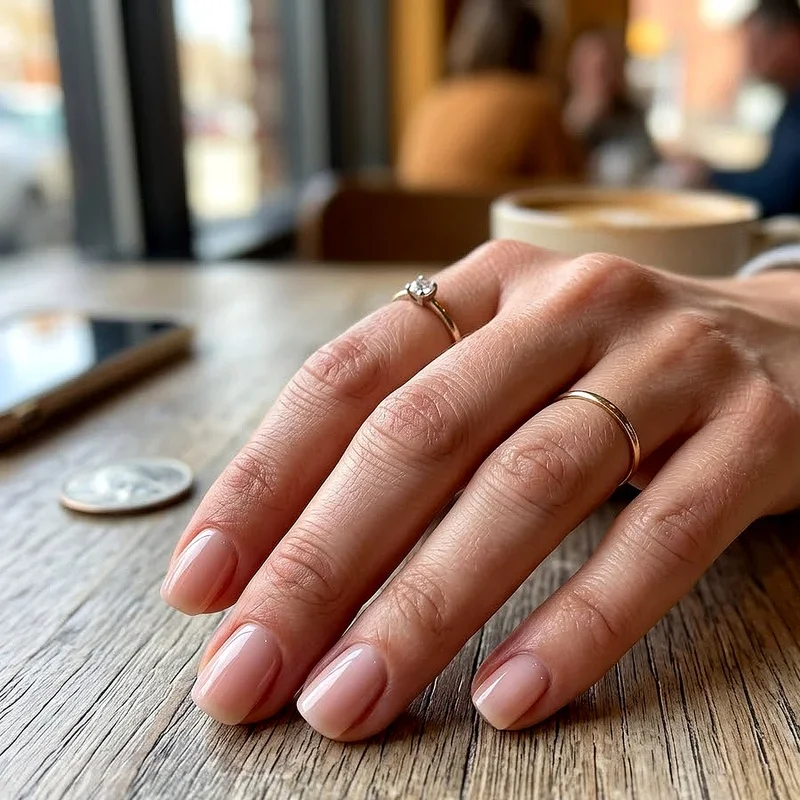
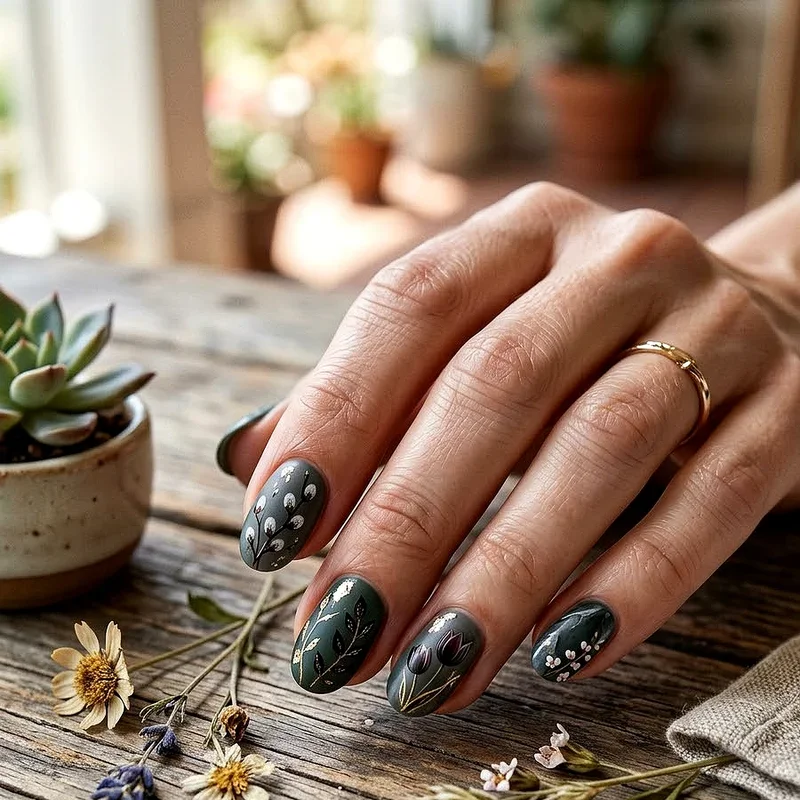
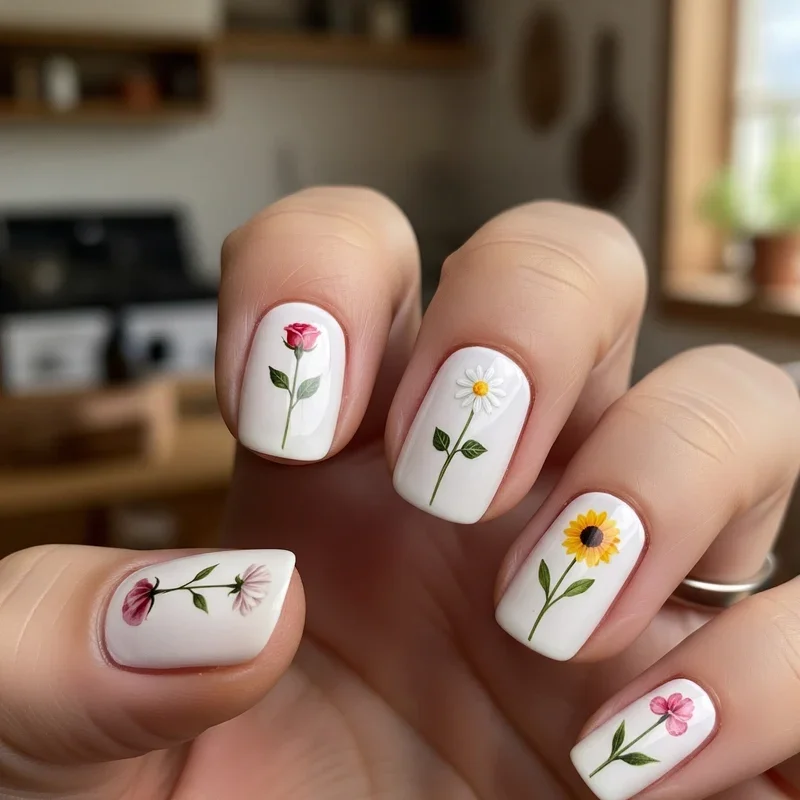
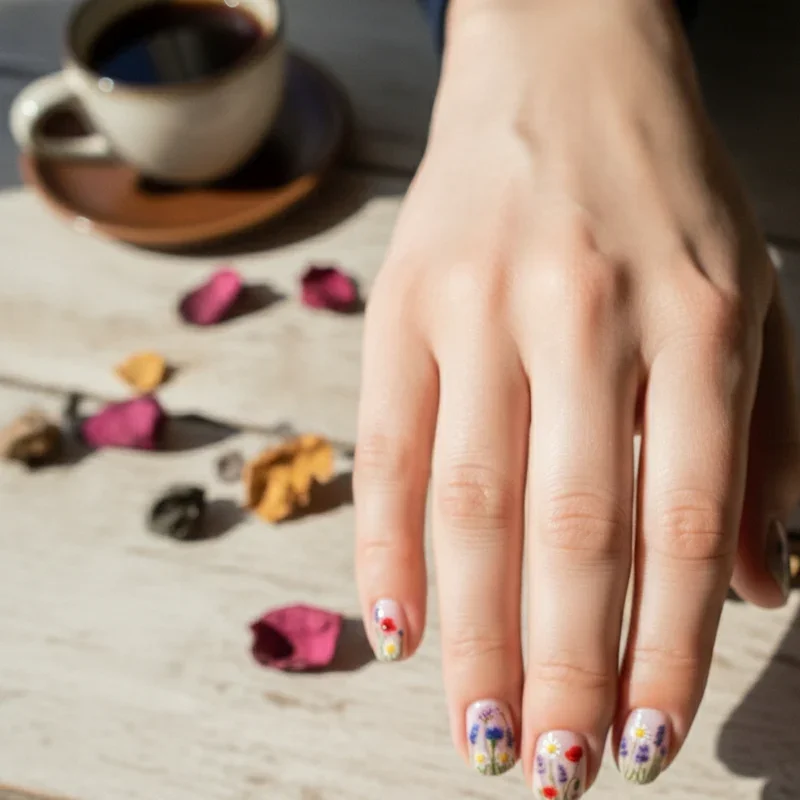
4. Minimalist Single Stem Designs
Sometimes less truly is more, and minimalist single stem flowers prove that simple designs can be incredibly impactful. This understated approach appeals to those who prefer subtle elegance over bold statements. Choose a neutral or soft pastel base color that won't compete with your delicate artwork. Using a fine liner brush, paint thin green stems extending from the cuticle area toward the nail tip. Add a single flower at the end of each stem, varying between simple five-petal blooms, tulips, or roses depending on your preference. The negative space around the design creates breathing room that emphasizes the artistic simplicity. This style works beautifully on both short and long nails, making it accessible to everyone regardless of nail length or shape preferences.
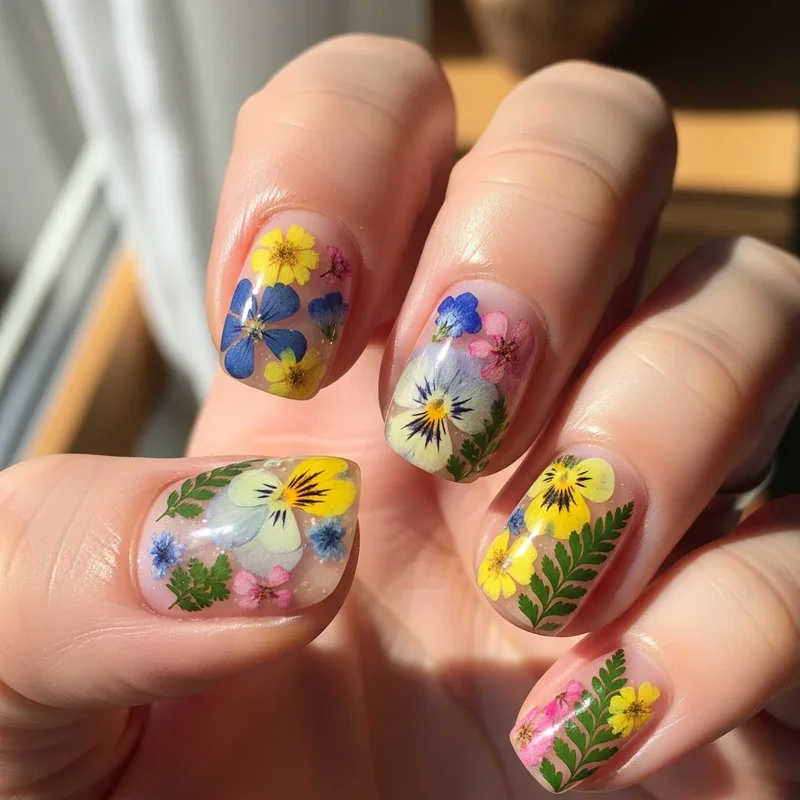
5. Pressed Flower Effect Using Gel Polish
Achieve the vintage charm of pressed flowers preserved in resin without using actual botanicals on your nails. This technique creates an incredibly realistic effect that looks like you've captured real flowers under glass. Start with a nude or transparent base to mimic the look of natural preservation. Paint ultra-thin flower petals using translucent gel polishes in various shades, layering them to create depth without bulk. The trick is using multiple thin coats rather than one thick application, allowing each layer to cure properly. Add subtle vein details with an even thinner brush and slightly darker shades. Seal everything with a high-shine top coat that creates that glossy, preserved appearance. This design captures the delicate beauty of dried flowers while maintaining the durability needed for everyday wear.
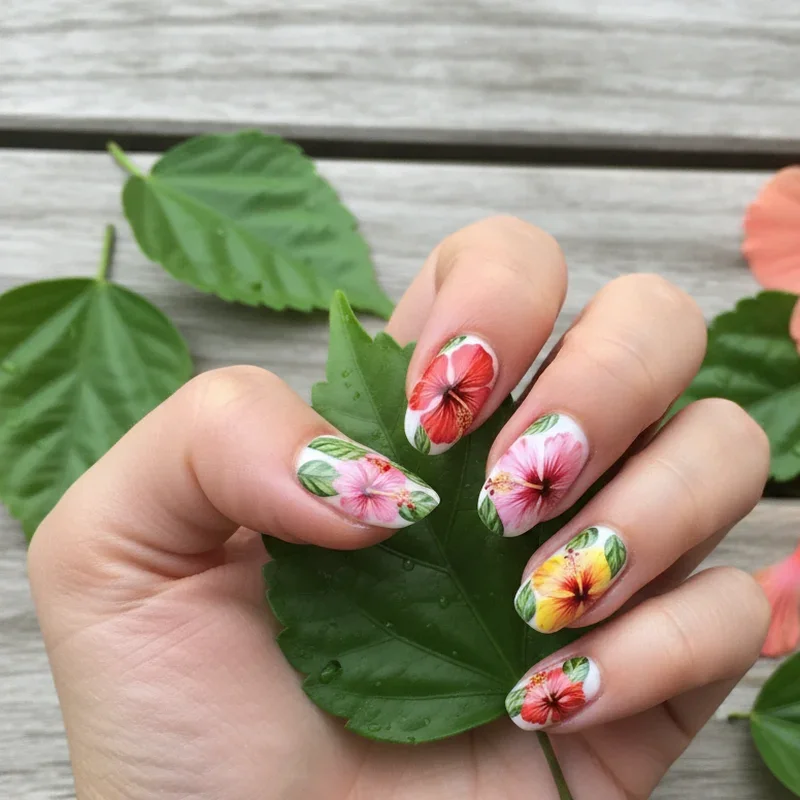
6. Tropical Hibiscus Paradise Nails
Transport yourself to a Hawaiian beach with vibrant hibiscus flowers that radiate warmth and tropical energy. These bold blooms make perfect summer nails that complement sundresses and beach vacations beautifully. Begin with a bright base color like turquoise, coral, or sunset orange to set the tropical mood. Paint large hibiscus flowers using contrasting colors; think hot pink flowers on turquoise or yellow blooms on coral backgrounds. Each petal should be clearly defined with slightly darker edges for dimension. Add the characteristic long stamen extending from the center using a contrasting color. Include tropical leaves in various shades of green to complete the paradise vibe. This design works best on medium to long nails where the flowers have room to bloom in their full glory.
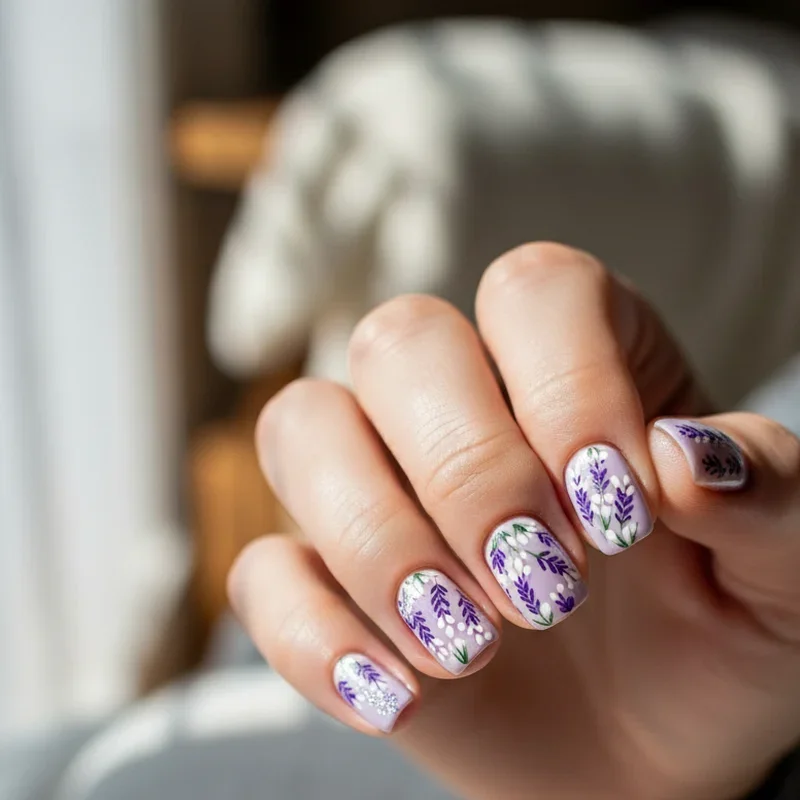
7. Delicate Lavender Fields Design
Capture the serene beauty of Provence lavender fields with this calming and aromatic-inspired nail art that soothes the soul. This design brings the peaceful essence of purple meadows right to your fingertips. Start with a soft purple or lilac base that mimics the distant view of lavender fields. Using a thin brush, create tiny vertical stems in varying shades of green, arranging them at different heights for natural variation. Add small purple dots along each stem to represent individual lavender buds, using darker purple at the base and lighter shades toward the tips. The repetitive pattern creates a meditative quality that's both relaxing to create and beautiful to admire. This design pairs wonderfully with spring and summer outfits while maintaining enough subtlety for year-round wear.
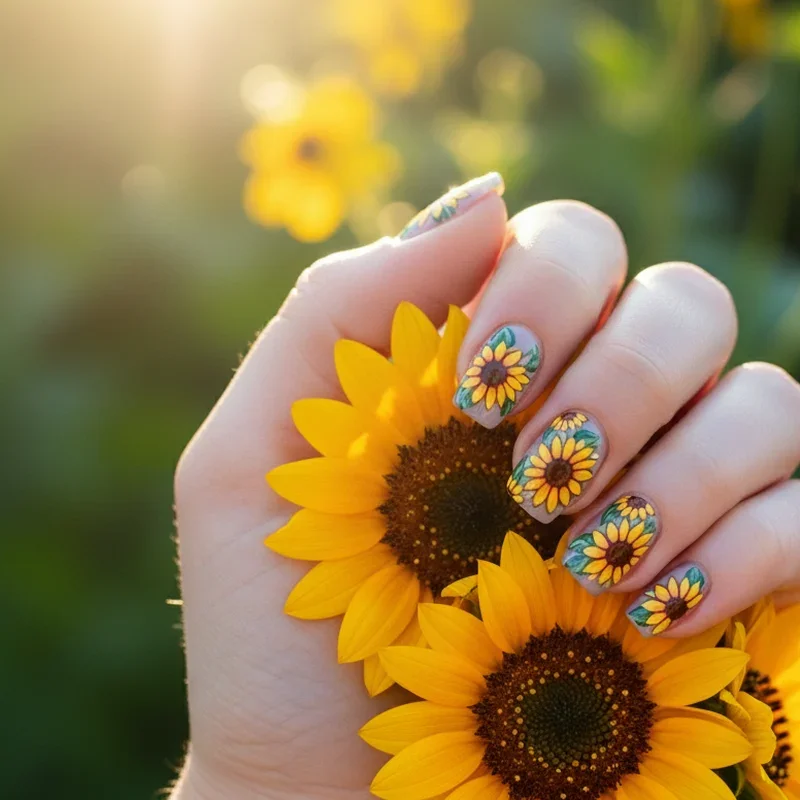
8. Bold Sunflower Statement Nails
Nothing says confidence and joy quite like bold sunflower designs that turn your nails into miniature fields of golden sunshine. These cheerful blooms instantly brighten any mood and outfit with their vibrant energy. Choose a sky blue or sage green base to make your sunflowers pop against a natural backdrop. Paint large sunflower heads using bright yellow petals arranged in a circular pattern around brown centers. Create texture in the centers using a dotting tool to mimic real sunflower seeds. Add realistic touches with slightly varied petal lengths and subtle orange undertones for dimension. Include green leaves and stems to ground the design and create visual balance. These statement nails work beautifully as accent designs or can cover all nails for maximum impact during summer festivals and outdoor events.
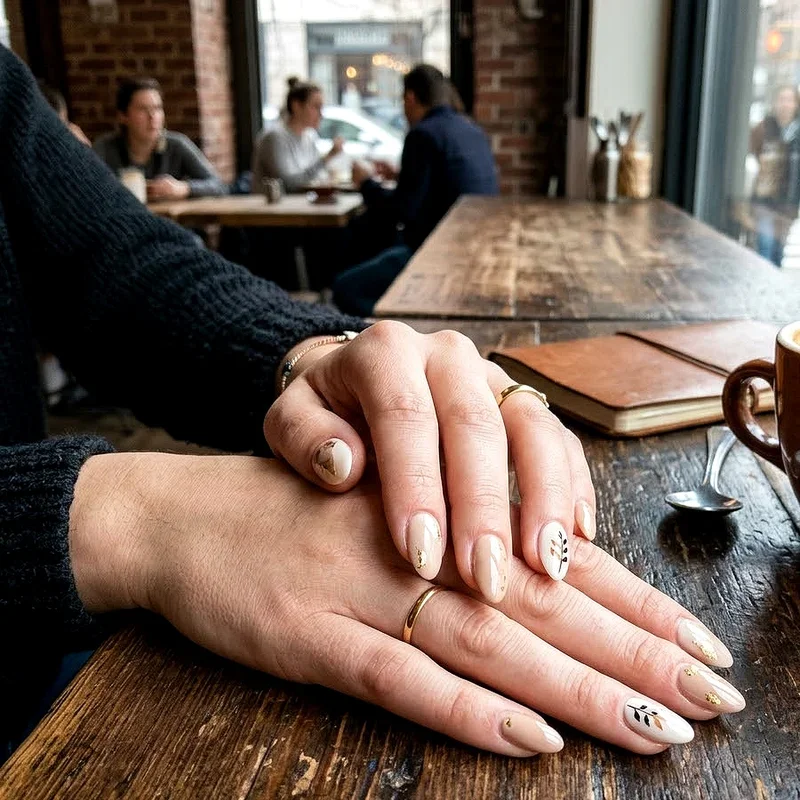
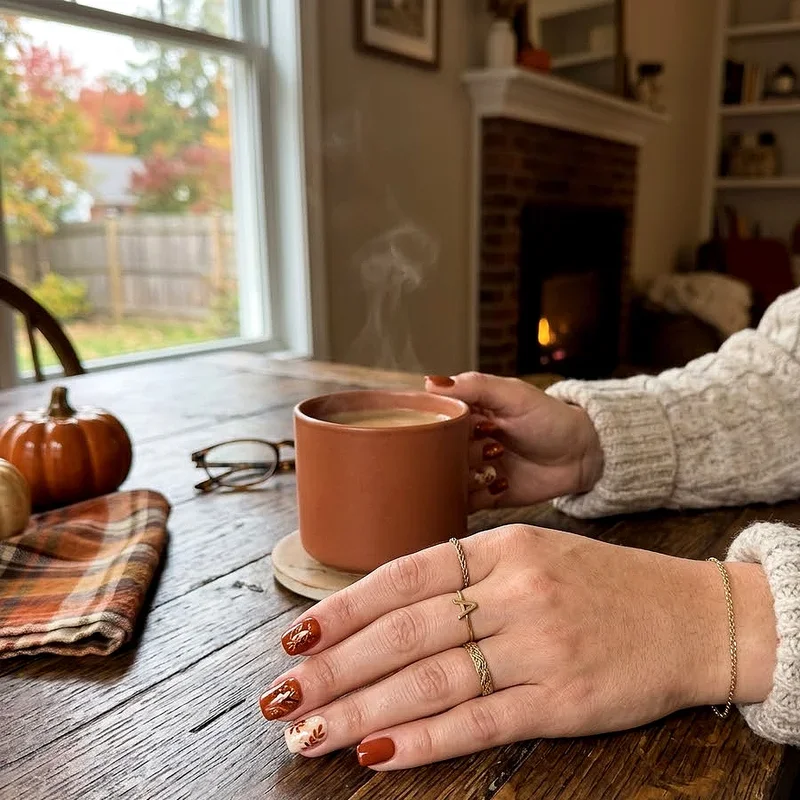
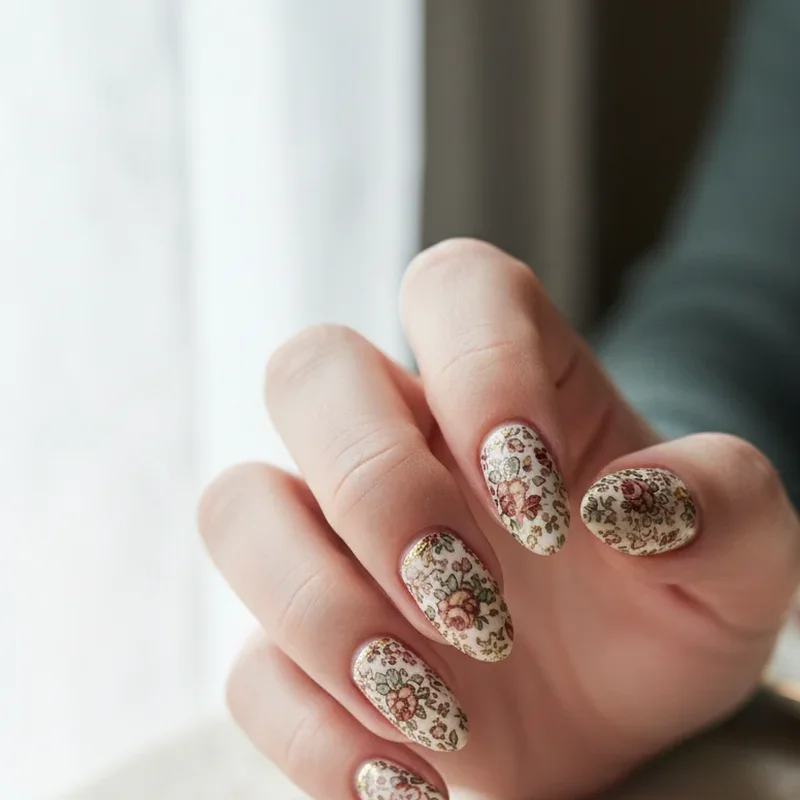
9. Vintage Floral Wallpaper Patterns
Draw inspiration from grandmother's parlor with vintage wallpaper patterns that bring nostalgic charm to modern nail art. This design combines multiple small flowers in repeating patterns reminiscent of Victorian elegance. Select a cream or pale pink base that serves as your wallpaper background. Create clusters of tiny roses, forget-me-nots, and baby's breath using muted colors like dusty rose, sage green, and soft blue. Arrange these elements in diagonal or scattered patterns across each nail, ensuring consistency while avoiding exact repetition. Add delicate gold accents or tiny pearls to certain flowers for that antique jewelry box feel. The key is achieving that slightly faded, timeworn appearance through color selection and placement that tells a story of timeless beauty.
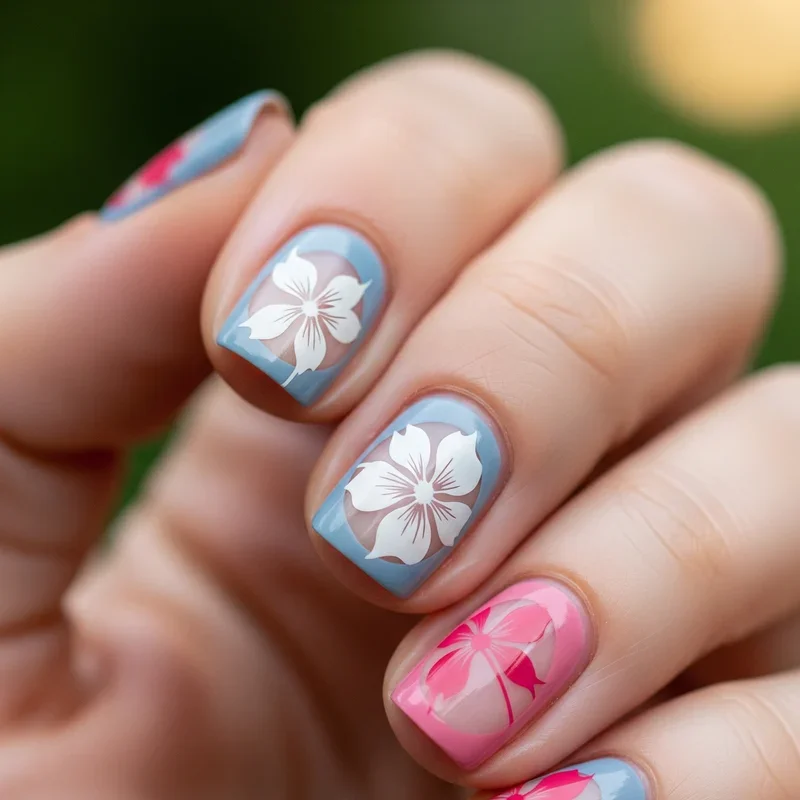
10. Negative Space Flower Silhouettes
Embrace the modern trend of negative space nail art with flower silhouettes that play with transparency and bold contrasts. This contemporary approach creates striking visual interest through what's not painted rather than what is. Apply a clear base coat and use tape or stencils to create flower shapes on your nails. Paint around these shapes with bold colors like black, navy, or deep burgundy, leaving the flower areas completely clear. Remove the stencils to reveal perfect flower silhouettes showing your natural nail underneath. Add minimal details like tiny stems or leaves in the same bold color to enhance the design without overwhelming the negative space concept. This sophisticated technique works especially well on longer nails where the contrast between painted and unpainted areas can be fully appreciated by admirers.
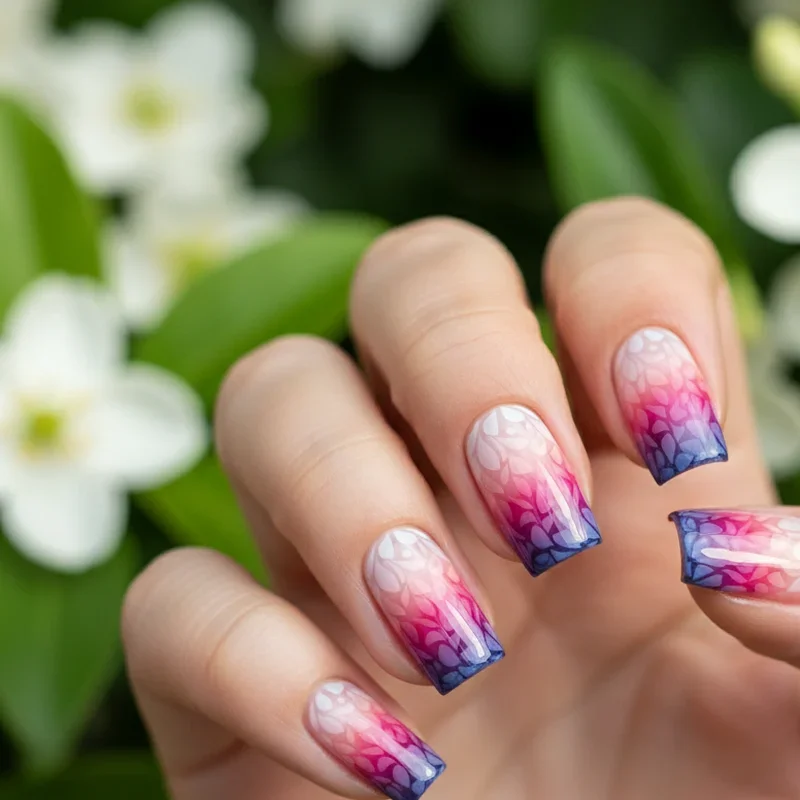
11. Gradient Petal Ombre Effect
Master the art of color transition with gradient petals that blend seamlessly from light to dark creating dimensional flower designs. This technique adds incredible depth and professional polish to your floral nail art. Start with a white or very pale base color to make the gradient effect more pronounced. Choose a flower color family and select three to four shades ranging from light to dark. Paint each petal starting with the lightest shade at the outer edge, gradually blending to the darkest shade near the center. Use a small sponge or brush to perfect the blend while the polish is still wet. This ombre effect makes flowers appear to glow from within, creating an almost three-dimensional appearance without actual texture. The sophisticated result looks like it came straight from a high-end salon.
12. Mixed Wildflower Meadow Design
Celebrate nature's diversity with a wildflower meadow design that combines multiple flower types in one harmonious composition. This free-spirited approach captures the natural beauty of an untamed garden. Paint each nail with a soft green or sky blue base to represent grass and sky. Add various wildflowers including poppies, cornflowers, daisies, and buttercups in different sizes and heights. Use a variety of colors but maintain harmony by keeping them within a similar saturation level. Scatter the flowers naturally rather than placing them symmetrically, mimicking how wildflowers grow in nature. Include thin grass blades and tiny flying seeds for added realism and movement. This design tells a story of summer walks through countryside meadows, bringing that carefree feeling to your everyday life.
13. Geometric Flower Patterns
Merge modern minimalism with natural beauty through geometric flower designs that reimagine petals as triangles, hexagons, and abstract shapes. This contemporary interpretation appeals to those who love flowers but prefer clean, architectural lines. Choose a solid, neutral base color like gray, black, or white to emphasize the geometric elements. Create flowers using straight lines and angular shapes rather than curved petals, arranging triangular petals around hexagonal centers. Use metallic polishes or bold colors for the geometric flowers to create striking contrast against the base. Add thin connecting lines between flowers to create a constellation effect or leave them floating independently for a more minimalist approach. This design bridges the gap between natural inspiration and modern art, perfect for fashion-forward individuals who appreciate unconventional beauty.

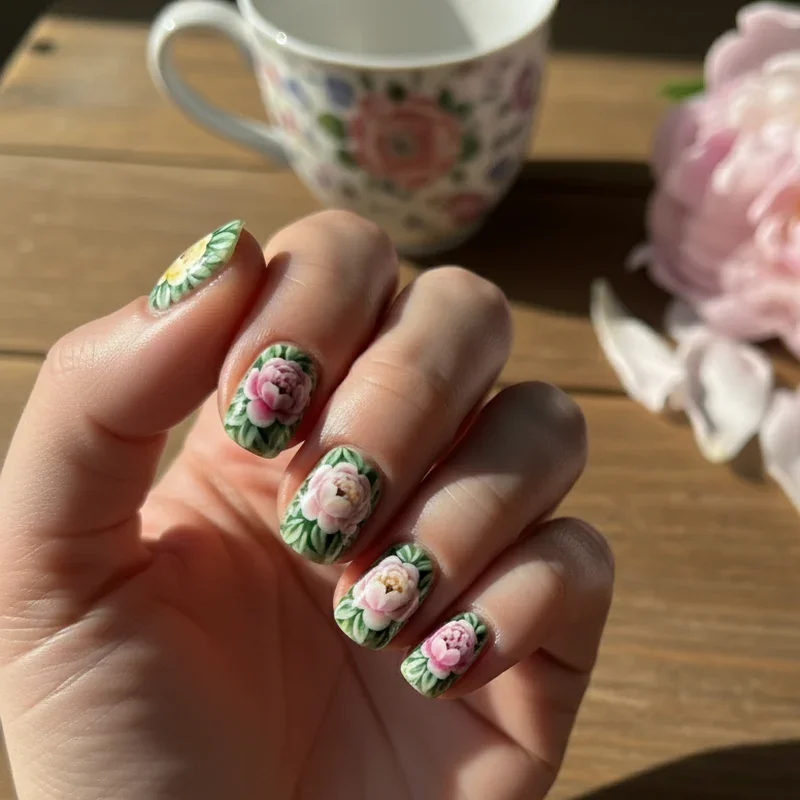
14. Pastel Peony Garden Nails
Indulge in the luxurious beauty of peonies with soft pastel shades that create a romantic garden party atmosphere on your nails. These lush, full blooms epitomize feminine elegance and springtime grace. Begin with a barely-there pink or peach base that complements the pastel palette. Paint large, layered peony blooms using multiple shades of the same color family to create depth and dimension. Each layer should be slightly visible beneath the next, creating that characteristic full, ruffled appearance peonies are known for. Add sage green leaves as accents without overwhelming the delicate flowers. Use a matte top coat on some nails and glossy on others to create textural interest that mimics how light plays on real peony petals. This design perfect for bridal showers, garden parties, or whenever you want to feel especially feminine.
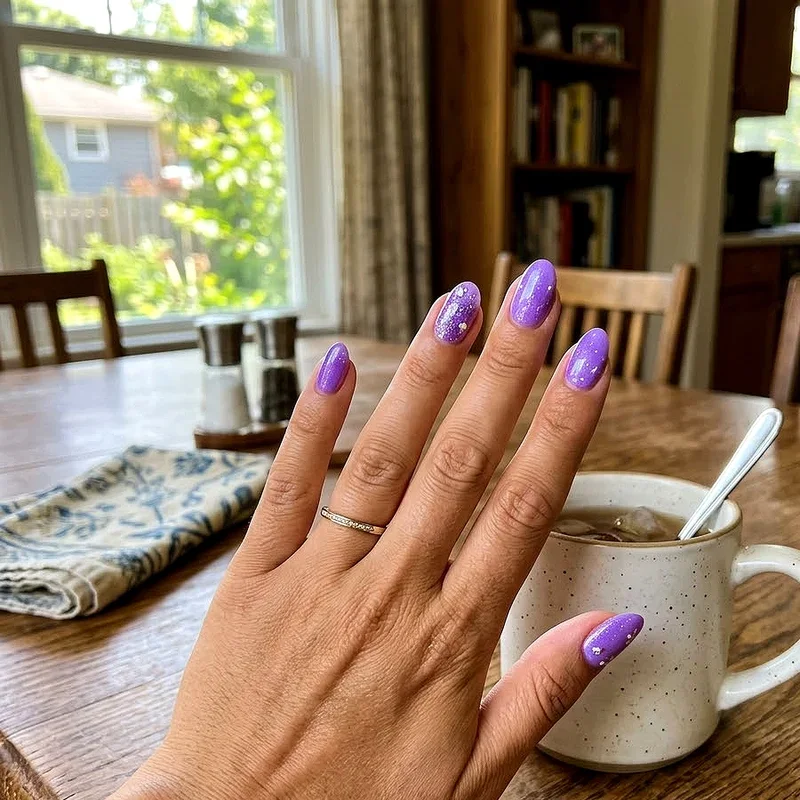
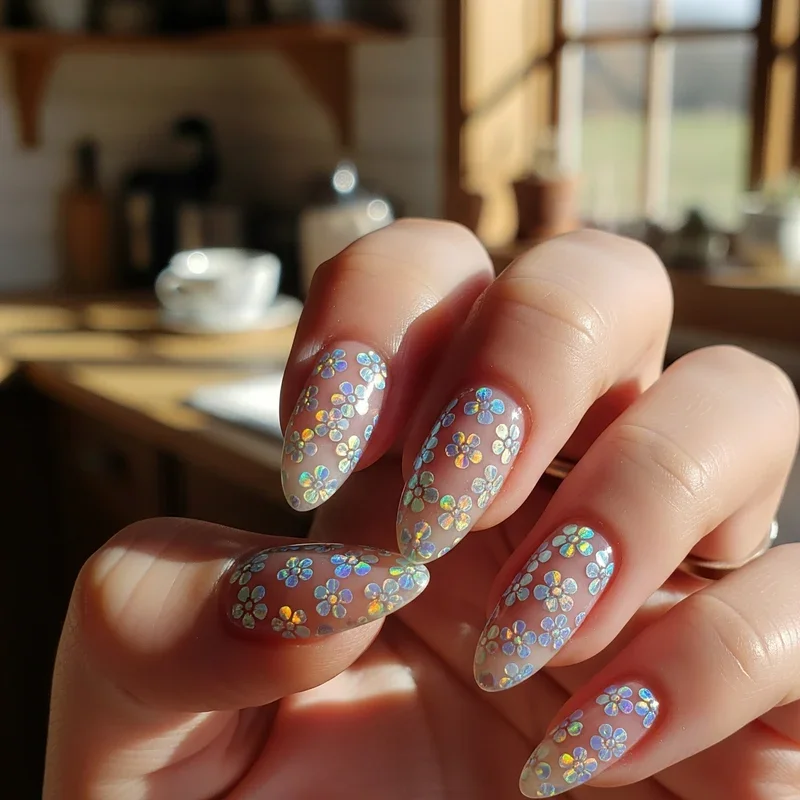
15. Holographic Flower Accents
Step into the future with holographic flower accents that shift and shimmer with every movement, creating an otherworldly botanical experience. This modern technique combines traditional floral designs with cutting-edge nail technology. Apply a neutral or black base to make the holographic elements truly pop. Create flower outlines using regular polish, then fill them with holographic powder or polish that reflects rainbow colors. The prismatic effect makes flowers appear to change color as you move your hands, creating constant visual interest. Add holographic glitter to flower centers or use chrome powder on select petals for extra dimension. Balance the futuristic elements with traditional green leaves to ground the design. This show-stopping style perfect for festivals, parties, or anyone who loves to push nail art boundaries into new territories.
Conclusion
Floral nail designs offer endless possibilities for expressing your personal style while embracing feminine beauty. Whether you prefer minimalist stems or bold tropical blooms, there's a flower nail idea that perfectly matches your aesthetic. These fifteen designs prove that botanical nail art can be adapted to any occasion, season, or mood. With the right tools and techniques, you can transform your nails into a personal garden that blooms year-round, bringing joy and beauty to your everyday life.
Read next: 15 Acrylic Nail Ideas to Elevate Your Look
Frequently Asked Questions
Q1: How long do flower nail designs typically last?
A: With proper application and top coat, they last about two weeks.
Q2: Can I create flower nails on short natural nails?
A: Yes, simpler designs like minimalist flowers work beautifully on short nails.
Q3: What tools do I need for flower nail art?
A: Dotting tools, thin brushes, and toothpicks are essential starter tools.
Q4: Are flower nails appropriate for professional settings?
A: Subtle designs with neutral colors are perfect for office environments.
Q5: How can I make my flower designs look more realistic?
A: Layer different shades and add small details like veins and shadows.
Stay up to date with our latest ideas!