How to Remove Press On Nails Without Damage
Learn foolproof methods to remove press on nails without damage. Easy steps, pro tips, and safe techniques for healthy, beautiful natural nails.
Oh boy, we've all been there! You're rocking those gorgeous press on nails, feeling like a million bucks, and then boom, it's time to take 'em off. But wait, here's the kicker: you don't wanna end up with nails that look like they've been through a cheese grater, right? Well, you're in luck! I'm gonna spill the tea on how to remove press on nails without damage, keeping your natural nails happy and healthy.
Let's face it, press ons have totally revolutionized the nail game. They're quick, they're stunning, and they don't cost an arm and a leg. But here's the thing, removing them incorrectly can turn your nail beds into a hot mess. Trust me, I've learned this the hard way! So buckle up, buttercup, 'cause we're diving deep into the safest removal methods that'll have your nails thanking you later.
Why Proper Removal Matters So Much
Y'know what really grinds my gears? When folks just yank off their press ons like they're ripping off a Band-Aid. Yikes! Your natural nails are delicate little things, and treating them rough can lead to:
Thin, brittle nails that break at the slightest touch
Painful nail bed damage that takes weeks to heal
Unsightly peeling and splitting
Increased risk of fungal infections (eww!)
Sensitivity that makes doing everyday tasks uncomfortable
The good news? With the right techniques, you can avoid all this drama and keep your nails in tip-top shape.
Essential Tools You'll Need Before Starting
Alright, before we jump into the nitty-gritty of how to remove press on nails without damage, let's gather our arsenal. Having the right tools makes all the difference, kinda like trying to cook without a pan, it just doesn't work!
Here's what you'll wanna have on hand:
Warm water and a bowl (your new best friend)
Cuticle oil or olive oil (the magic potion)
Orange wood stick or cuticle pusher (gentle is the name of the game)
Nail file (100/180 grit works best)
Cotton balls or pads
Acetone or non-acetone nail polish remover (choose wisely!)
Hand cream or moisturizer
Soft towel
Nail buffer (optional but helpful)
The Soaking Method: Your Safest Bet
Hands down, soaking is the gold standard when it comes to how to remove press on nails without damage. It's like giving your nails a spa day while getting the job done!
Step-by-Step Soaking Process
First things first, fill a bowl with warm water. Not scalding hot, mind you, we're not making tea here! Add a few drops of cuticle oil or even dish soap if you're in a pinch. The warmth helps loosen the adhesive, making everything easier peasy.
Now, here's where patience becomes your virtue. Soak those fingertips for about 10-15 minutes. I know, I know, it feels like forever when you're just sitting there, but trust the process! Put on your favorite show or scroll through social media, whatever floats your boat.
After soaking, gently test one nail by wiggling it slightly. If it's starting to lift at the edges, you're golden! If not, give it another 5 minutes in the warm bath. Remember, we're playing the long game here for healthy nails.
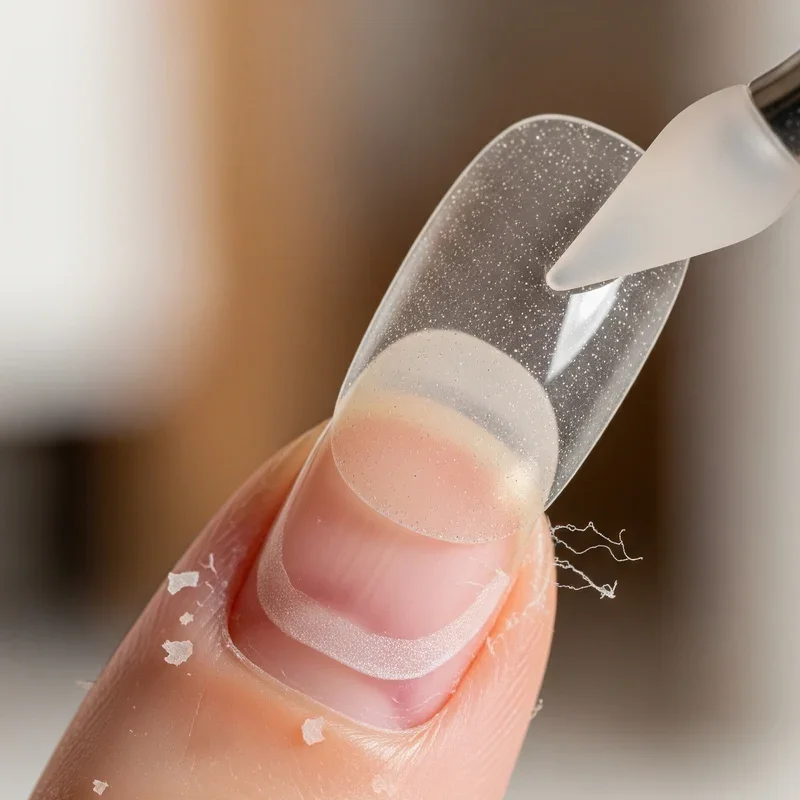
The Gentle Removal Technique
Once your press ons are nice and loose, it's showtime! Take your orange wood stick and carefully slide it under the edge of the press on nail. Work slowly around the edges, kinda like you're opening a letter with a letter opener. Never force it! If you feel resistance, back to the warm water bowl you go.
As each nail starts lifting, continue working around all the edges until it pops off naturally. Sometimes they'll come off in one piece, other times in sections, and that's totally okay! The key is keeping everything gentle and controlled.
The Oil Method: Nature's Little Helper
Who'd have thought that something sitting in your kitchen could be the secret weapon for nail removal? The oil method is perfect for those with super sensitive nails or when you're dealing with particularly stubborn press ons.
How to Use Oil Effectively
Grab your cuticle oil, olive oil, or even coconut oil if you're feeling tropical! Apply a generous amount around each nail, really getting it under the edges where the press on meets your natural nail. Think of it as giving your nails a mini massage, 'cause that's essentially what you're doing!
Let the oil work its magic for about 10-15 minutes. During this time, you can gently massage each nail to help the oil penetrate better. The oil breaks down the adhesive while nourishing your natural nails, talk about a win-win situation!
Combining Oil with Heat
Wanna kick things up a notch? After applying the oil, soak your hands in warm water or wrap them in a warm, damp towel. The heat helps the oil penetrate deeper and speeds up the whole process. It's like giving your nails a hot oil treatment at a fancy salon, except you're doing it in your PJs at home!
The Acetone Method: Quick but Use with Caution
Now, acetone is like that friend who gets things done fast but can be a bit intense. It's super effective but requires extra care to protect your natural nails and surrounding skin.
Safe Acetone Application
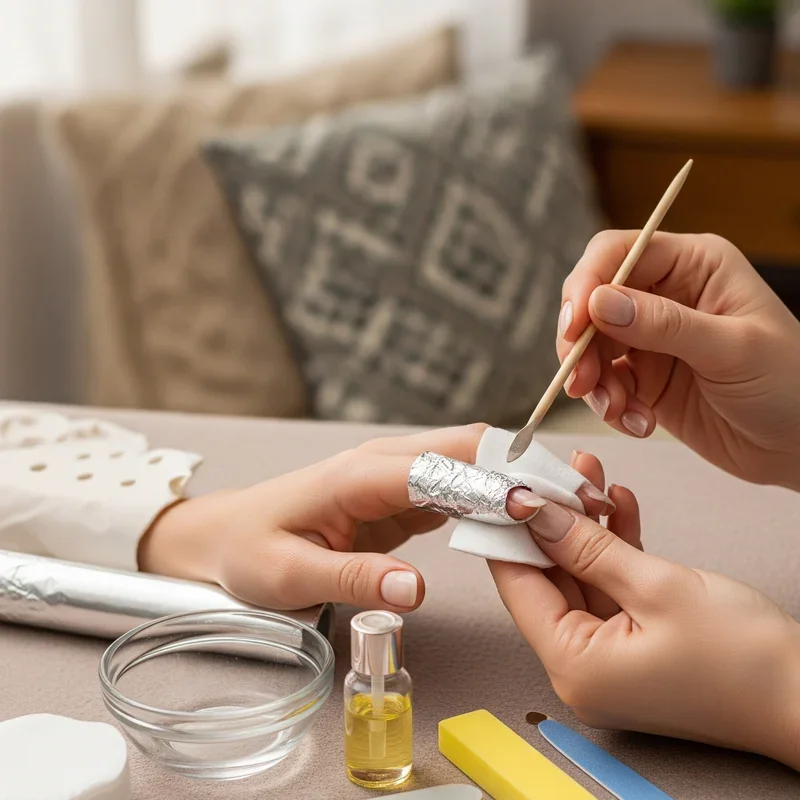
If you're going the acetone route, here's how to do it right. First, apply petroleum jelly or thick hand cream around your nails to protect your skin. Acetone can be pretty drying, and we don't want your fingers looking like raisins!
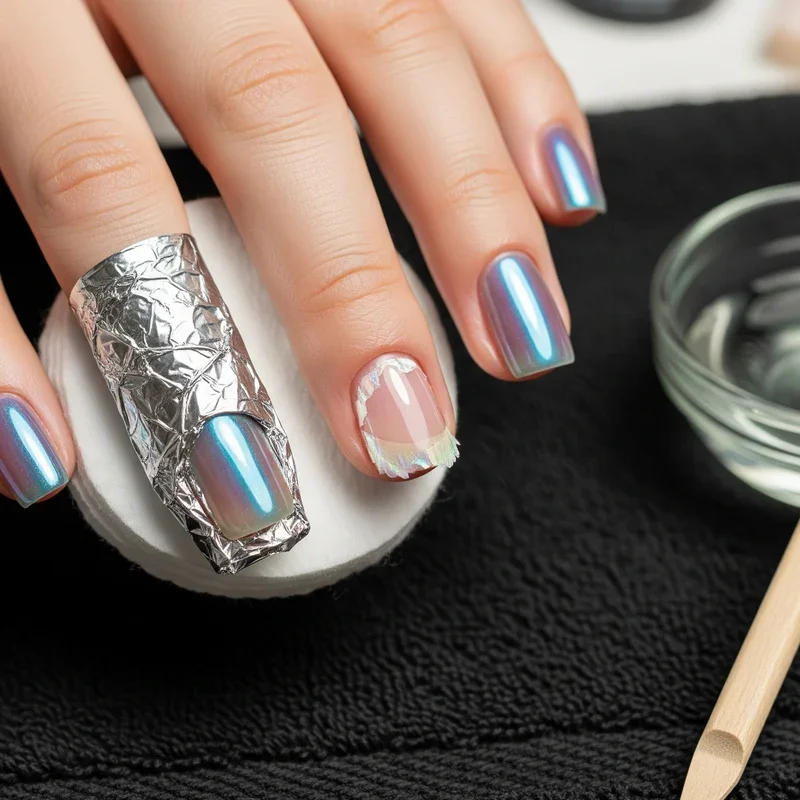
Soak cotton balls in acetone and place one on each nail. Wrap each fingertip with aluminum foil to keep the cotton in place and prevent evaporation. Yeah, you'll look like you're ready to pick up alien radio signals, but it works like a charm!
Leave this setup on for 10-15 minutes max. Any longer and you risk over-drying your nails. When time's up, remove the foil and cotton, and those press ons should slide right off with minimal effort.
Post-Removal Care: Don't Skip This Part!
Alright, so you've successfully removed your press ons without turning your nails into a disaster zone. High five! But we're not done yet. Post-removal care is where the real magic happens for maintaining healthy nails.
Immediate Aftercare Steps
First up, gently buff away any remaining adhesive residue. Use a fine-grit buffer and light pressure, we're not trying to sand down a table here! If there's stubborn glue, dab a bit more oil on it and let it sit before buffing.
Next, wash your hands thoroughly with soap and warm water. This removes any chemical residue and preps your nails for some serious TLC. Pat dry with a soft towel, being gentle with those newly exposed nails.
Nourishment and Protection
Time to shower those nails with love! Apply a generous amount of cuticle oil, massaging it into each nail and the surrounding skin. Follow up with a thick hand cream, paying extra attention to your nails and cuticles.
For the next few days, keep applying cuticle oil at least twice daily. Your nails have been through a lot, even with gentle removal, and they need time to recover. Think of it as rehabilitation for your nails!
Common Mistakes to Avoid Like the Plague
Let me tell you about the don'ts, 'cause knowing what not to do is just as important as knowing the right way!
The Forceful Yank
Never, and I mean never, just rip off your press ons! I get it, sometimes you're in a rush or one starts lifting and it's tempting to just pull it off. Resist that urge! Forceful removal can take layers of your natural nail with it, leaving you with thin, painful nails that take months to grow out.
Picking and Peeling
When a press on starts lifting at the edges, it's so tempting to pick at it. But picking leads to uneven removal and can cause serious damage. Plus, once you start picking, it's hard to stop, kinda like eating chips!
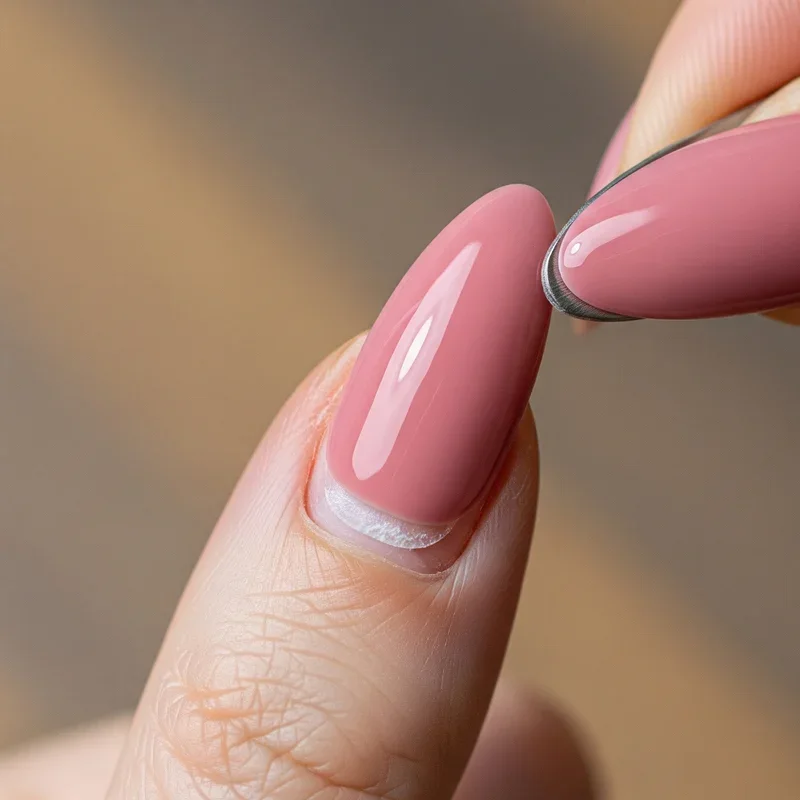
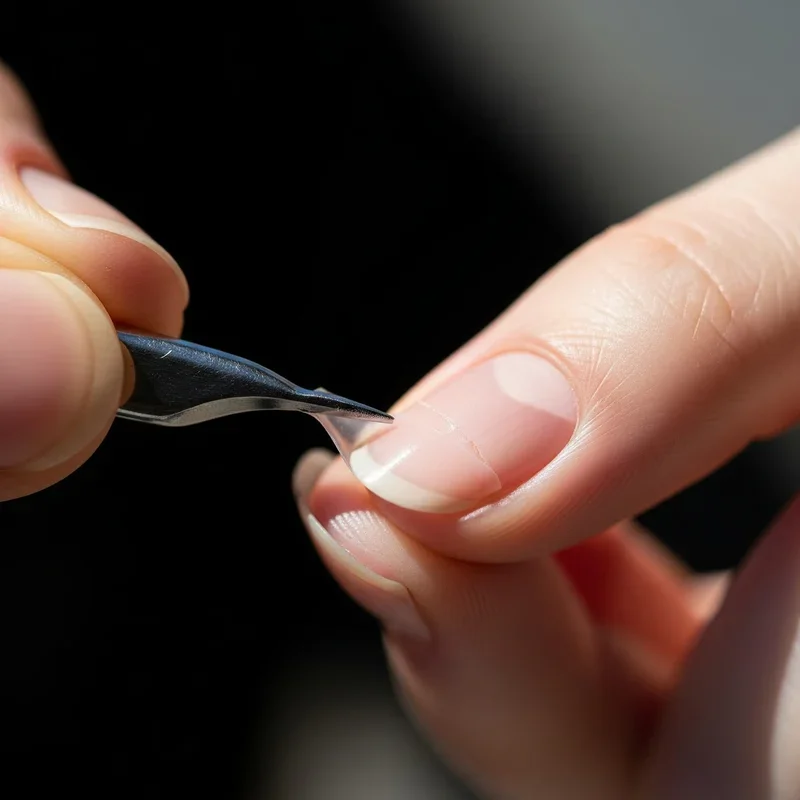
Using Metal Tools Aggressively
Metal tools aren't the enemy, but using them like you're excavating ancient artifacts definitely is. Always opt for wooden or rubber-tipped tools when possible, and use a gentle rocking motion rather than prying or scraping.
Pro Tips for Different Press On Types
Not all press ons are created equal, and different types might need slightly different approaches. Let's break it down!
Gel Press Ons
These babies are usually attached with UV-cured adhesive, making them a bit trickier to remove. The acetone method works best here, but you might need to file down the top coat first to help the acetone penetrate better.
Glue-On Press Ons
Traditional glue-ons respond beautifully to the soaking method. The warm water and oil combo is your best friend here. Just remember, the stronger the glue, the longer you'll need to soak.
Adhesive Tab Press Ons
Lucky you if you used adhesive tabs! These are typically the easiest to remove. A good soak in warm, soapy water usually does the trick. The tabs should start peeling away after about 10 minutes of soaking.
When to Seek Professional Help
Sometimes, despite our best efforts, things don't go as planned. If you're experiencing any of these situations, it's time to call in the pros:
Severe pain during or after removal
Visible damage to the nail bed
Nails that won't budge despite multiple removal attempts
Signs of infection (redness, swelling, discharge)
Allergic reactions to removal products
There's no shame in getting professional help! Nail technicians have seen it all and have specialized tools and techniques to handle tricky situations.
Maintaining Healthy Nails Between Applications
Taking breaks between press on applications is crucial for nail health. During these breaks, focus on strengthening and nourishing your natural nails. Use a nail strengthener, keep them well-moisturized, and maintain a healthy diet rich in biotin and protein.
File your nails regularly to prevent snags and breaks, but always file in one direction to avoid splitting. And here's a pro tip: wear gloves when doing dishes or cleaning to protect your nails from harsh chemicals and excessive water exposure.
Conclusion
So there you have it, folks! Mastering how to remove press on nails without damage isn't rocket science, but it does require patience and the right technique. Whether you choose the soaking method, oil treatment, or careful acetone application, the key is being gentle and taking your time. Your natural nails will thank you, and you'll be ready for your next fabulous set of press ons in no time!
Read next: 15 French Manicure Acrylic Nail Ideas to Try Today
Frequently Asked Questions
Q1: How long should I wait between press on applications?
A: Give nails 3-5 days rest between applications for optimal health.
Q2: Can I reuse press on nails after removal?
A: Yes, if removed carefully and cleaned properly, many can be reused.
Q3: What if my natural nails feel thin after removal?
A: Use strengthening treatments and moisturize regularly for 1-2 weeks minimum.
Q4: Is acetone-free remover effective for press ons?
A: It works but takes longer than acetone-based removers, requiring more patience.
Q5: Should I cut press ons shorter before removing them?
A: Trimming length can help, but isn't necessary if using proper techniques.
Stay up to date with our latest ideas!