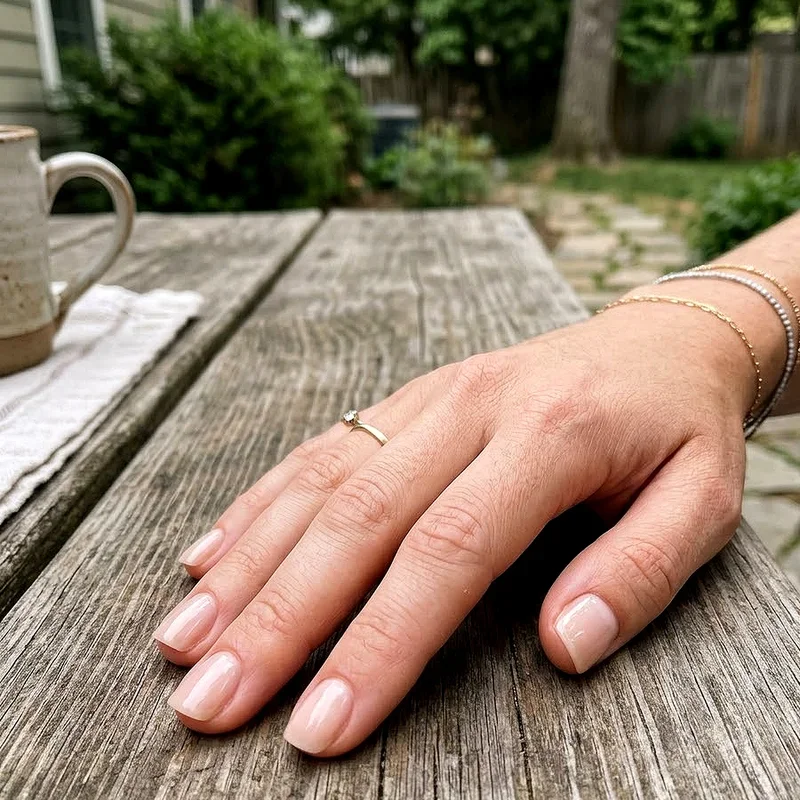
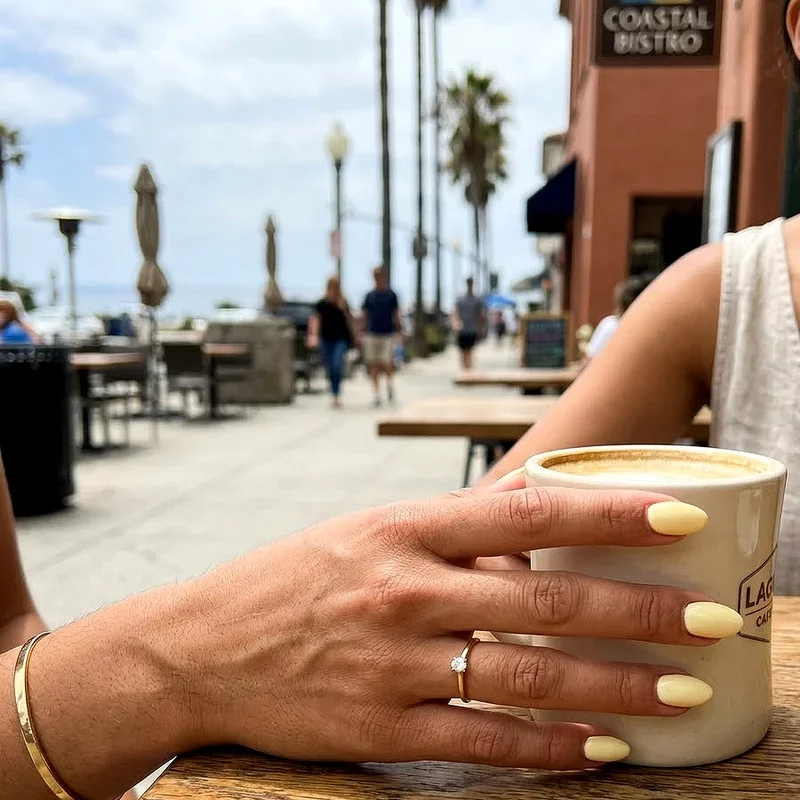
How to Remove Dip Nails at Home Without Damage
Learn how to remove dip nails at home without damage using safe, easy methods. Step-by-step guide with tips to protect your natural nails.
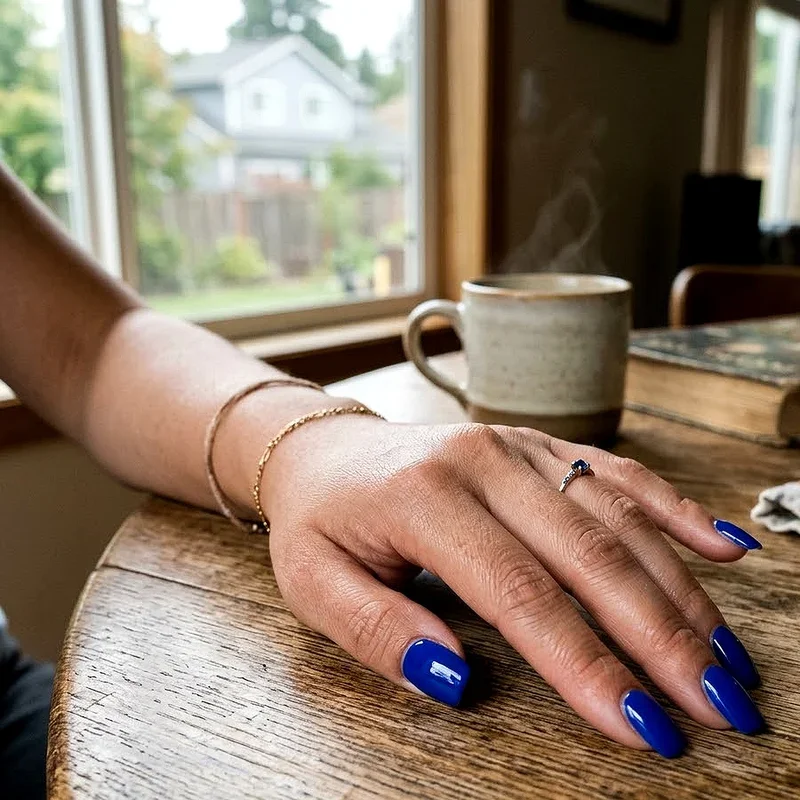
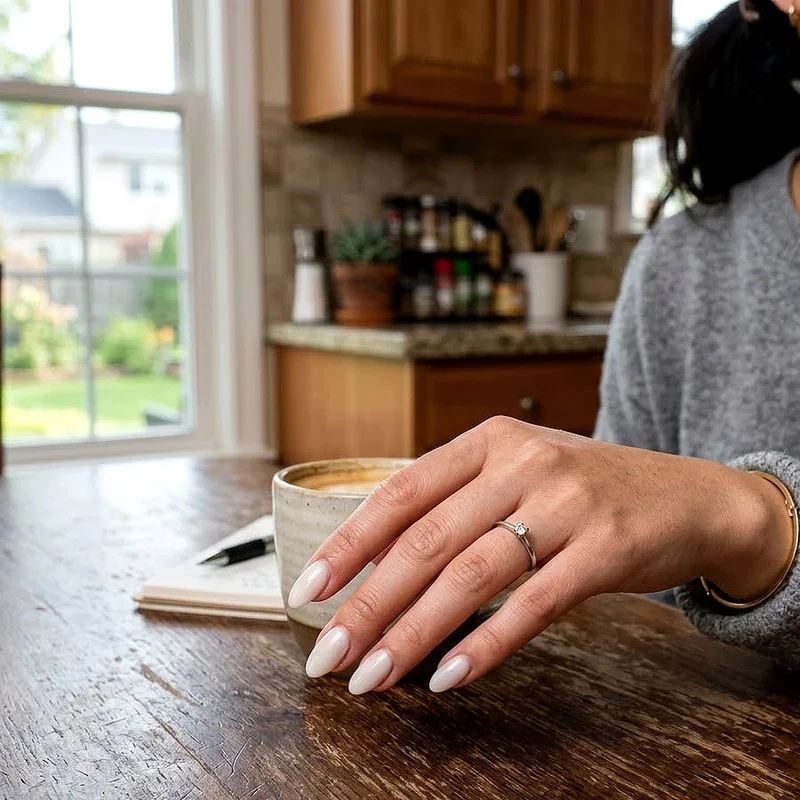
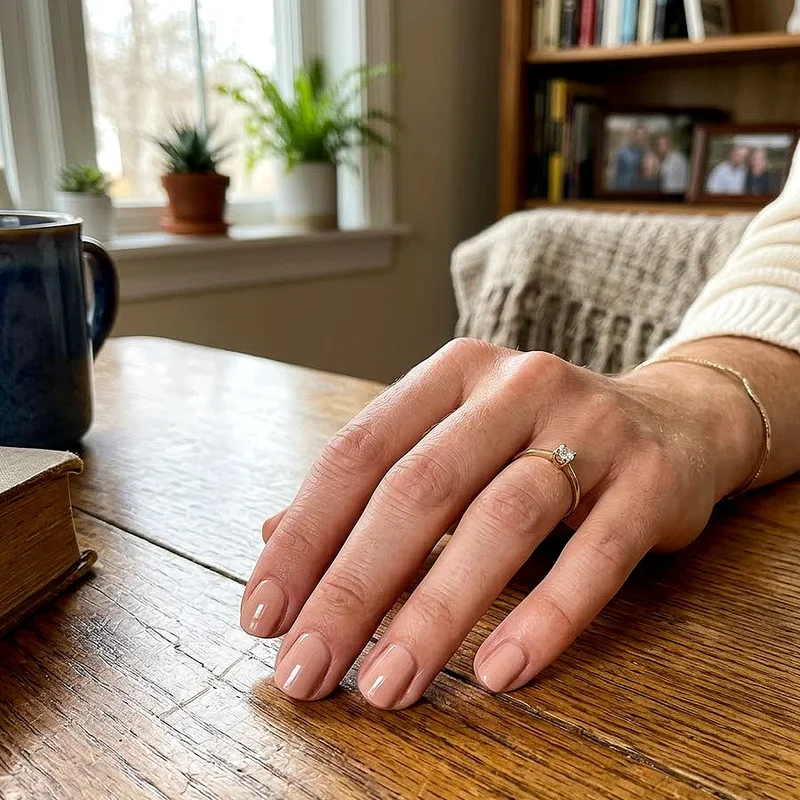
So, you've been rocking those gorgeous dip nails for weeks, but now it's time for them to go. Maybe they're starting to chip, or perhaps you're just ready for a fresh look. Whatever the reason, you're probably wondering how to get them off without turning your nails into a disaster zone. Well, you're in luck! Removing dip powder nails at home doesn't have to be a nightmare that leaves your natural nails looking like they've been through a blender.
Trust me, I've been there. The first time I tried to peel off my dip nails (rookie mistake!), I ended up with paper-thin nails that bent at the slightest touch. Not fun, folks. But after lots of trial and error, I've nailed down the perfect technique for safe removal. And guess what? You don't need to shell out big bucks at the salon or damage your precious nails in the process.
In this guide, we'll walk through everything you need to know about how to remove dip nails at home without damage. From the supplies you'll need to the step-by-step process, we've got you covered. So grab a cup of tea, put on your favorite show, and let's get those dip nails off the right way!
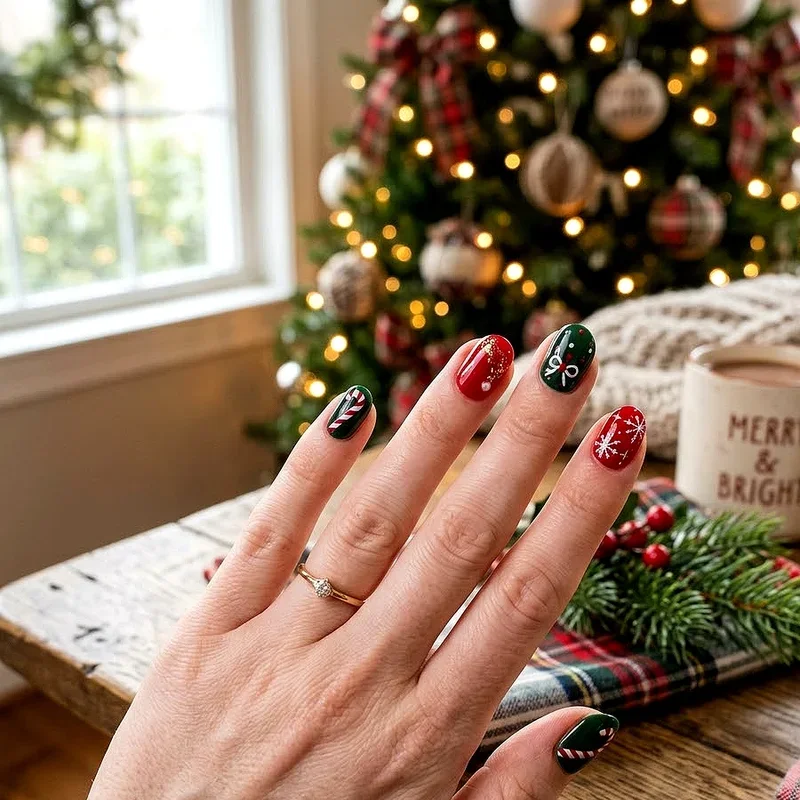
Understanding Dip Powder Nails: What Makes Them Different?
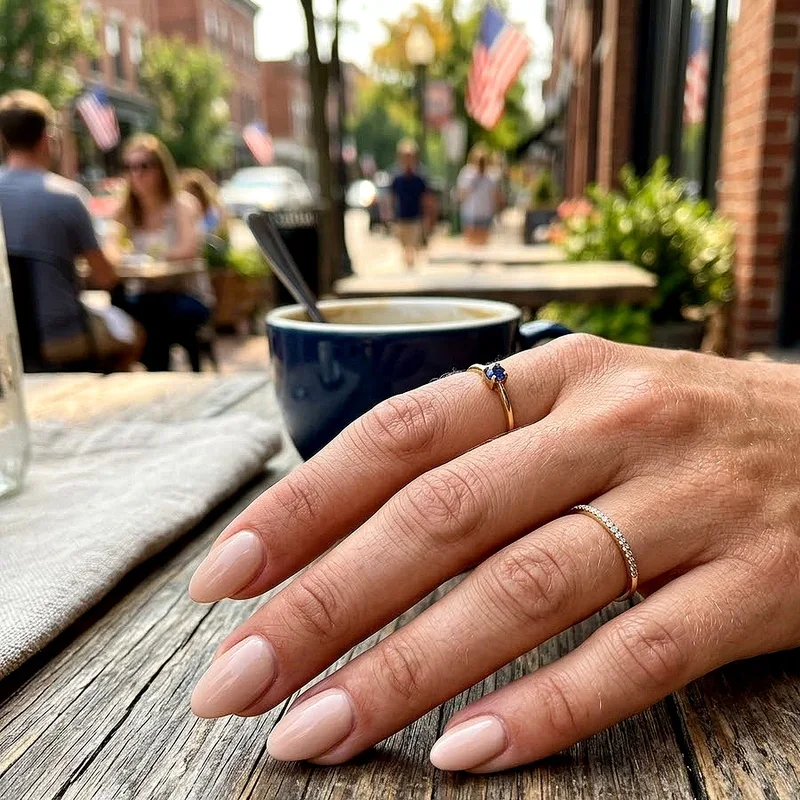
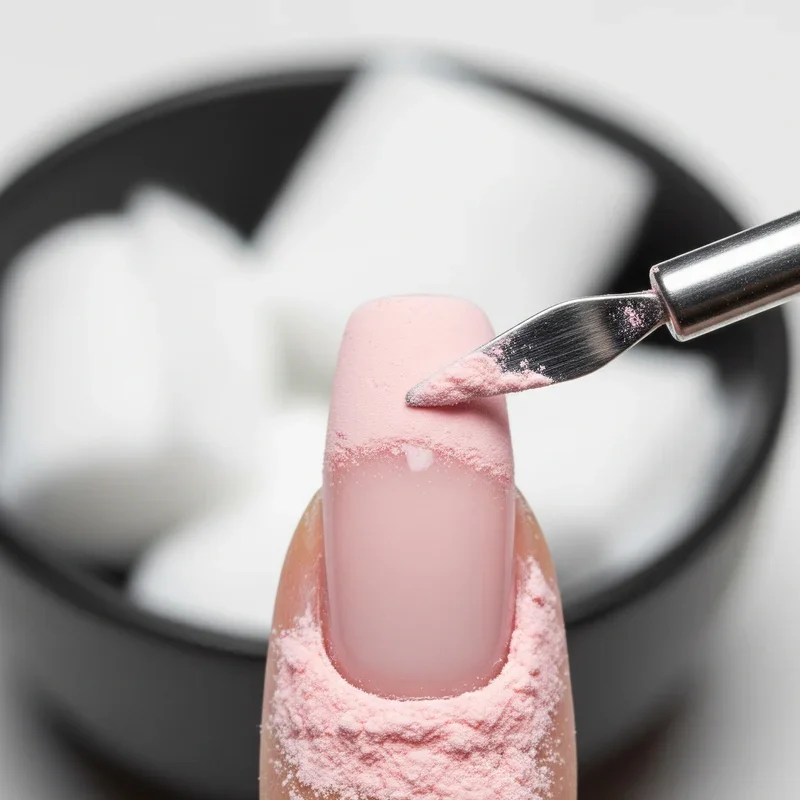
Before we dive into the removal process, let's talk about what makes dip nails tick. You see, dip powder manicures aren't your average nail polish. They're basically the superhero of the nail world, combining the durability of acrylics with the flexibility of gel nails. Pretty cool, right?
The magic happens through a bonding process that involves base coats, colored powder, and activator liquids. This creates a rock-solid manicure that can last up to four weeks. But here's the kicker: that same strength that makes them last so long also makes them trickier to remove than regular polish.
Unlike gel nails that cure under UV light, dip nails harden through a chemical reaction. This means they form a pretty tight bond with your natural nail. And that's exactly why you can't just swipe them off with regular nail polish remover. Nope, these bad boys need a bit more TLC to come off properly.
Why Proper Removal Matters More Than You Think
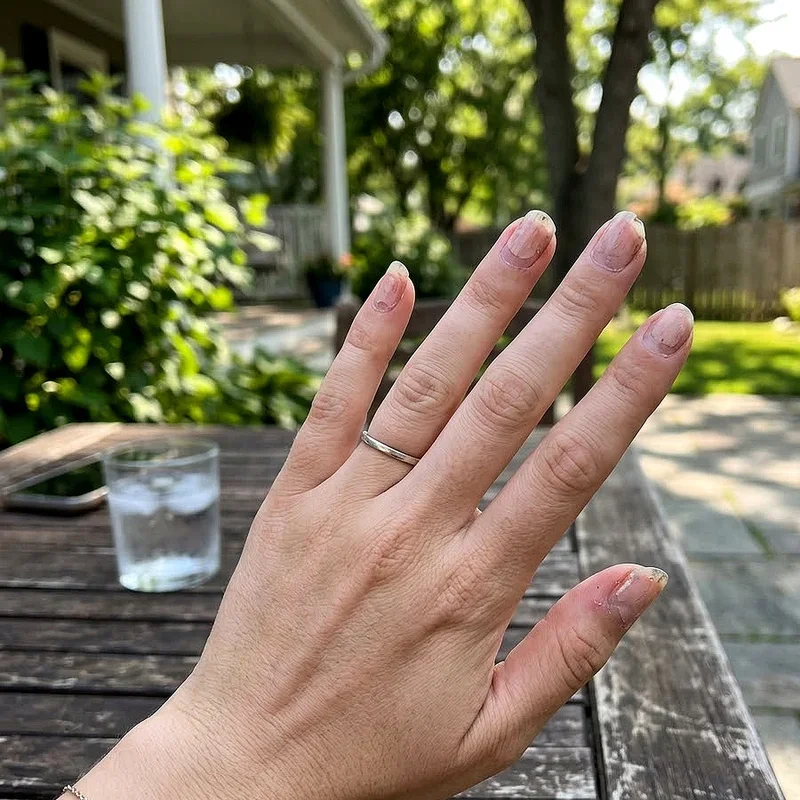
Okay, I know what you're thinking. "Can't I just peel them off and call it a day?" Hold your horses! Improper removal is basically asking for trouble. When you forcefully remove dip nails, you're not just taking off the polish. You're actually ripping away layers of your natural nail too. Yikes!
Think of it this way: your nails are like delicate flower petals. Would you yank a sticker off a petal? Of course not! The same gentle approach applies here. Damaged nails aren't just unsightly; they can be downright painful. We're talking about weakness, splitting, and sensitivity that can last for months.
Plus, healthy nails are the foundation for your next fabulous manicure. If you trash your nails during removal, you'll need to wait ages before they're strong enough for another dip powder application. And nobody's got time for that!
Essential Supplies for Safe Dip Nail Removal
Alright, let's get down to business. Before you start the removal process, you'll need to gather your arsenal. Don't worry; most of these items are probably already hanging out in your bathroom cabinet.
Here's your shopping list:
100% pure acetone (not the watered-down stuff)
Cotton balls or pads (lots of 'em)
Aluminum foil (yes, the kitchen kind)
Nail file (100/180 grit works best)
Buffer block
Cuticle oil or moisturizer
Orange wood stick or cuticle pusher
Small bowl (if you prefer the soaking method)
Timer (your phone works fine)
Towel (things might get messy)
Pro tip: Set up your workspace near a window or in a well-ventilated area. Acetone fumes aren't exactly perfume, if you know what I mean!
How to Remove Dip Nails at Home Without Damage: The File-First Method
Now for the main event! The file-first method is my personal favorite because it speeds up the whole process. Ready? Let's do this!
Step 1: File Down the Top Coat
First things first, grab that nail file and get to work. You want to file off the shiny top coat and as much of the color as possible. Don't go crazy though! The goal isn't to file down to your natural nail. Just rough up the surface and remove the bulk of the product.
This step might feel like it's taking forever, but trust me, it's worth it. The more you file off now, the less time your nails need to soak in acetone later. Your natural nails will thank you!
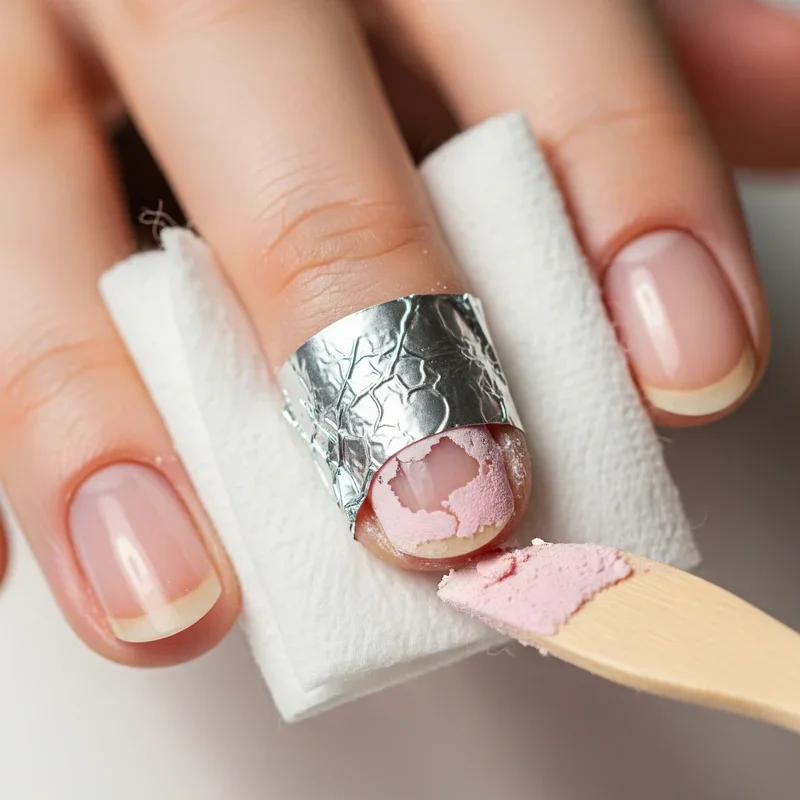
Step 2: Prepare Your Acetone Wraps
Here's where things get a bit crafty. Tear off ten small pieces of aluminum foil, about 3x3 inches each. Then soak a cotton ball in acetone for each nail. Some people like to use cotton pads cut into smaller pieces, and that works too!
The key is making sure the cotton is saturated but not dripping everywhere. You want enough acetone to break down the dip powder, but not so much that it's running down your fingers.
Step 3: Wrap and Wait
Place the acetone-soaked cotton on each nail, then wrap the foil around your fingertip to hold it in place. It'll look like you're ready to pick up alien radio signals, but hey, beauty is pain... or in this case, beauty is looking a bit silly for 15-20 minutes!
Set your timer and resist the urge to peek. I know it's tempting, but patience is key here. Use this time to catch up on your favorite podcast or finally respond to those texts you've been ignoring.
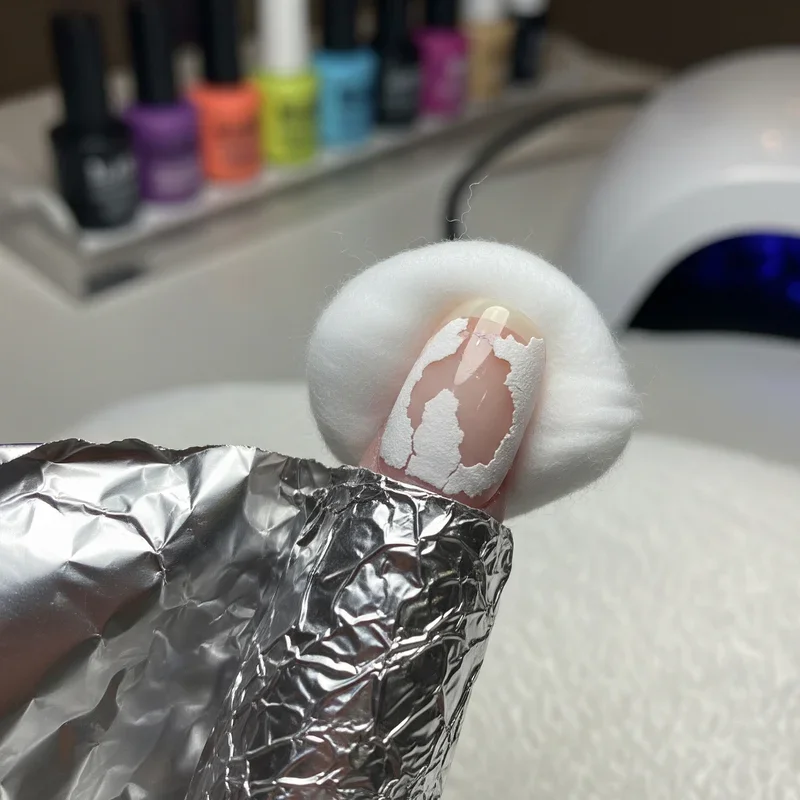
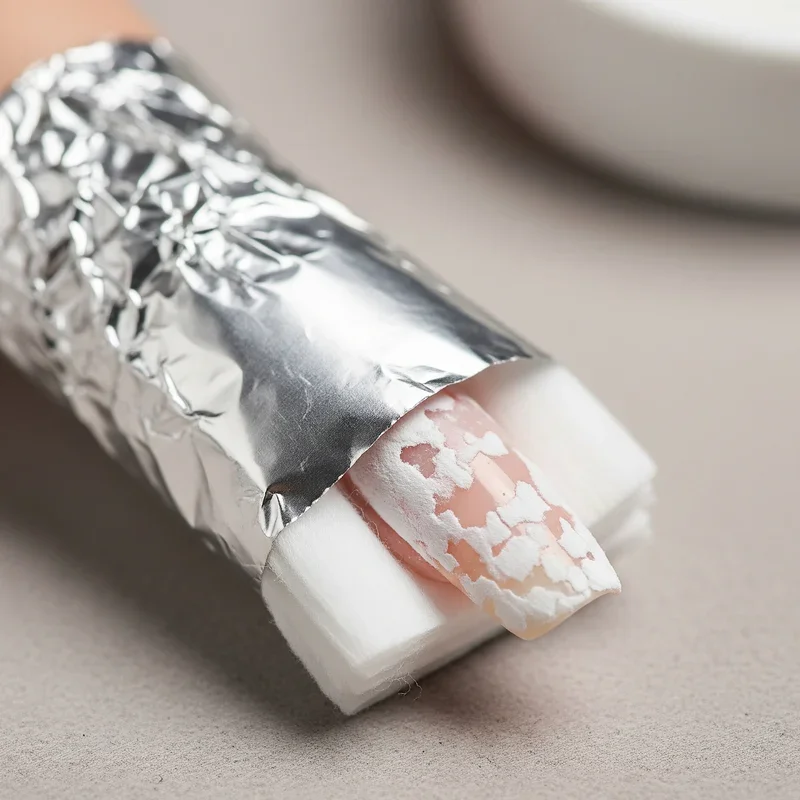
Step 4: The Gentle Push-Off
When time's up, remove one foil wrap at a time and gently push off the softened dip powder with your orange stick. If it's not budging easily, rewrap that nail and give it another 5-10 minutes. Never, and I mean never, force it off!
The dip powder should slide off like butter on warm toast. If you're meeting resistance, that's your cue to add more acetone and wait a bit longer.
Alternative Methods: The Soak-Off Technique
Not a fan of the foil wrap method? No worries! The bowl soak method is another great option for how to remove dip nails at home without damage.
The Classic Bowl Soak
Pour acetone into a small bowl, just enough to cover your nails. Then simply soak your fingertips for 15-20 minutes. Some people find this method easier since you don't have to mess with foil wraps.
However, there's a catch. This method exposes more of your skin to acetone, which can be super drying. If you go this route, slather petroleum jelly on the skin around your nails first. It acts like a barrier cream and keeps your skin from turning into the Sahara Desert.
The Baggie Method
Here's a neat trick I learned from a nail tech friend. Put acetone-soaked cotton balls on your nails, then stick your hand in a plastic bag and seal it around your wrist. The bag traps heat from your hand, which speeds up the removal process. Science is cool, isn't it?
Post-Removal Care: Nursing Your Nails Back to Health
Congratulations! You've successfully removed your dip nails. But wait, we're not done yet. Your nails have just been through a lot, and they need some serious TLC.
Immediate Aftercare Steps
Buff away any residue with a gentle buffer
Wash your hands thoroughly to remove acetone
Apply cuticle oil generously (and I mean generously!)
Massage in hand cream like your life depends on it
Give your nails a break before the next manicure
Your nails might look a bit rough right now, and that's totally normal. They've been covered for weeks and need time to breathe and recover.
Long-Term Nail Recovery
For the next week or two, make nail care your new hobby. Apply cuticle oil multiple times a day, use a strengthening treatment, and keep those nails short while they recover. Think of it as a spa retreat for your fingertips!
Common Mistakes to Avoid Like the Plague
Let me save you from the mistakes I've made (so you don't have to learn the hard way):
Peeling or picking at dip nails (just don't!)
Using regular nail polish remover (it won't work)
Rushing the process (patience, grasshopper)
Skipping the aftercare (your nails will hate you)
Reapplying immediately (give those nails a breather)
Tips for Healthier Nails Between Dip Manicures
Want to keep your nails in tip-top shape between dip powder applications? Here's the inside scoop:
Take biotin supplements (hello, strong nails!)
Keep nails moisturized daily
Wear gloves when cleaning (those chemicals are harsh)
File nails in one direction only
Don't use your nails as tools (I see you, can opener!)
Stay hydrated (yes, it affects your nails too)
When to Seek Professional Help
Sometimes, despite our best efforts, things don't go as planned. If you notice any of these issues, it might be time to call in the pros:
Severe nail damage or pain
Signs of infection (redness, swelling, pus)
Nails that won't stop peeling or breaking
Allergic reactions to products
Remember, there's no shame in asking for help. Nail technicians have seen it all and can work their magic to get your nails back on track.
Conclusion
There you have it, folks! You now know exactly how to remove dip nails at home without damage. With the right tools, patience, and technique, you can safely take off your dip powder manicure while keeping your natural nails healthy and strong. Remember, the key is being gentle and giving your nails the care they deserve throughout the process. Happy removing!
Read next: 15 Gel Nail Ideas to Level Up Your Manicure Game
Frequently Asked Questions
Q1: How long should I wait between dip powder manicures?
A: Give nails 1-2 weeks break between applications.
Q2: Can I reuse the aluminum foil wraps?
A: No, use fresh foil for hygiene reasons.
Q3: Is nail damage from dip powder permanent?
A: Usually temporary with proper care and time.
Q4: What's the best acetone percentage for removal?
A: Use 100% pure acetone for best results.
Q5: Can I remove dip nails without acetone?
A: Not effectively; acetone is necessary for removal.
Stay up to date with our latest ideas!