15 Rhinestone Nail Ideas to Sparkle and Shine
Discover 15 stunning rhinestone nail ideas that add glamour to your manicure. From subtle accents to bold designs, find your perfect sparkle.
Have you ever wondered how celebrities always seem to have those perfectly glamorous nails that catch every light in the room? The secret lies in the magical world of rhinestone nail art, where tiny crystals transform ordinary manicures into extraordinary masterpieces. Whether you're preparing for a special occasion or simply want to add some everyday sparkle to your life, rhinestone nails offer endless possibilities for self-expression. From delicate single gems to elaborate crystal patterns, these designs can suit any style preference or skill level. Let's explore fifteen breathtaking rhinestone nail ideas that will make your fingertips the center of attention wherever you go.
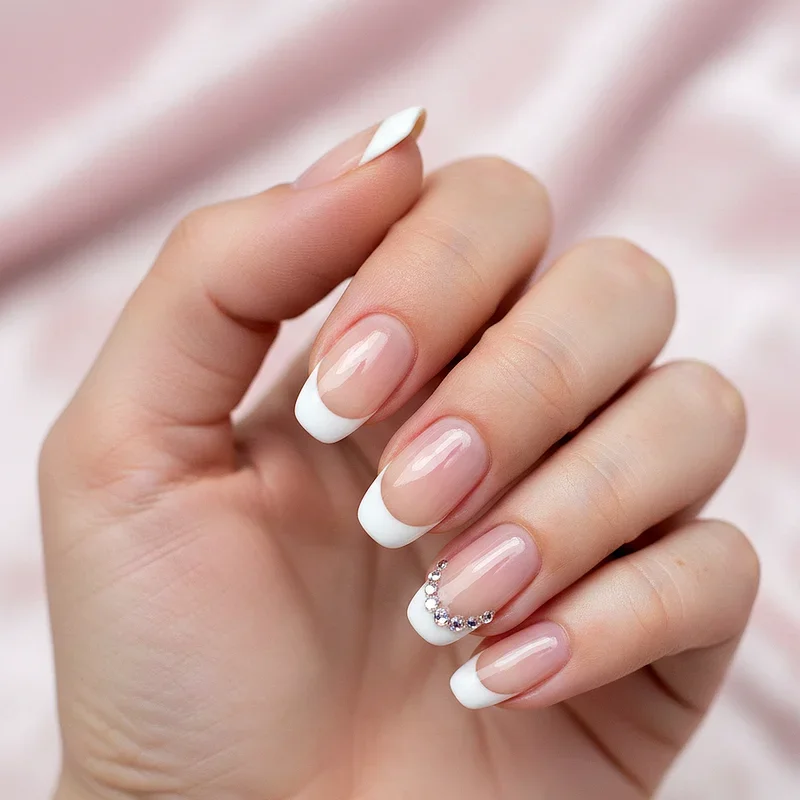
1. Classic French Tips with Rhinestone Accent
The timeless French manicure gets a glamorous upgrade when you add rhinestones along the smile line. This design perfectly balances sophistication with just the right amount of sparkle, making it ideal for both professional settings and special occasions. You can place small crystals directly on the white tip border or create a delicate curved line that follows the natural shape of your nail. The beauty of this style lies in its versatility, as you can use clear stones for subtle elegance or colored gems to match your outfit. This design works exceptionally well on both short and long nails, proving that sparkle knows no boundaries.
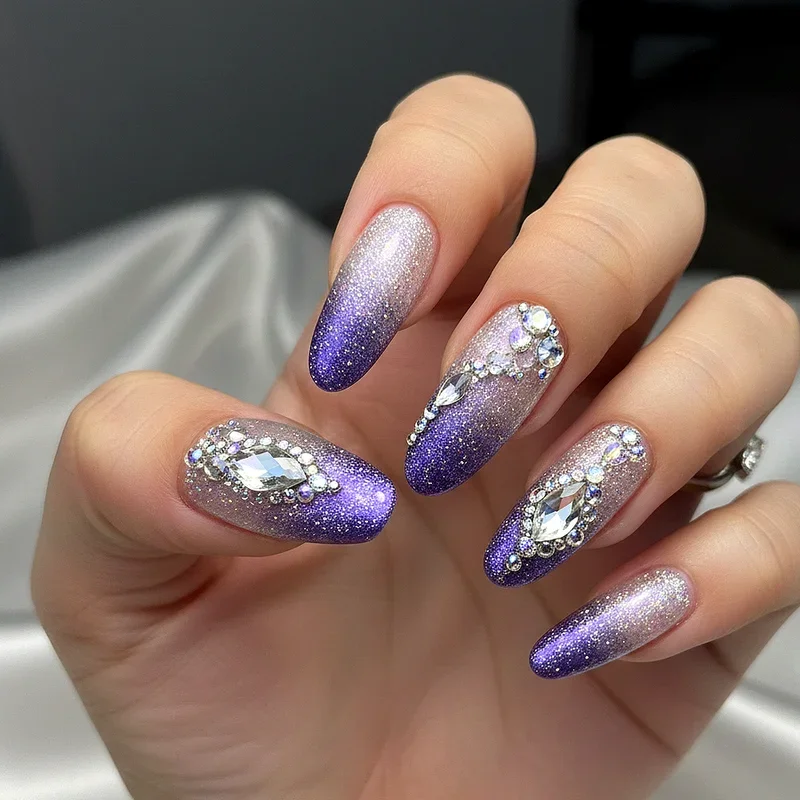
2. Ombre Glitter Fade with Crystal Details
Imagine your nails transitioning from a soft nude base to a glittery tip, then crowned with strategically placed rhinestones for maximum impact. This gradient effect creates depth and dimension that draws the eye upward, making your fingers appear longer and more elegant. The key to mastering this look involves blending your glitter polish seamlessly while the base is still tacky, then adding rhinestones as focal points. You might place larger gems at the base of each nail or scatter smaller ones throughout the glitter fade. This design particularly shines under party lights, making it perfect for evening events where you want your manicure to make a statement without overwhelming your overall look.
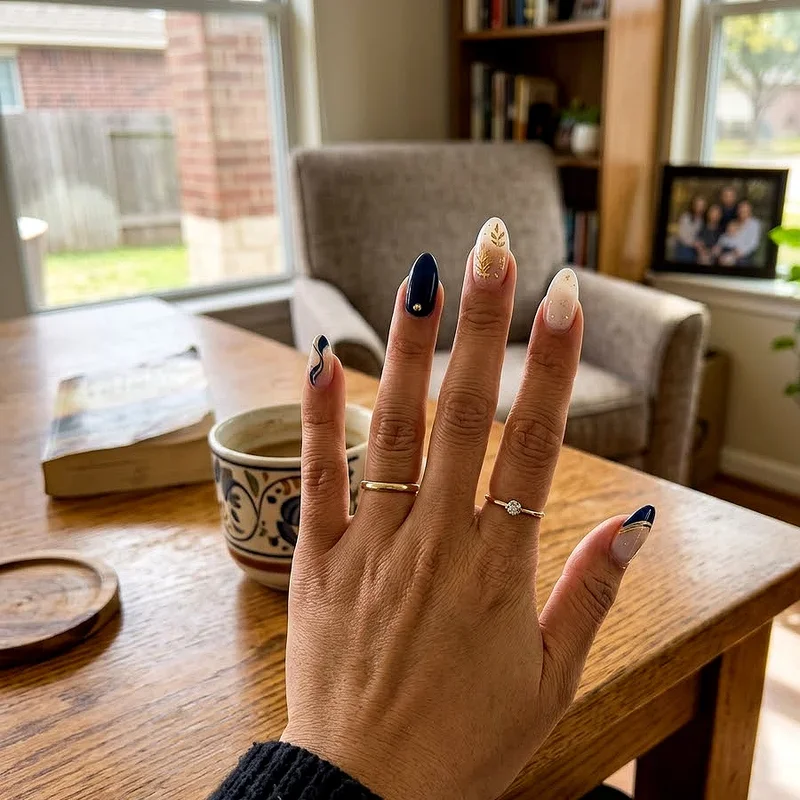
3. Negative Space Geometric Rhinestone Design
Who says you need to cover every inch of your nail to make an impact? Negative space designs use the natural nail as part of the artwork, creating modern, minimalist patterns enhanced by strategic rhinestone placement. Think triangular cutouts lined with tiny crystals or parallel lines of gems creating optical illusions on bare nails. This contemporary approach allows your natural nail to breathe while still delivering that coveted sparkle factor. The geometric patterns can range from simple stripes to complex architectural designs, with rhinestones marking the intersections and boundaries. This style particularly appeals to those who love clean lines and mathematical precision in their nail art.

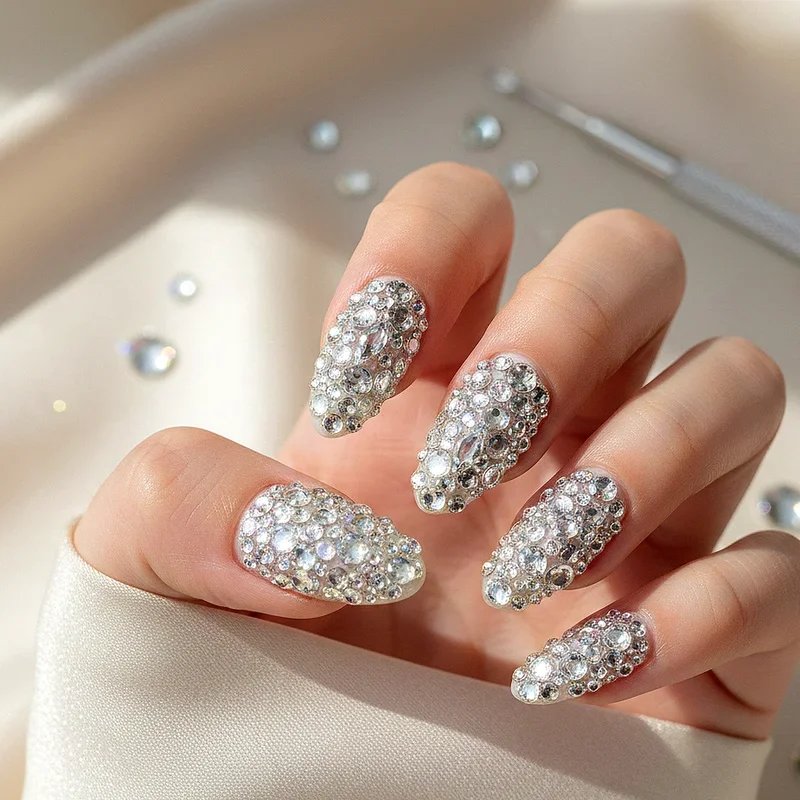
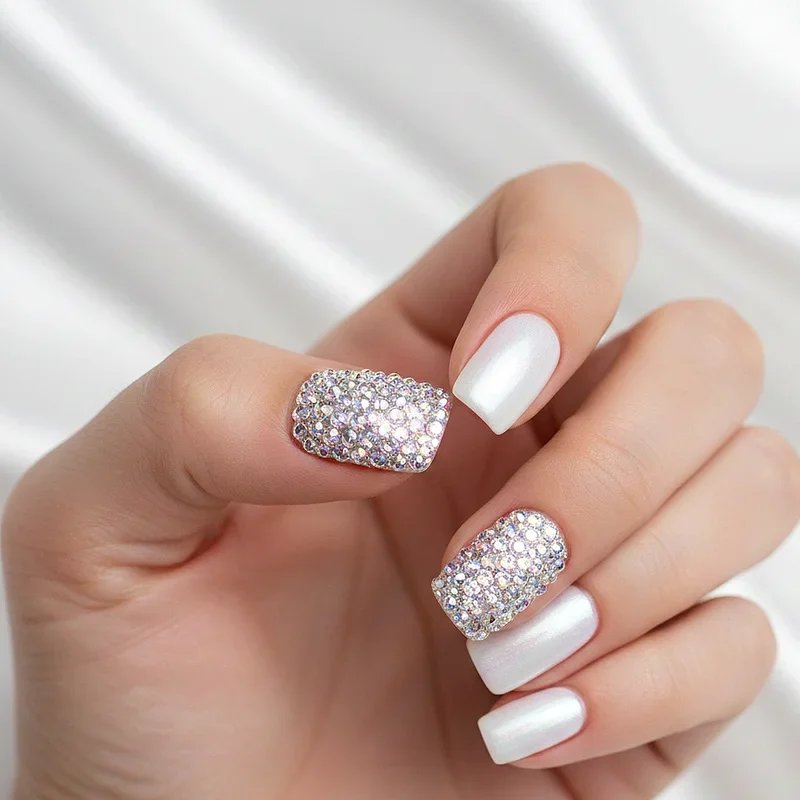
4. Full Coverage Crystal Encrusted Accent Nail
Sometimes one nail deserves all the glory, and that's where the fully encrusted accent nail comes into play. This show-stopping technique involves covering an entire nail, typically the ring finger, with rhinestones of varying sizes to create a textured, three-dimensional effect. The trick lies in starting with larger stones in the center and gradually decreasing the size toward the edges, creating a natural dome effect. While the other nails might sport a simple solid color or subtle design, this crystallized focal point commands attention like a piece of jewelry. This dramatic style works beautifully for special events like weddings, galas, or any occasion where you want to feel extraordinarily glamorous.
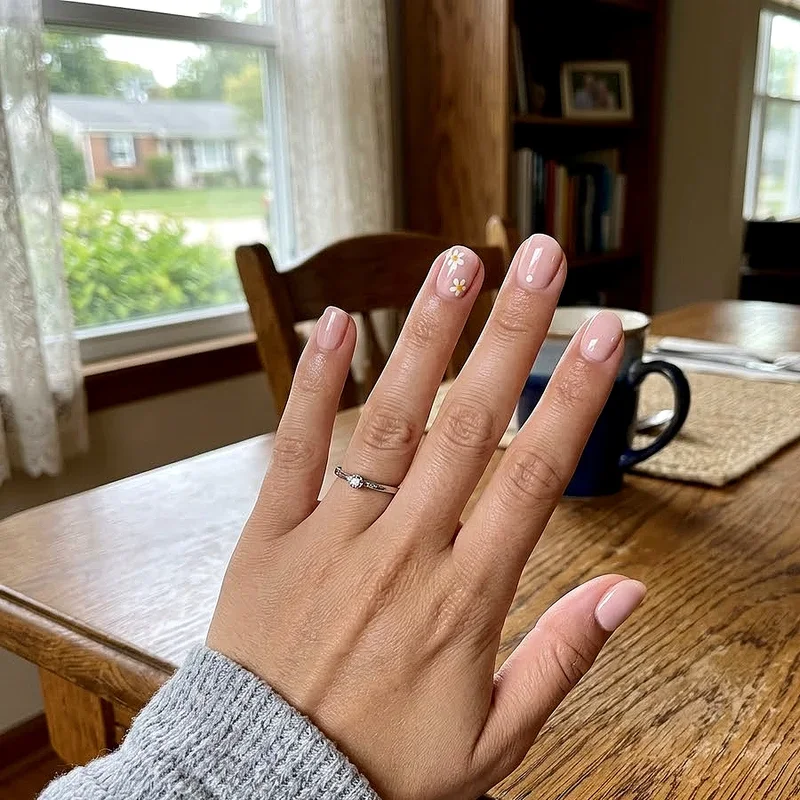
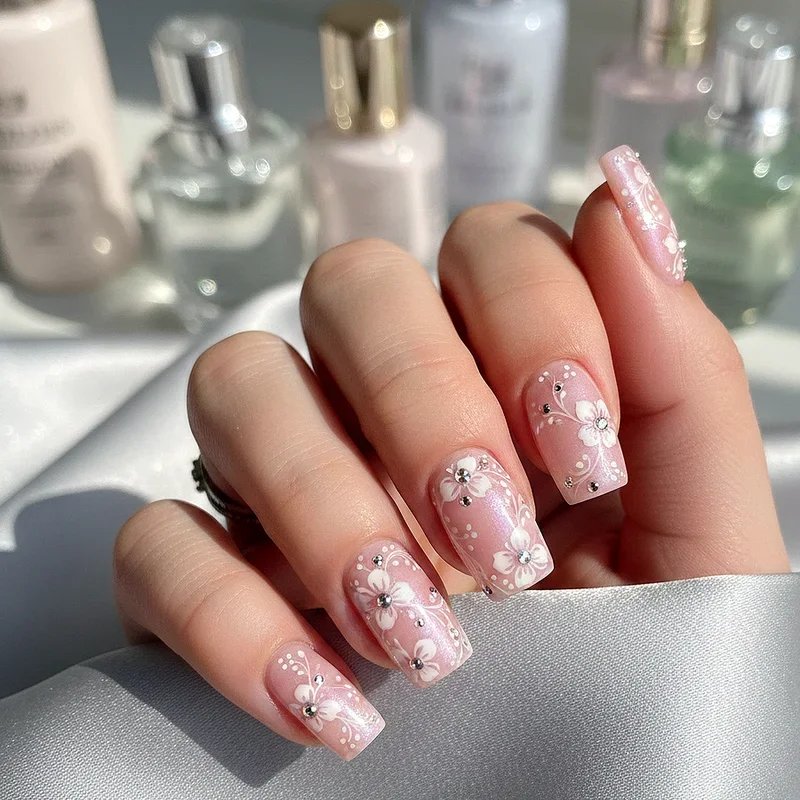
5. Delicate Floral Pattern with Gem Centers
Transform your nails into a miniature garden by creating delicate flower designs with rhinestones as the sparkling centers. This feminine approach combines the softness of hand-painted or stamped floral patterns with the brilliance of strategically placed gems. You might paint simple five-petal daisies with a crystal heart or create more elaborate roses with multiple stones forming the bloom's center. The surrounding petals can be painted in soft pastels or bold colors, depending on your mood and season. This design brings a romantic touch to any manicure and works especially well for spring and summer events. The rhinestones add dimension and catch light beautifully, making each flower appear to bloom right on your fingertips.
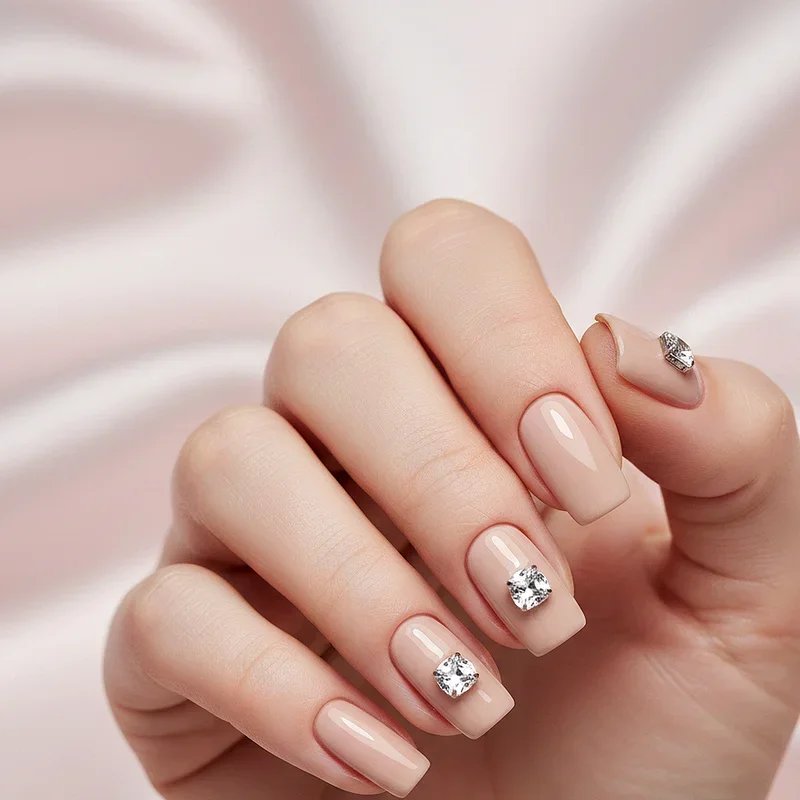
6. Minimalist Single Stone Statement
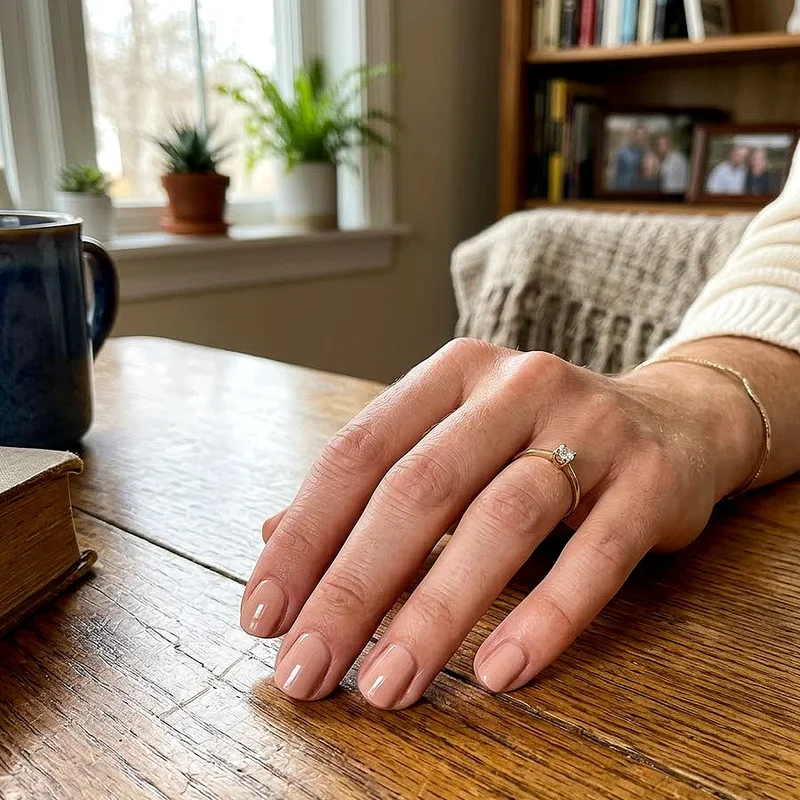
Sometimes less truly is more, and a single, perfectly placed rhinestone can speak volumes about your style. This minimalist approach involves placing one crystal on each nail, typically near the cuticle or at the center, creating an understated yet elegant effect. The key to this design's success lies in choosing high-quality stones that catch and reflect light beautifully, even when standing alone. You might opt for matching clear crystals for cohesion or mix different colored gems for subtle variety. This style proves particularly popular among professionals who want a touch of glamour without violating workplace dress codes. The single stone statement shows that confidence doesn't always require complexity.
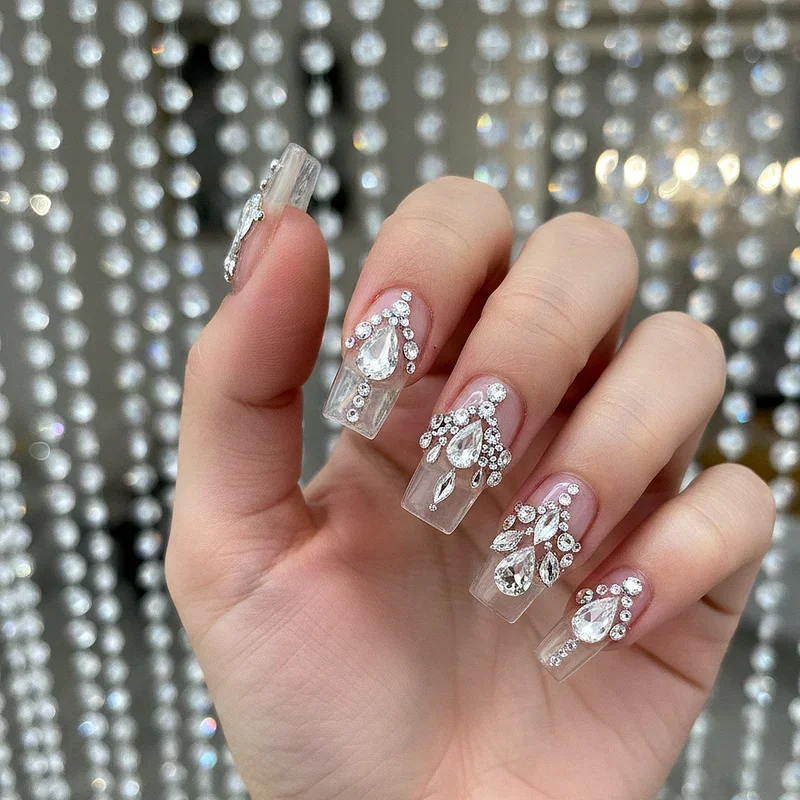
7. Chandelier-Inspired Dangling Rhinestone Art
Channel the elegance of vintage chandeliers by creating cascading rhinestone designs that appear to drip down your nails like crystal teardrops. This intricate style involves arranging stones in graduated sizes, starting with larger gems at the base and trailing to tiny crystals at the tips. The effect mimics the layered beauty of ornate light fixtures, bringing old-world glamour to modern nail art. You can create these designs using clear stones for classic appeal or mix in colored gems for a more contemporary twist. This style works best on longer nails where the cascading effect has room to develop fully. The result looks like you're wearing tiny pieces of jewelry on each fingertip.
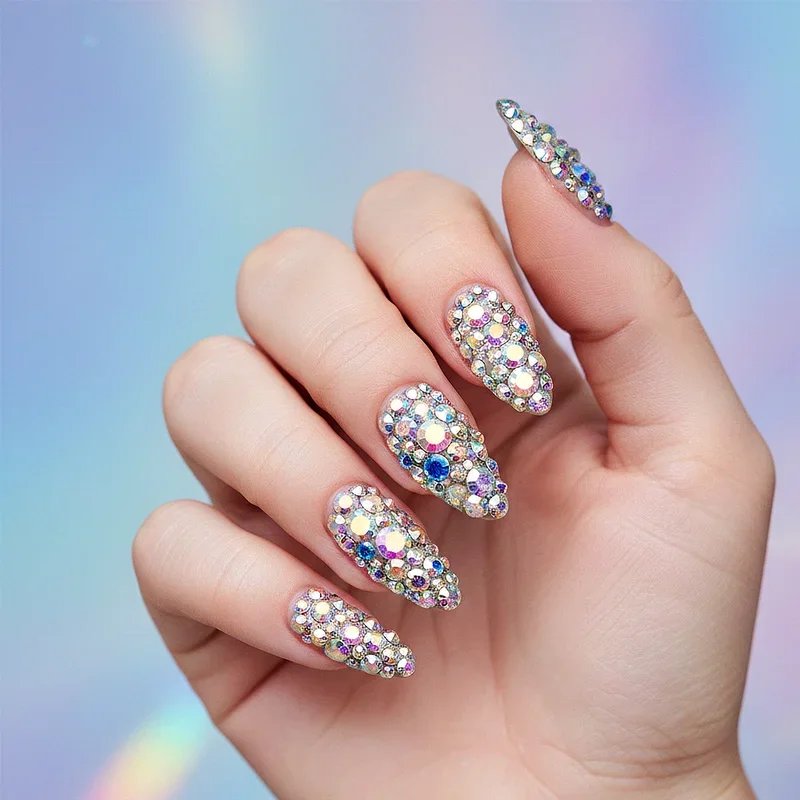
8. Rainbow Prism Effect with Multicolored Stones
Why choose one color when you can have them all? The rainbow prism design uses rhinestones in every color of the spectrum to create a dazzling, light-catching display. This cheerful style involves arranging colored gems in rainbow order or scattering them randomly for a confetti-like effect. The key lies in balancing the colors so no single shade overwhelms the others while maintaining visual harmony across all ten nails. You might create actual rainbow arcs, gradient color transitions, or abstract patterns that celebrate the full spectrum. This playful design perfect for festivals, pride events, or anyone who believes life's too short for boring nails. The multicolored stones create different effects under various lighting conditions.
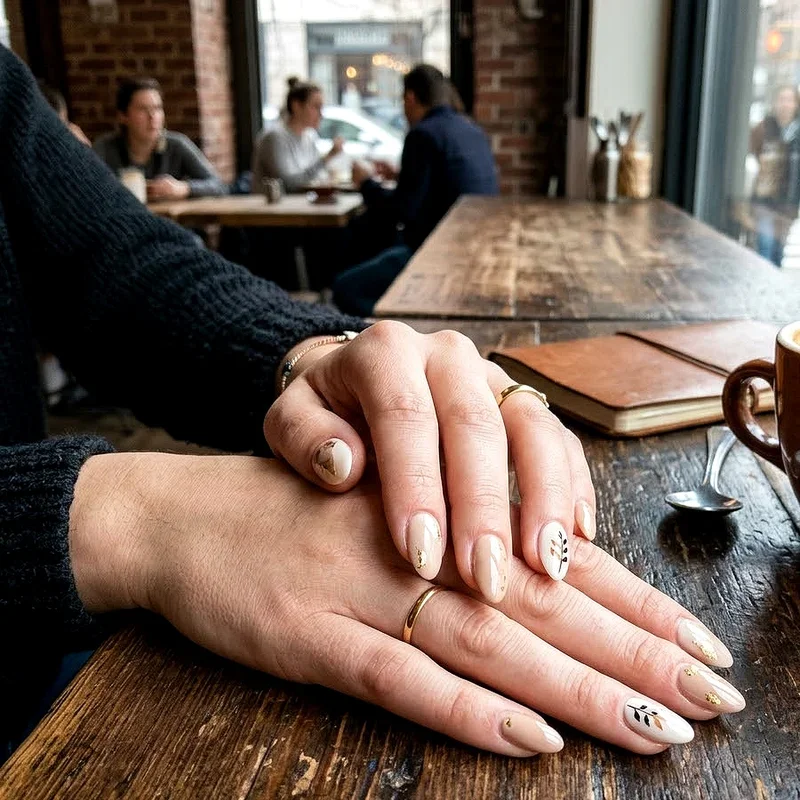
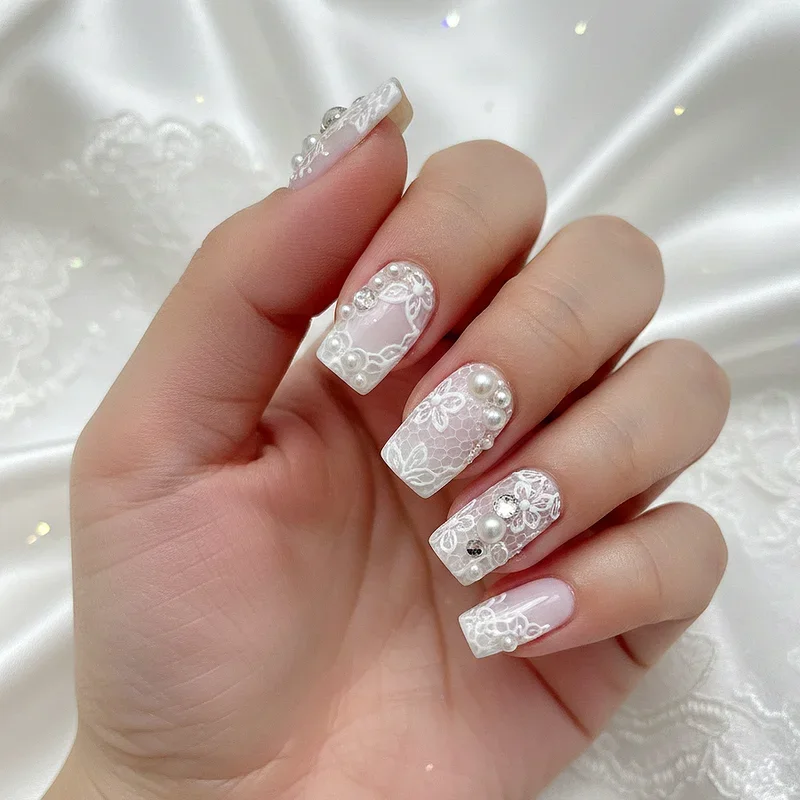
9. Bridal Lace Design with Pearl and Crystal Mix
Nothing says bridal elegance quite like the combination of delicate lace patterns adorned with pearls and crystals. This sophisticated design involves creating intricate lace-like patterns using white or nude polish, then embellishing the design with small rhinestones and pearl accents. The mix of textures, from the flat painted lace to the dimensional stones and rounded pearls, creates visual interest that photographs beautifully. You can match the lace pattern to your actual wedding dress or create complementary designs that echo your bridal theme. This style works wonderfully for brides who want their nails to feel special without being too flashy. The combination of materials adds luxury while maintaining classic bridal elegance.
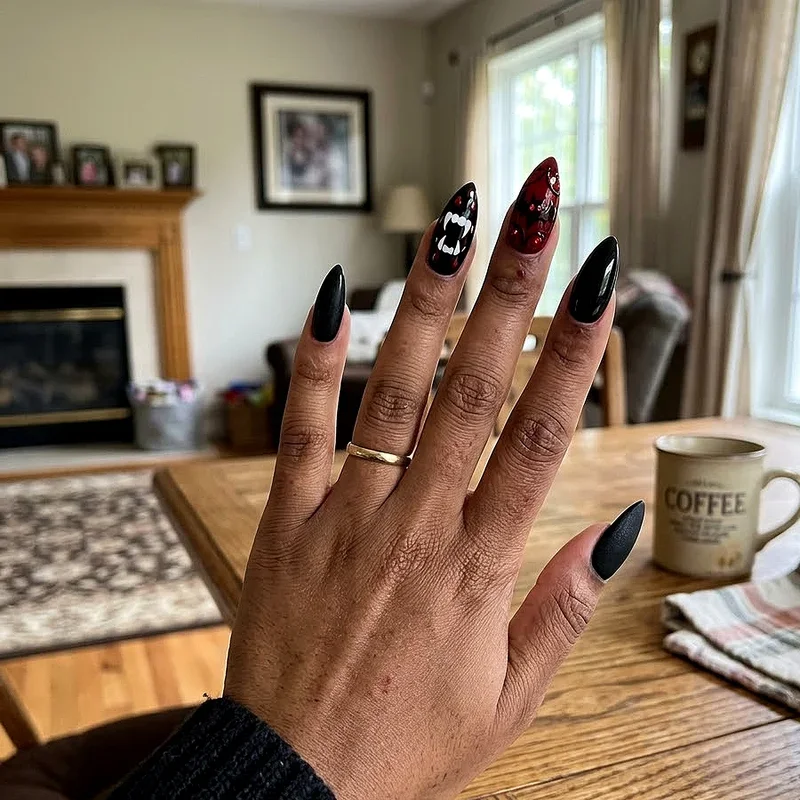
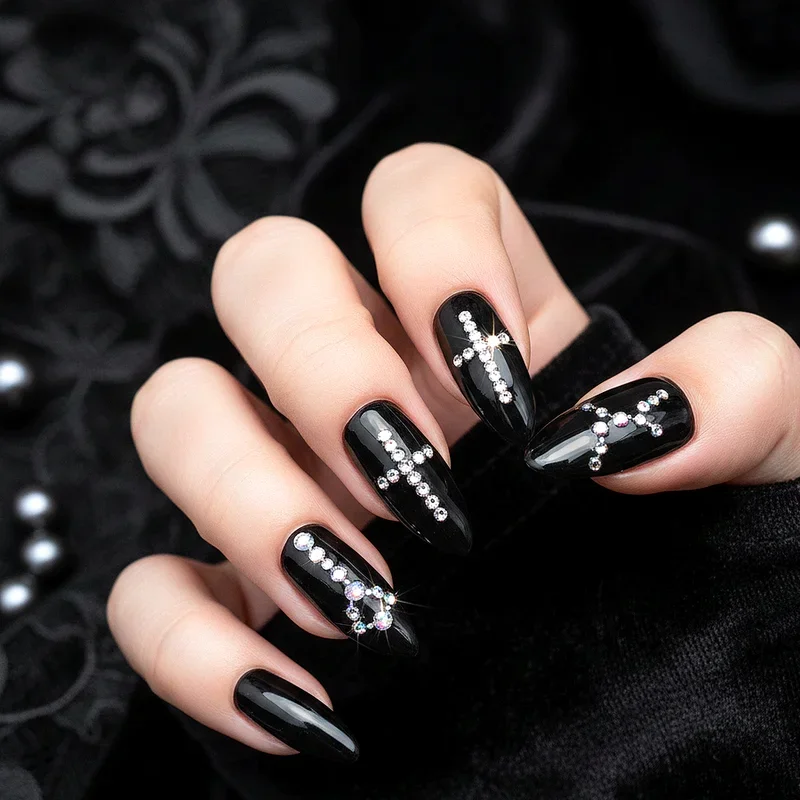
10. Gothic Black Base with Silver Rhinestone Crosses
Embrace your dark side with dramatic black nails adorned with silver rhinestone crosses and gothic motifs. This edgy design combines the mystery of a deep black base with the sparkle of strategically placed crystals forming religious or gothic symbols. The contrast between the dark polish and bright stones creates a striking visual impact that commands attention. You might add additional elements like tiny studs or chains made from connected rhinestones for extra edge. This style particularly appeals to those who love alternative fashion or want to make a bold statement at concerts or themed events. The rhinestones prevent the look from being too heavy while adding sophisticated sparkle to the rebellious aesthetic.
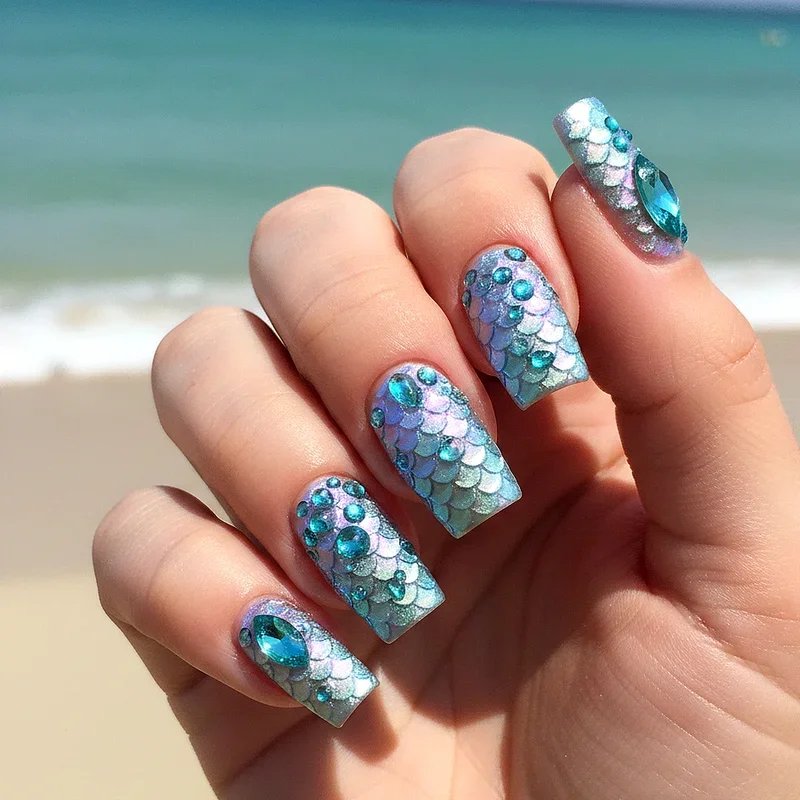
11. Mermaid Scale Pattern with Aqua Gems
Dive into underwater fantasy with a mermaid-inspired design featuring scale patterns enhanced by aqua and turquoise rhinestones. This enchanting style uses overlapping semicircles to create the illusion of scales, with gems placed at strategic points to mimic the way light reflects off a mermaid's tail. The color palette typically includes ocean blues, seafoam greens, and purple undertones, with iridescent or holographic elements adding to the mystical effect. You can concentrate the rhinestones along the scale edges or scatter them throughout for an all-over shimmer effect. This design transports you to an underwater paradise and works beautifully for beach vacations, pool parties, or anyone who dreams of life under the sea.
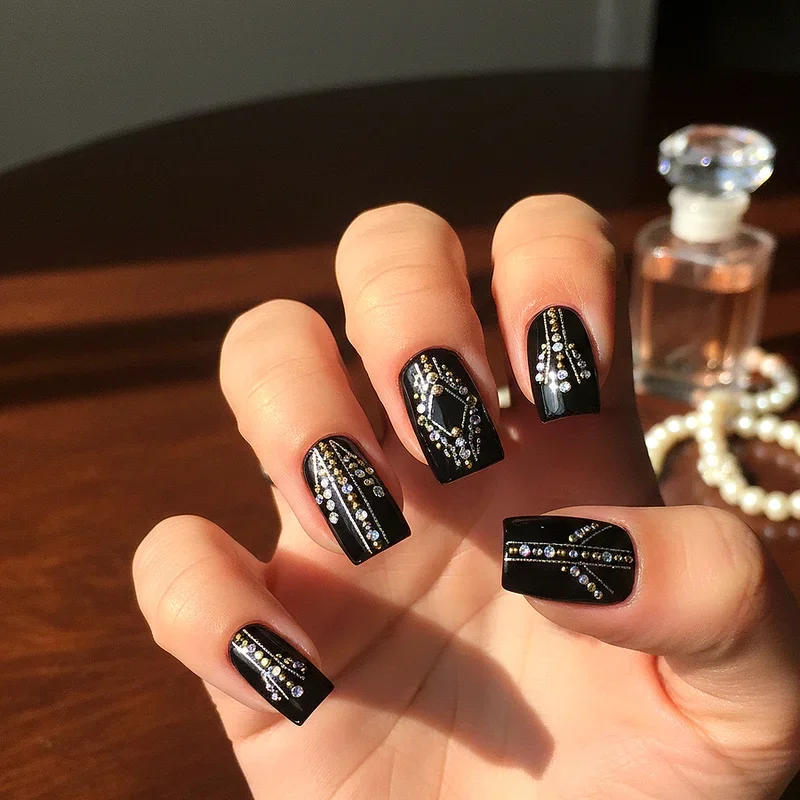
12. Art Deco Vintage Style with Linear Crystal Placement
Step back into the roaring twenties with an Art Deco-inspired design featuring geometric patterns and linear rhinestone arrangements. This vintage style celebrates the bold lines and symmetrical patterns characteristic of the Art Deco movement, using rhinestones to outline and accentuate the geometric shapes. Think parallel lines, chevron patterns, and fan shapes all enhanced with precisely placed crystals. The color scheme typically involves black, gold, and white, though modern interpretations might include jewel tones. This sophisticated design appeals to vintage enthusiasts and anyone who appreciates the marriage of historical elegance with contemporary nail art. The rhinestones add the perfect amount of gatsby-era glamour to make you feel like you've stepped out of a speakeasy.
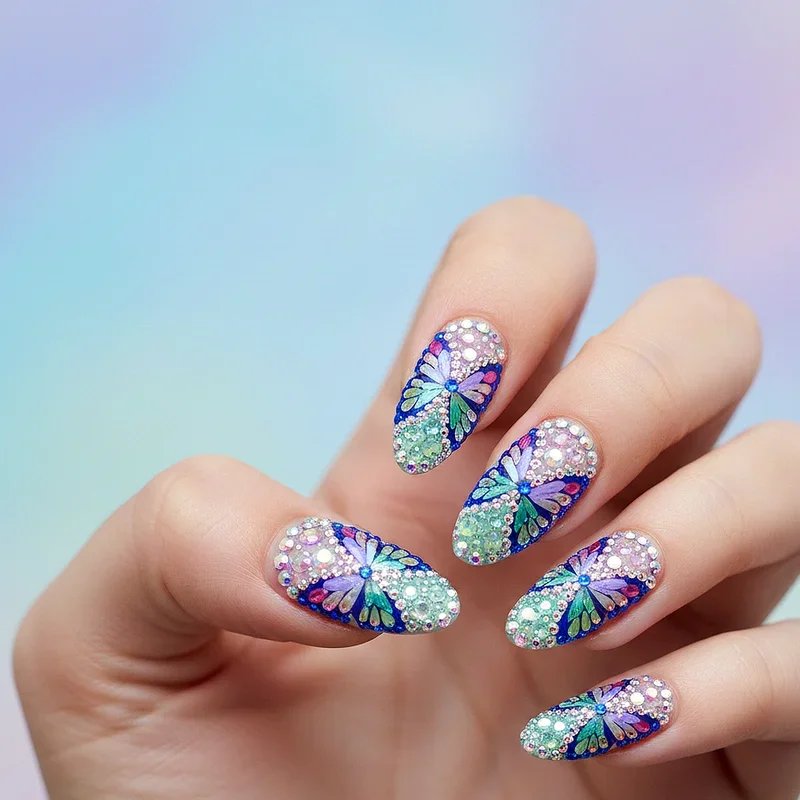
13. Butterfly Wing Design Using Gradient Rhinestones
Transform your nails into delicate butterfly wings using gradient-sized rhinestones to create realistic wing patterns. This nature-inspired design involves painting butterfly wing shapes and using stones of varying sizes to replicate the natural patterns and textures found on real butterfly wings. You might use larger gems for the wing bodies and gradually smaller ones toward the wing edges, creating a natural fade effect. The color possibilities are endless, from monarch orange and black to ethereal blues and purples. This whimsical design brings the beauty of nature to your fingertips and works wonderfully for spring celebrations or anyone who wants to carry a bit of transformation symbolism with them.
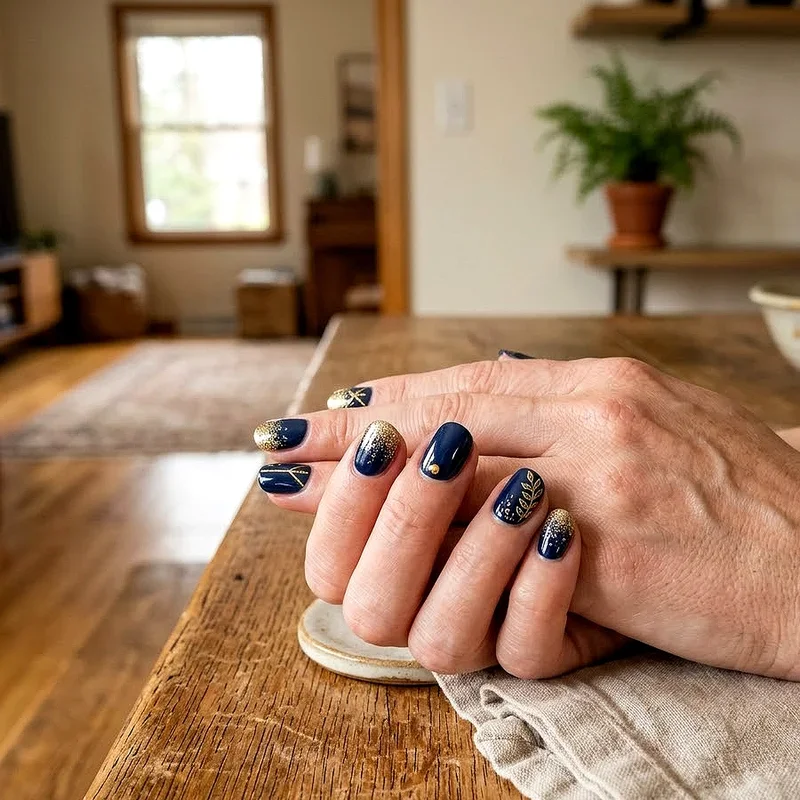
14. Celestial Night Sky with Star-Shaped Crystals
Capture the magic of a starry night on your nails with a celestial design featuring star-shaped rhinestones against a dark, galaxy-inspired background. This cosmic style typically uses a deep blue or black base with subtle glitter to represent the night sky, then adds star-shaped crystals and round rhinestones to create constellations. You might include crescents moons, shooting stars made from trailing smaller gems, or even tiny planet representations. The design can be subtle with just a few stars or dramatic with full constellation patterns across multiple nails. This dreamy style appeals to astronomy lovers and dreamers who want to carry a piece of the universe on their fingertips wherever they go.

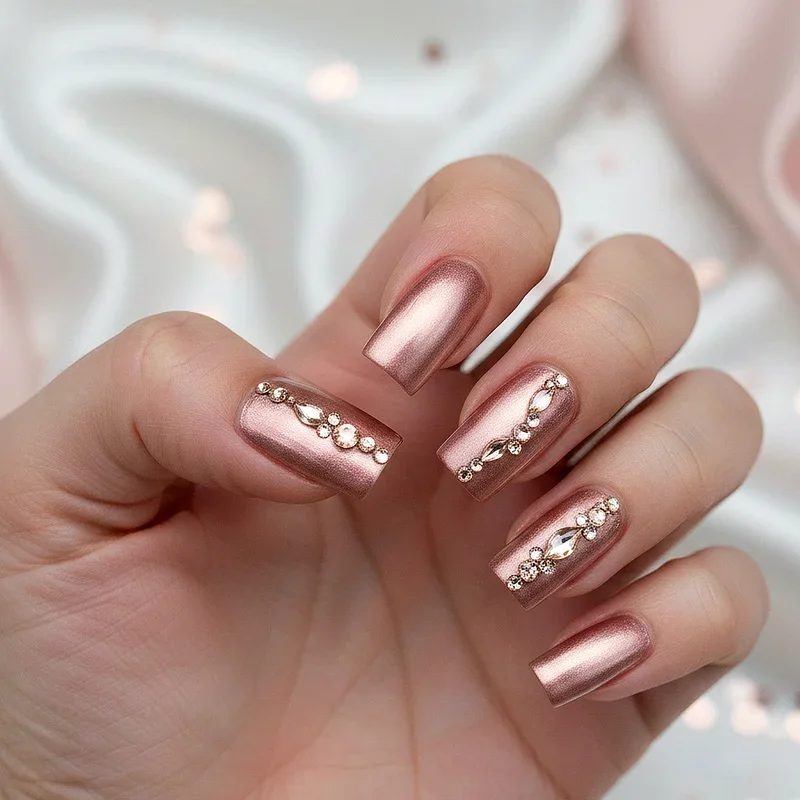
15. Rose Gold Base with Champagne Diamond Accents
Embrace luxury with a rose gold base adorned with champagne-colored rhinestones that mimic the warm glow of real diamonds. This sophisticated combination creates an expensive-looking manicure that complements all skin tones beautifully. The warm metallic base provides the perfect backdrop for champagne stones, which catch light with a soft, golden sparkle. You might arrange the rhinestones in clusters to resemble actual jewelry settings or create abstract patterns that flow across the nails. This design works exceptionally well for formal events, date nights, or any occasion where you want to feel particularly glamorous. The rose gold and champagne combination offers a modern alternative to traditional silver and clear stone combinations.
Conclusion
Rhinestone nail art opens up a world of creative possibilities, transforming your manicure from simple to spectacular with just a few strategically placed gems. Whether you prefer minimalist elegance or maximum sparkle, there's a rhinestone design that perfectly matches your personal style and occasion. The key to successful rhinestone application lies in quality materials, patience, and proper sealing to ensure your crystallized creation lasts. Remember that these designs can be adapted to suit any nail length, shape, or skill level, making them accessible to everyone who wants to add sparkle to their life.
Read next: 15 Gel Nail Ideas to Level Up Your Manicure Game
Frequently Asked Questions
Q1: How long do rhinestone nail designs typically last?
A: With proper application and top coat, rhinestones last approximately two weeks.
Q2: Can I apply rhinestones to gel or regular polish?
A: Rhinestones work perfectly with both gel and regular nail polish.
Q3: What's the best glue for securing rhinestones?
A: Nail glue or specialized rhinestone adhesive provides the strongest hold.
Q4: How do I remove rhinestones without damaging nails?
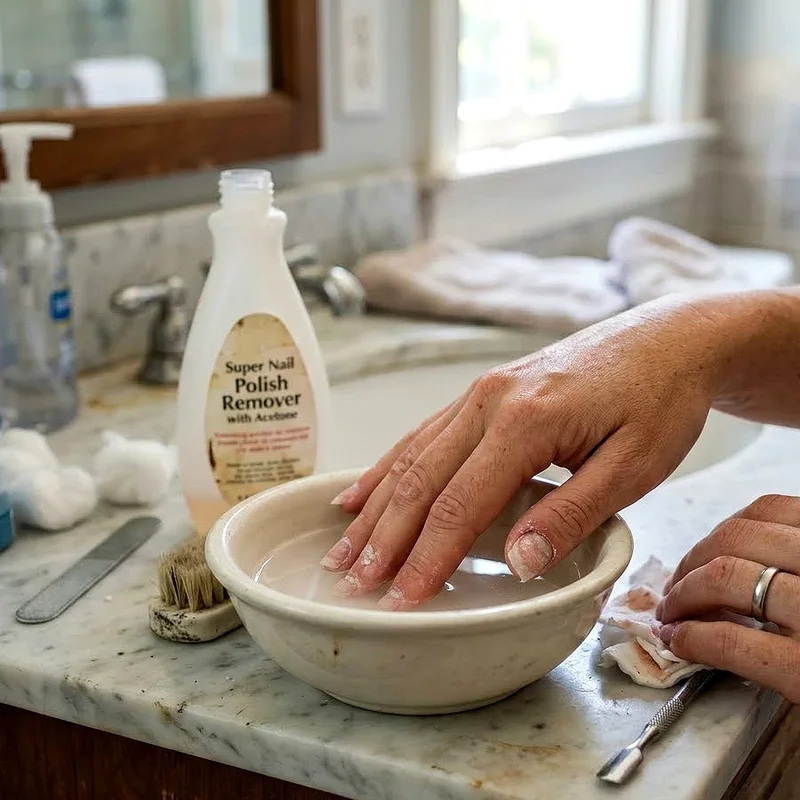
A: Soak nails in acetone, then gently push stones off carefully.
Q5: Are rhinestone designs suitable for short nails?
A: Yes, rhinestone designs look beautiful on nails of any length.
Stay up to date with our latest ideas!