How to Make Nail Polish Thinner at Home Easily
Learn how to make nail polish thinner at home easily with simple household items. Save money and revive your favorite polishes today!
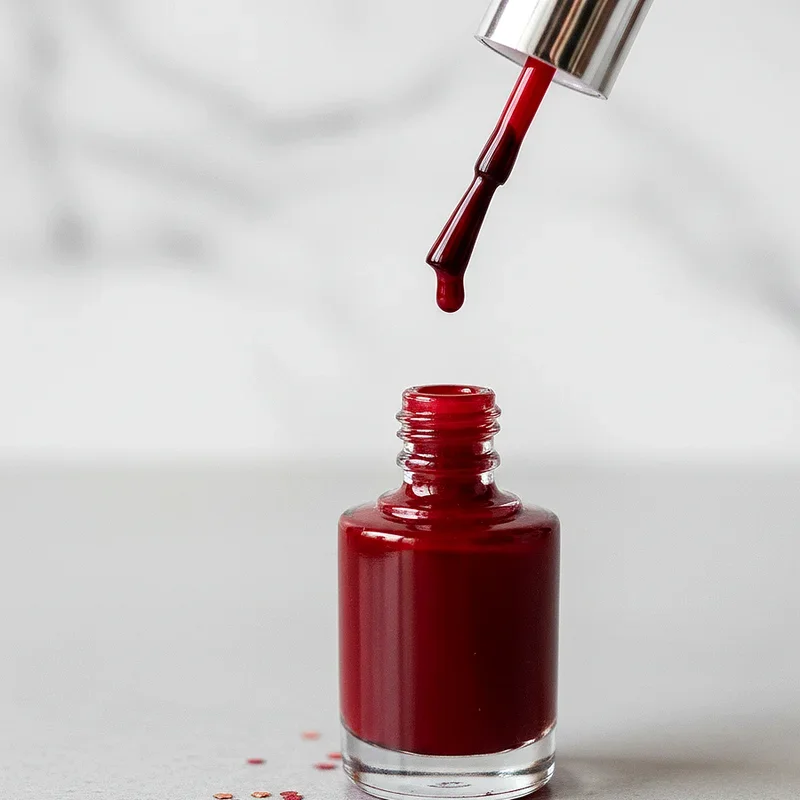
We've all been there, haven't we? You're getting ready for a night out, reaching for your favorite nail polish, and bam! The bottle's turned into a goopy, thick mess that's about as spreadable as peanut butter. Well, hold your horses before tossing that bottle in the trash! Learning how to make nail polish thinner at home easily can save you both money and heartache. Trust me, there's nothing worse than saying goodbye to that perfect shade of burgundy you picked up in Paris last summer. Here's the thing: nail polish naturally thickens over time due to evaporation of solvents. It's just science doing its thing, really. But that doesn't mean you've gotta accept defeat! With a few simple tricks up your sleeve, you can bring those stubborn polishes back to life faster than you can say "manicure Monday."
Why Does Nail Polish Get Thick Anyway?
Before diving into the solutions, let's chat about why this happens in the first place. You know how water evaporates from a puddle? Well, something similar happens with nail polish. The solvents that keep your polish nice and fluid gradually escape through the bottle's neck every time you open it. Temperature changes, leaving the cap loose, and Father Time himself all play their parts in this thickening drama.
What's more, exposure to air causes chemical changes in the formula. The ingredients start getting cozy with each other, forming bonds that make the polish thicker. It's like when you leave cookie dough out too long, and it becomes harder to work with. Annoying? Absolutely. Permanent? Nope!
Signs Your Polish Needs Thinning
How do you know when it's time to intervene? Well, there are some telltale signs:
• The polish won't flow smoothly when you tilt the bottle • You're getting stringy, gloopy application that looks like spider webs • The brush feels like it's dragging through molasses • Your once-perfect polish leaves streaky, uneven coverage • The consistency reminds you more of honey than liquid
If you're nodding along to any of these, then buddy, it's time to learn how to make nail polish thinner at home easily!
Professional Nail Polish Thinners vs. DIY Methods
Now, I'll be straight with you. Professional nail polish thinners exist, and they're fantastic. These products are specifically formulated to restore polish without messing with the color or finish. But hey, not everyone has them lying around, and sometimes you need a quick fix at 11 PM on a Tuesday!
Store-bought thinners typically contain: • Butyl acetate • Ethyl acetate • Toluene (in some formulas)
These ingredients match what's already in your polish, making them the safest bet. However, when you're in a pinch, there are household alternatives that can work wonders.
How to Make Nail Polish Thinner at Home Easily: The Methods
Method 1: The Hot Water Bath Technique
This one's my go-to when I'm feeling lazy! No additional products needed, just good old H2O and some patience.
Fill a bowl with hot water (not boiling, we're not making tea here!)
Roll the closed polish bottle between your palms for 30 seconds
Place the bottle in the hot water for 2-3 minutes
Remove and shake gently
Test the consistency
The heat helps those stubborn ingredients loosen up and play nice together again. It's temporary, sure, but perfect for when you need a quick fix!
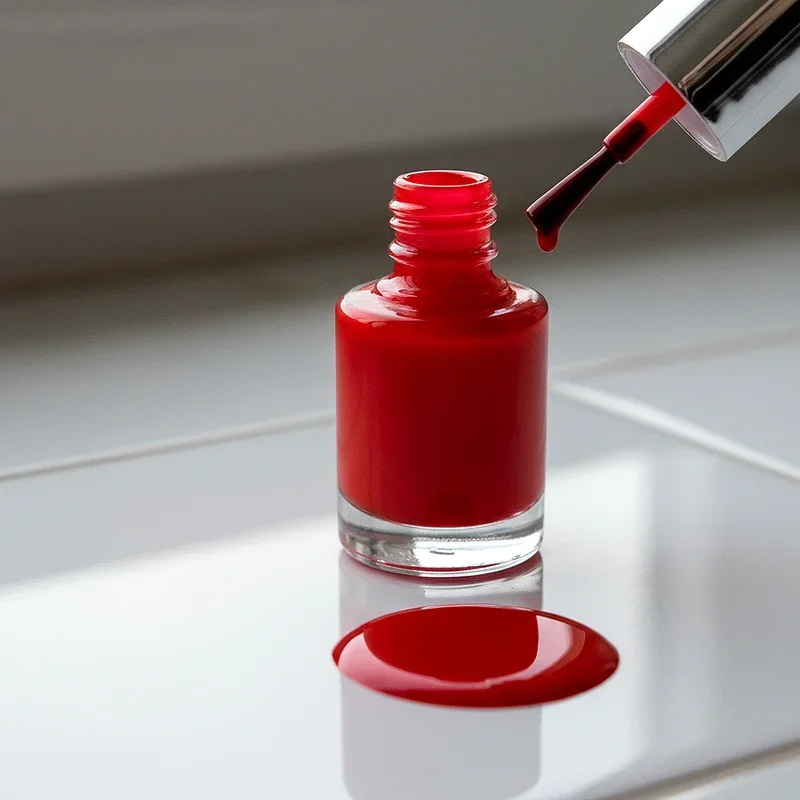
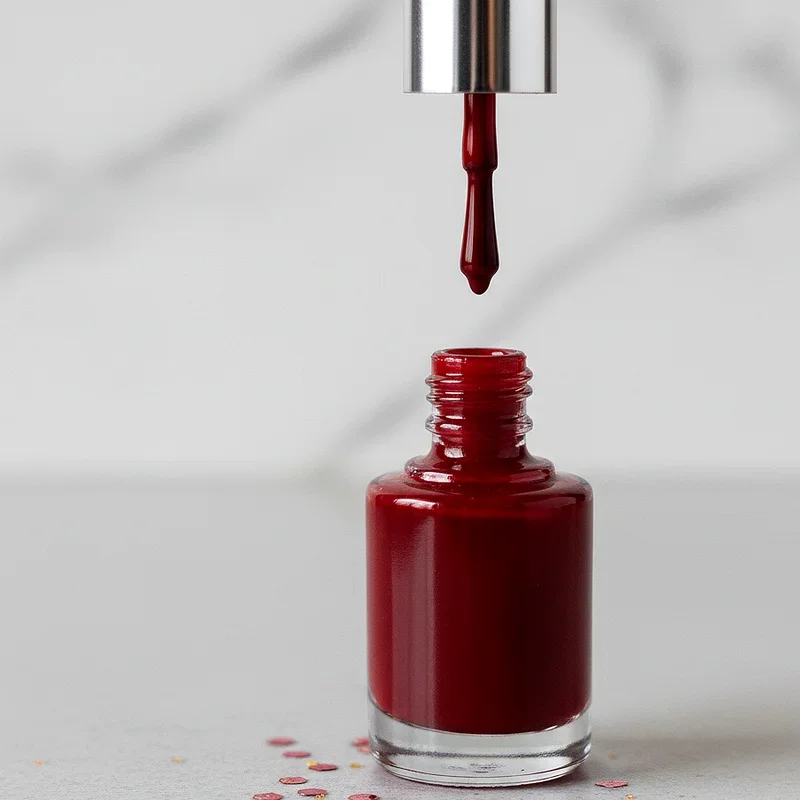
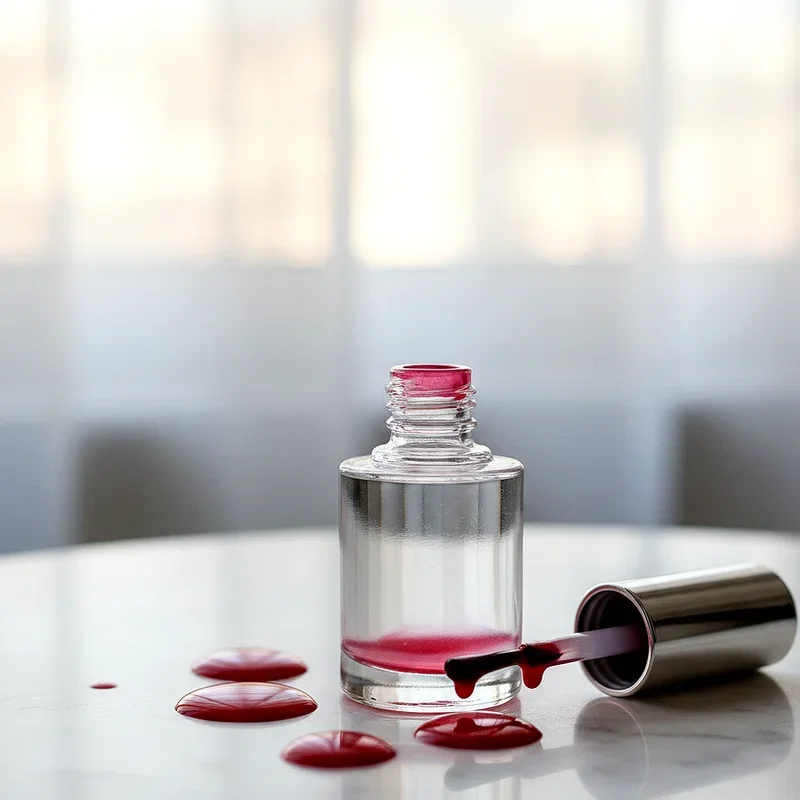
Method 2: Pure Acetone Addition
Okay, before you grab that nail polish remover, hold up! We're talking pure acetone here, not the moisturizing, vitamin-enriched stuff. Regular nail polish remover contains oils and additives that'll ruin your polish faster than you can say "manicure disaster."
Here's what you do:
Add 2-3 drops of pure acetone to your polish
Close the bottle tightly
Roll it between your palms (don't shake like a maraca!)
Test on a nail or piece of paper
Add one more drop if needed
Remember, less is more! Adding too much acetone will make your polish runny and affect its staying power. Nobody wants polish that chips before you've even left the house!
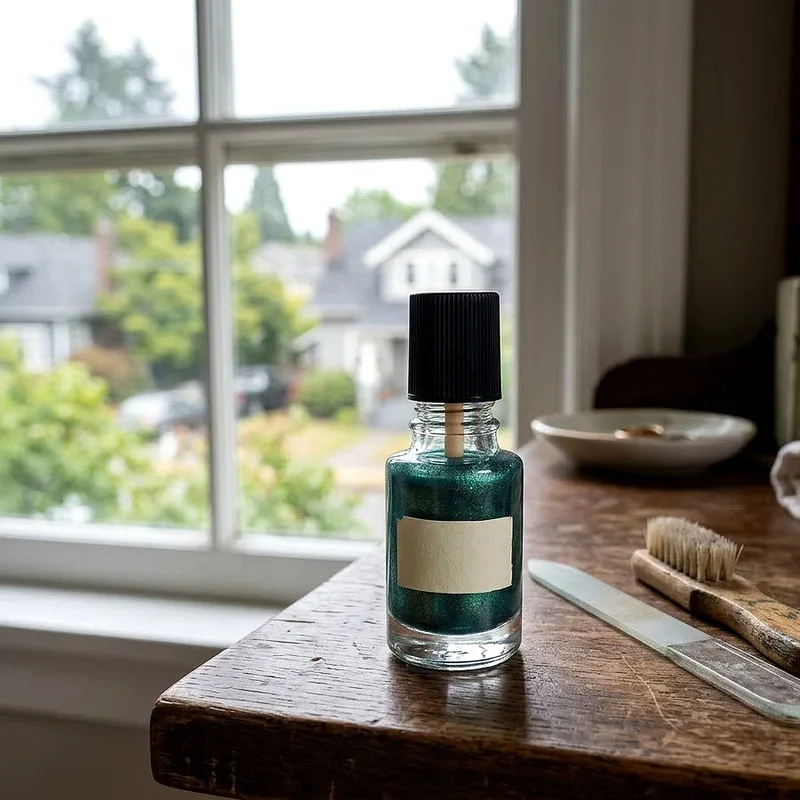
Method 3: Nail Polish Thinner Drops
If you're serious about your nail game, investing in actual nail polish thinner is worth every penny. These bad boys are specifically designed for the job and won't mess with your formula.
Application is dead simple: • Add 3-4 drops to your thick polish • Secure the cap • Roll the bottle gently • Wait a minute for it to incorporate • Test and repeat if necessary
Method 4: The Alcohol Method
Some folks swear by using rubbing alcohol or even high-proof clear spirits. While it can work in a pinch, I'd say proceed with caution here.
Use 91% isopropyl alcohol or higher
Add just 1-2 drops
Mix thoroughly by rolling
Test before adding more
This method can affect the polish's finish and longevity, so save it for polishes you're not too attached to!
Prevention Tips: Keeping Your Polish Smooth
An ounce of prevention is worth a pound of cure, right? Here's how to keep your polishes from turning into goop in the first place:
Storage Solutions
Where you keep your polish matters more than you'd think! Storing them properly can add months or even years to their life.
• Keep bottles upright in a cool, dark place • Avoid bathroom storage (humidity is the enemy!) • Consider a dedicated polish drawer or box • Keep them away from direct sunlight • Store in consistent temperatures
Proper Usage Habits
The way you use your polish affects how long it stays fluid:
Clean the bottle neck after each use
Ensure the cap is tightly closed
Avoid pumping the brush in the bottle
Don't leave the bottle open while painting
Use thin coats instead of thick ones
Common Mistakes to Avoid
Alright, let's talk about what NOT to do when trying to thin your polish. Learning from others' mistakes is way better than making them yourself!
Adding Polish Remover
I can't stress this enough: regular nail polish remover is not your friend here! It contains oils, moisturizers, and other additives that'll break down your polish formula. You'll end up with separated, unusable gunk that won't stick to your nails properly.
Over-thinning
Getting trigger-happy with the thinner? Slow down there, speed racer! Adding too much thinner will make your polish too runny, affecting its coverage and durability. It's like making pancake batter; too thin and you've got crepes nobody asked for!
Shaking Violently
While it's tempting to shake that bottle like you're making a cocktail, resist the urge! Vigorous shaking creates air bubbles that'll show up in your application. Rolling between your palms or gently inverting the bottle works much better.
When to Give Up and Buy New Polish
Sometimes, despite our best efforts, a polish is just done for. Here's when to call it quits:
• The polish has separated into distinct layers that won't mix • There's a thick, rubbery film that won't dissolve • The color has changed significantly • It smells off or chemical-like • Multiple thinning attempts have failed
Look, I get it. Throwing away that limited edition color hurts! But using bad polish can damage your nails and definitely won't give you the manicure you're after.
Special Considerations for Different Polish Types
Not all polishes are created equal, and different formulas need different approaches.
Gel Polishes
Gel polishes are a whole different ball game. They're designed to be thicker and shouldn't be thinned with regular methods. If your gel polish is too thick, it's usually past its prime or has been exposed to UV light.
Glitter Polishes
These beauties tend to thicken faster due to the glitter particles. When thinning glitter polish: • Use slightly more thinner than usual • Mix extra thoroughly • Consider straining out excess glitter if it's too chunky
Quick-Dry Formulas
Quick-dry polishes are formulated to evaporate fast, which means they'll thicken quicker too. Store these with extra care and expect to thin them more frequently.
Troubleshooting Your Thinned Polish
So you've followed all the steps, but something's still off? Let's troubleshoot!
If your polish is still too thick after thinning, wait 24 hours before adding more thinner. Sometimes it takes time for everything to incorporate fully. If it's suddenly too thin, leave the cap off for 10-15 minutes to let some solvent evaporate.
Noticed your thinned polish isn't lasting as long on your nails? This can happen, especially with older polishes. Use a good base coat and top coat to extend wear time.
The Environmental Angle
Here's something to chew on: reviving old polish instead of buying new is actually pretty eco-friendly! You're reducing waste and keeping those chemical-filled bottles out of landfills. Plus, you're saving money that can go toward other beauty treats. Win-win, if you ask me!
Professional Tips from Nail Technicians
I've picked the brains of some nail tech friends, and here's what they suggest:
"Always test your thinned polish on a practice nail or wheel first," says Maria, who's been doing nails for fifteen years. "You want to make sure the consistency and color are right before committing to a full manicure."
Another pro tip? Keep a dedicated "thinner bottle" with a dropper for precise application. This prevents contamination and over-pouring accidents.
Making Your Own Polish Last Longer
Once you've successfully thinned your polish, make it count! Apply thin, even coats rather than one thick layer. This not only looks better but also helps preserve your newly thinned formula. Wrap the tips of your nails with polish to prevent chipping, and always, always use a quality top coat.
Conclusion
There you have it, folks! Learning how to make nail polish thinner at home easily isn't rocket science, but it does take a bit of know-how and patience. Whether you're using the hot water method for a quick fix or investing in proper thinner for long-term results, you've now got the tools to rescue those beloved bottles from the trash. Remember, prevention is key, so store your polishes properly and they'll reward you with smooth, beautiful applications for years to come!
Read next: 15 Nail Design Ideas That Are Stylish and Easy to Try
Frequently Asked Questions
Q1: Can I use nail polish remover to thin my polish?
A: No, regular remover contains oils that'll ruin your polish formula completely.
Q2: How many drops of thinner should I add initially?
A: Start with 2-3 drops, then test before adding more if needed.
Q3: How often can I thin the same bottle of polish?
A: Usually 2-3 times before the formula becomes too compromised to use.
Q4: Will thinning change my polish color or finish?
A: Proper thinning shouldn't change color, but may slightly affect the finish.
Q5: What's the best storage temperature for nail polish?
A: Room temperature, around 68-72°F, away from direct sunlight works best.
Stay up to date with our latest ideas!