15 Nail Design Ideas That Are Stylish and Easy to Try
Discover 15 stylish nail designs that are easy to recreate at home. From minimalist patterns to bold statements, transform your nails effortlessly.
Ever looked at those gorgeous nail designs on Instagram and thought, "I could never do that"? Well, think again! Creating stunning nail art doesn't require a professional degree or years of practice. Whether you're a complete beginner or someone who loves experimenting with new looks, these 15 nail design ideas will have you creating salon-worthy manicures from the comfort of your home. From simple geometric patterns to eye-catching gradients, we've curated designs that look impressive but are surprisingly easy to achieve. Ready to turn your nails into tiny canvases of self-expression? Let's dive into these foolproof designs that'll make everyone ask, "Where did you get your nails done?"
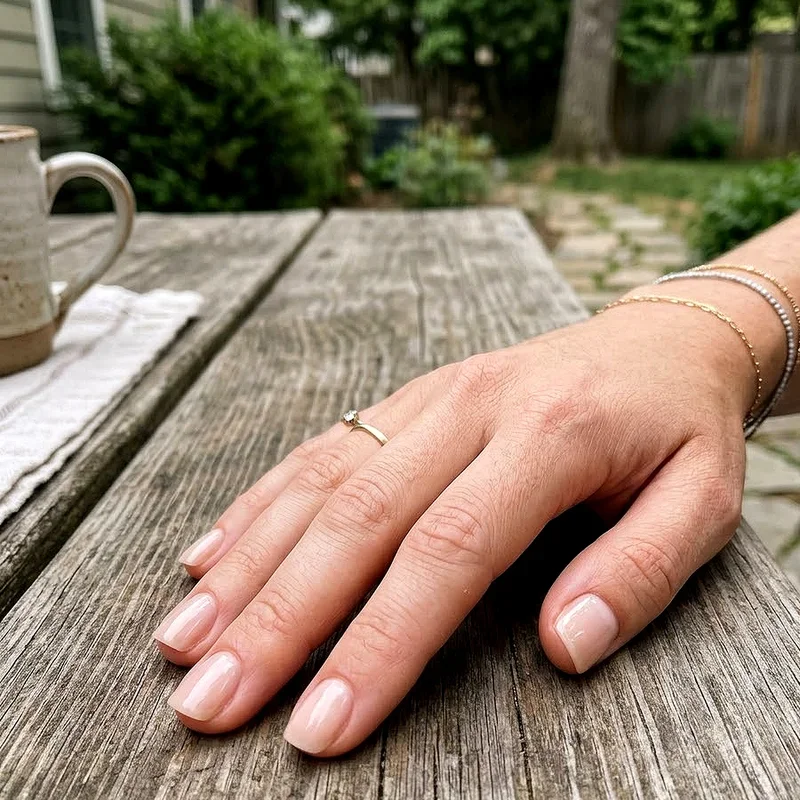
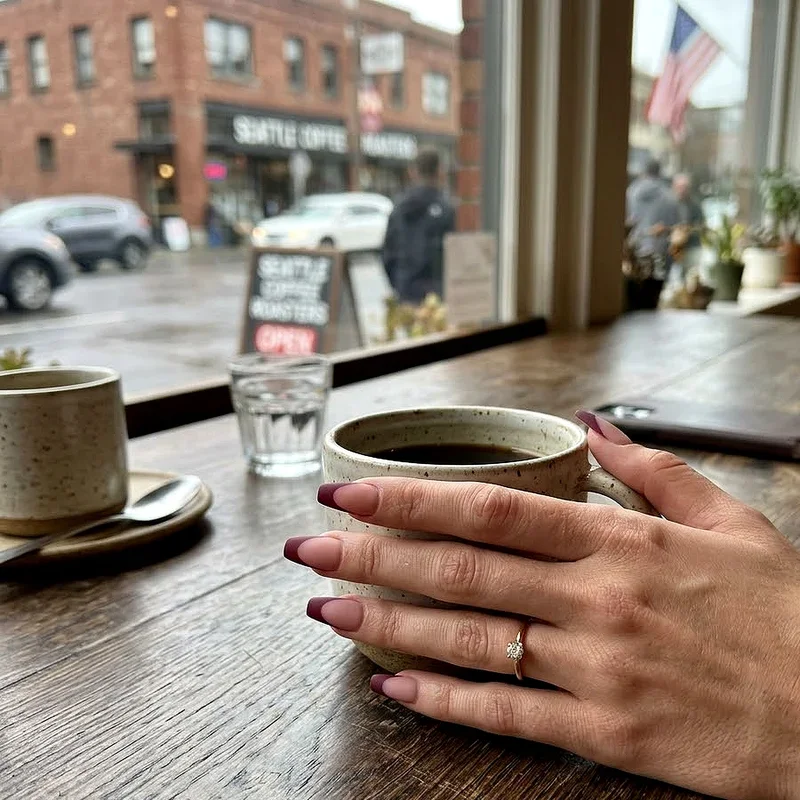
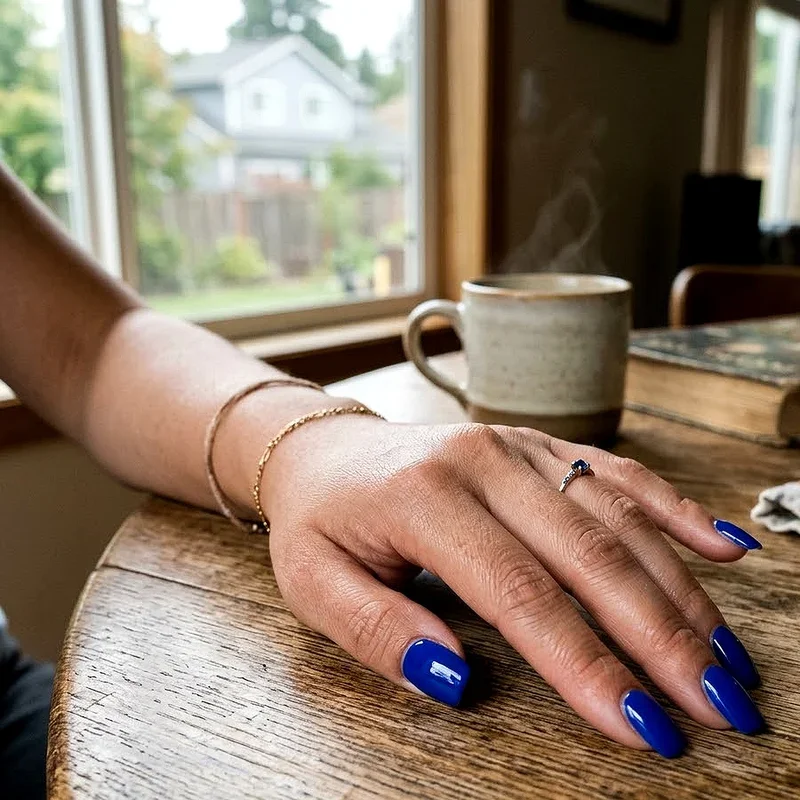
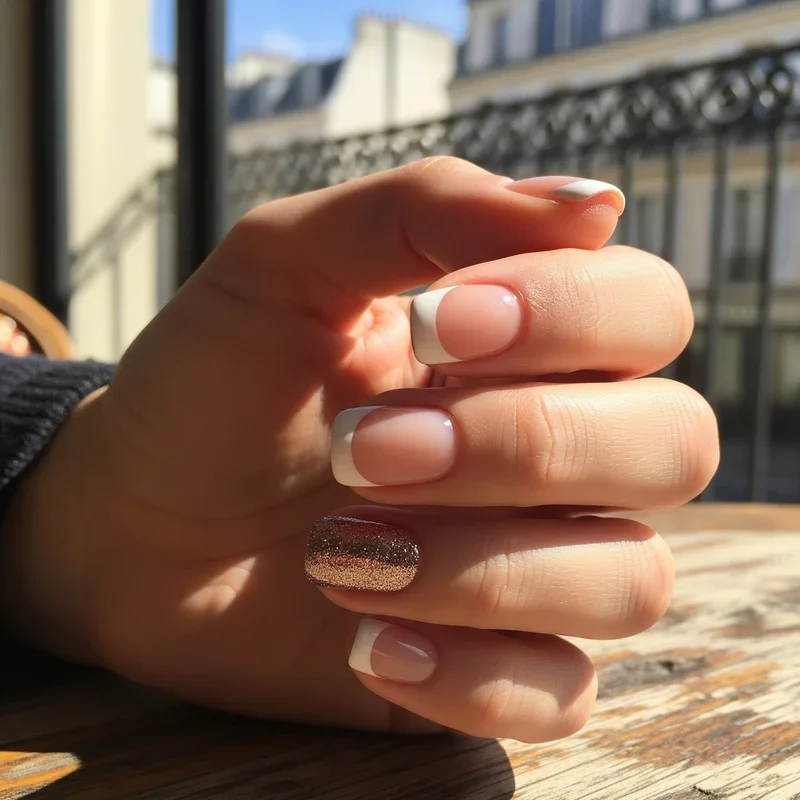
1. Classic French Manicure with a Twist
Who says French manicures have to be boring? This timeless design gets a modern makeover that's both chic and achievable. Instead of traditional white tips, try using vibrant colors like electric blue, hot pink, or even metallic gold. You can create perfectly curved tips using regular scotch tape or specialized nail guides. The beauty of this design lies in its versatility. Want something subtle for work? Go with nude and pale pink. Feeling bold for the weekend? Mix and match different colors on each nail. The best part? Even if your lines aren't perfectly straight, the imperfection adds character. This updated classic takes about 20 minutes to complete and works beautifully on both short and long nails.
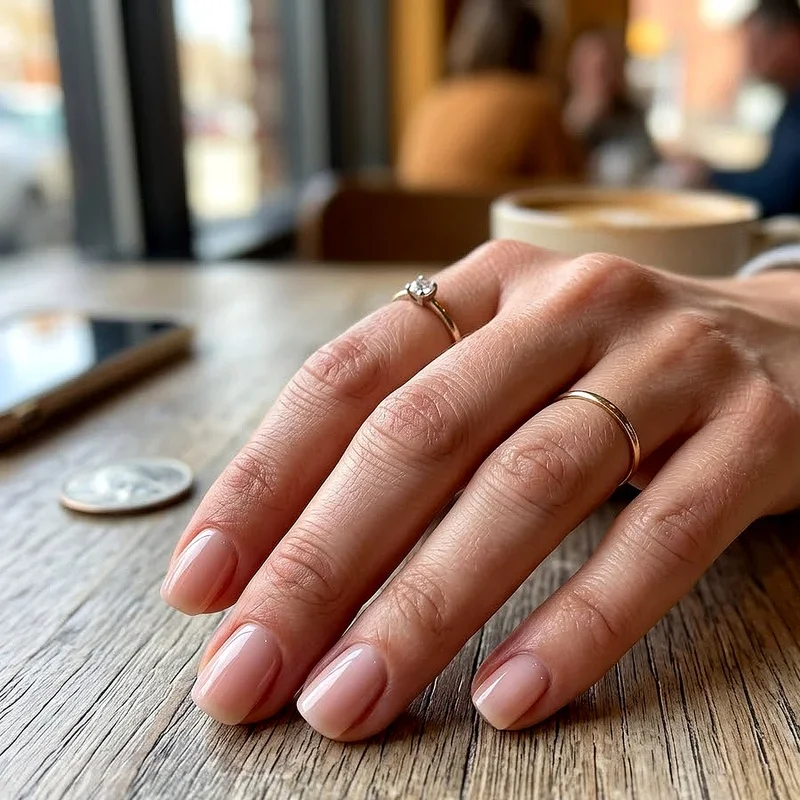
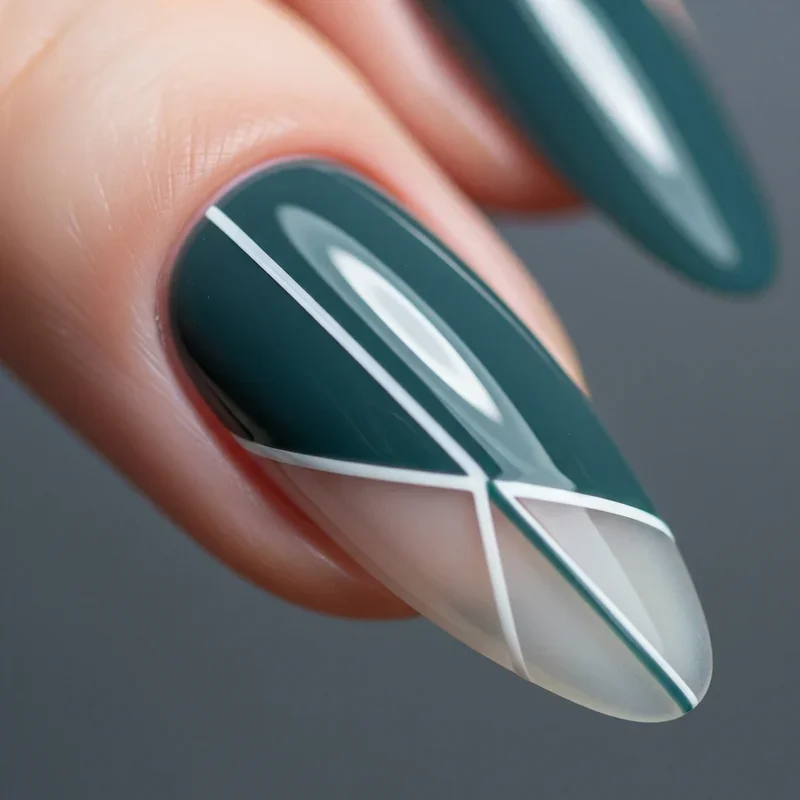
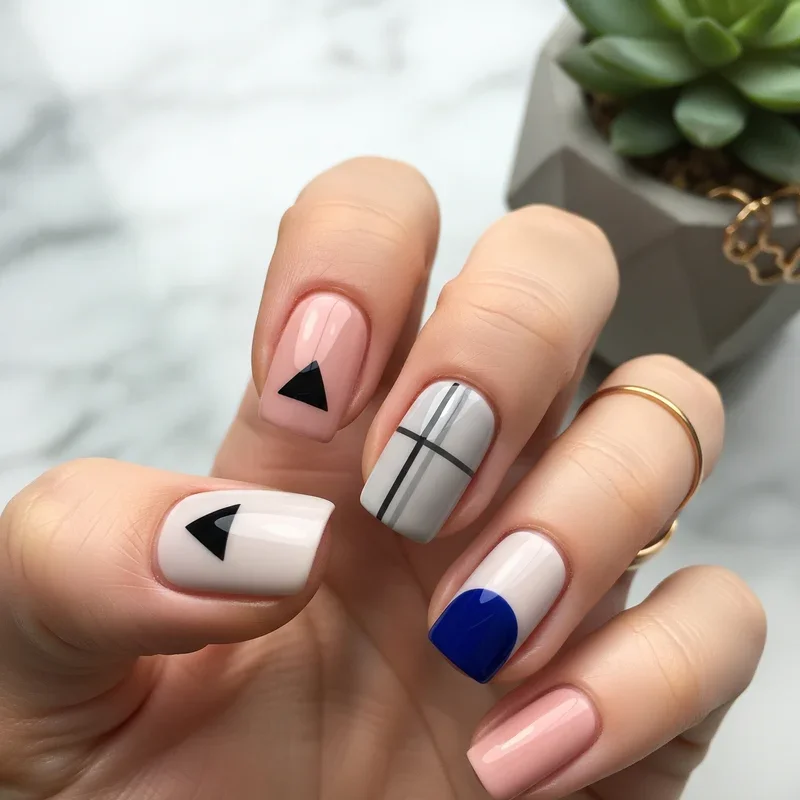
2. Minimalist Negative Space Designs
Negative space designs are having a major moment, and it's easy to see why. These artistic patterns use your natural nail as part of the design, creating sophisticated looks with minimal effort. Start with a clear base coat, then use striping tape to create geometric patterns. Paint over the exposed areas with your chosen polish, remove the tape while wet, and voila! You've got Instagram-worthy nails. Try diagonal lines, triangles, or half-moon shapes at the base of your nails. The key to nailing this look? Less is definitely more. Choose one or two colors maximum, and let the negative space do the talking. This technique works especially well with nude or pastel polishes against your natural nail color.
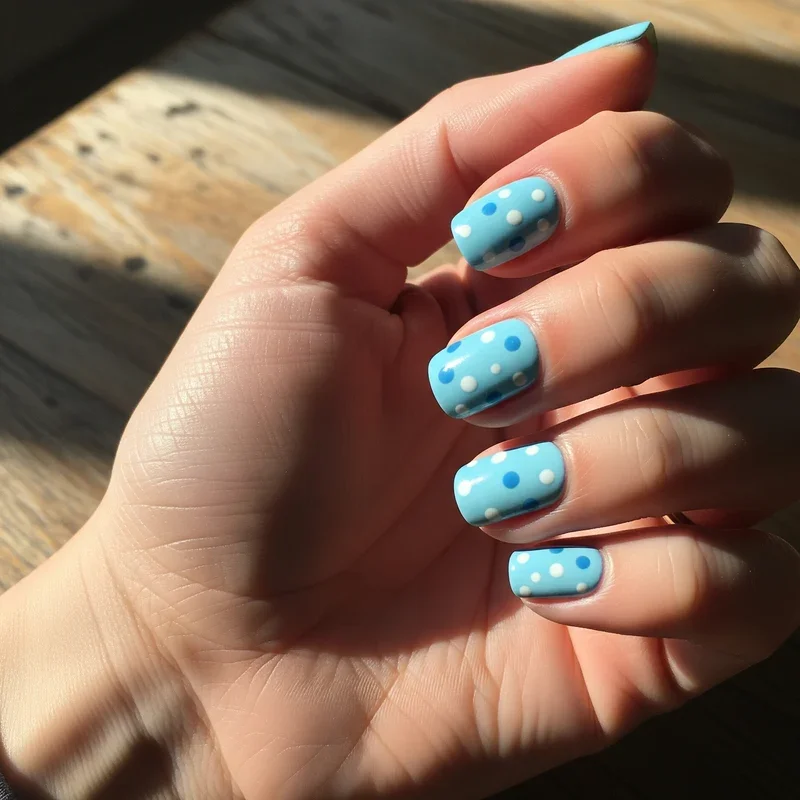
3. Easy Polka Dot Patterns
Remember playing with polka dots as a kid? Well, they're back and more stylish than ever! Creating perfect dots is easier than you think. All you need is a bobby pin, toothpick, or dotting tool. Apply your base color and let it dry completely. Then, dip your tool in a contrasting polish and gently press it onto your nail. You can go for uniform dots in neat rows or scatter them randomly for a playful effect. Mix sizes by using different tools, like a pencil eraser for bigger dots and a pin for tiny ones. This design looks adorable in classic black and white, but don't be afraid to experiment with unexpected color combinations like navy and coral or mint and gold.
4. Simple Geometric Shapes
Geometric nail art might look complicated, but it's actually one of the easiest designs to master. Armed with striping tape and a steady hand, you can create triangles, squares, and chevron patterns that look professionally done. Start by painting your nails with a solid base color. Once dry, apply tape in your desired pattern, paint over it with a contrasting color, and peel off the tape immediately. The secret? Work on one nail at a time to prevent the polish from drying with the tape on. Try color blocking with complementary shades or go monochromatic with different tones of the same color. This modern, edgy look works perfectly for both casual and formal occasions, making it a versatile addition to your nail art repertoire.
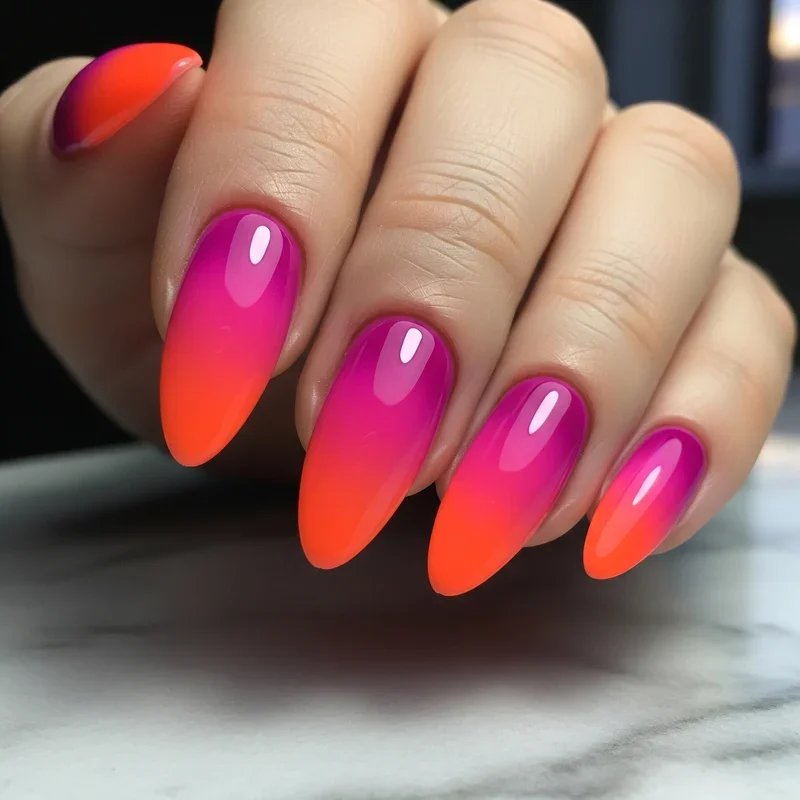
5. Gradient Ombre Nails
Ombre nails create a stunning sunset effect that's surprisingly simple to achieve. You'll need a makeup sponge and two or three polish colors that blend well together. Paint the colors directly onto the sponge in horizontal stripes, slightly overlapping where they meet. Then, gently dab the sponge onto your nail, rolling it slightly to ensure full coverage. The sponge naturally blends the colors, creating that coveted gradient effect. Don't worry if it looks messy at first; that's what cleanup brushes and acetone are for! Try classic combinations like pink to purple, or get creative with unexpected pairings like teal to yellow. Pro tip? Apply a white base coat first to make the colors pop even more.
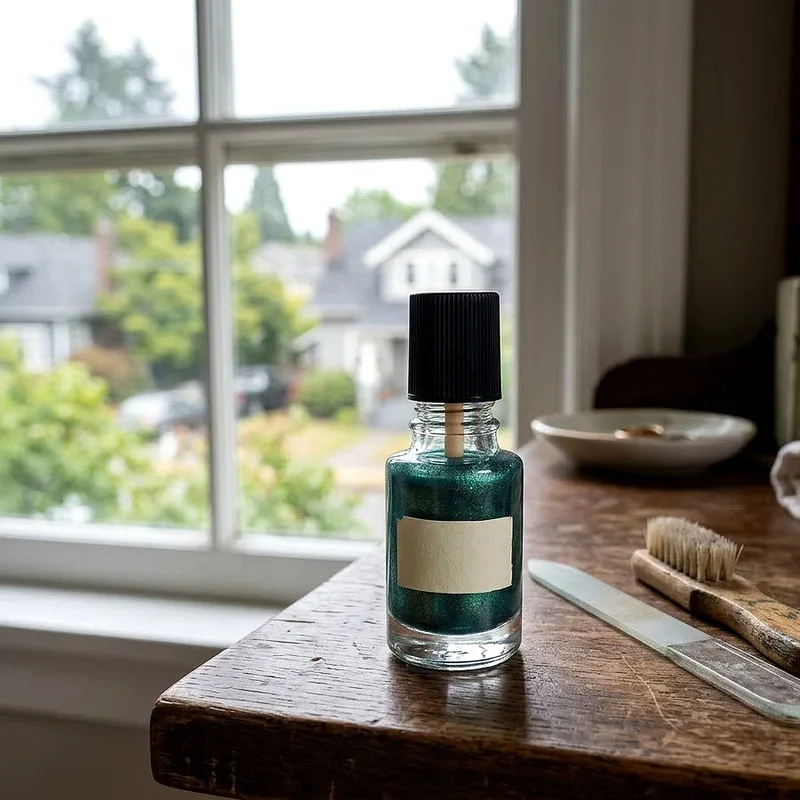
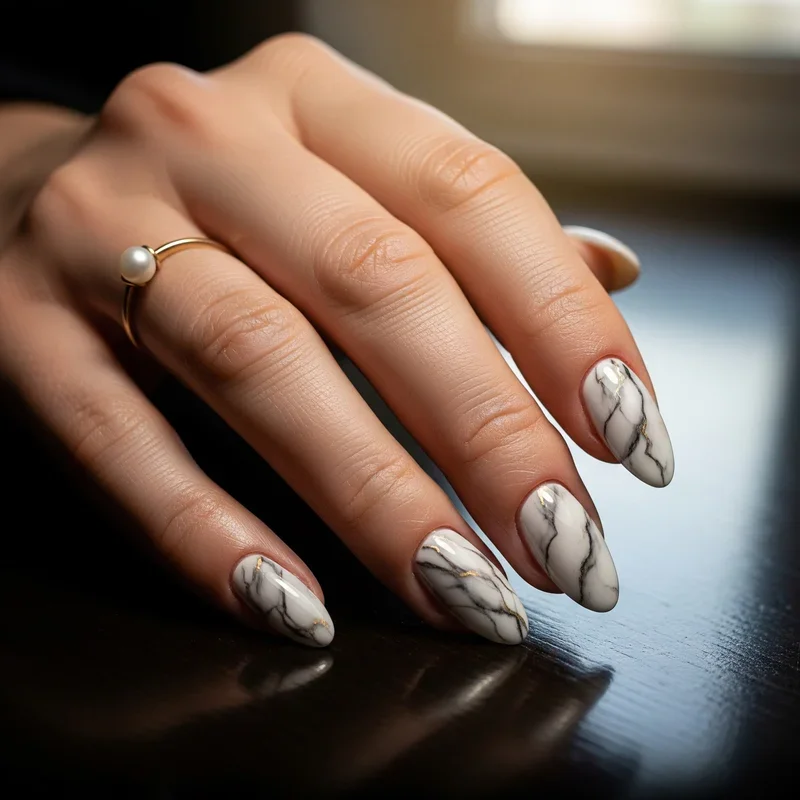
6. Marble Effect Technique
Marble nails look like tiny pieces of art, but you don't need to be Michelangelo to create them. The water marble technique involves dropping different nail polish colors into a cup of room temperature water, swirling them with a toothpick, and dipping your nail through the design. Alternatively, try the dry marble method using a plastic bag. Apply drops of different colors onto the bag, swirl them together, let them partially dry, then press your nail onto the design. Both methods create unique patterns every time, so no two nails will look exactly alike. White, black, and gold create a luxe marble effect, while pastels give a dreamy, ethereal vibe. Seal with a glossy top coat to enhance the marble's depth.
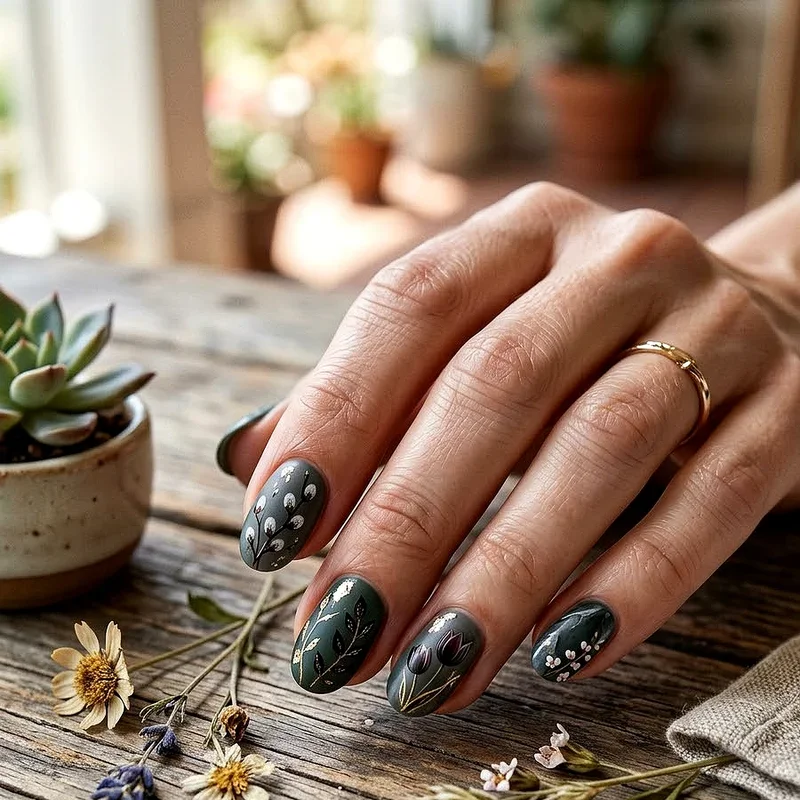
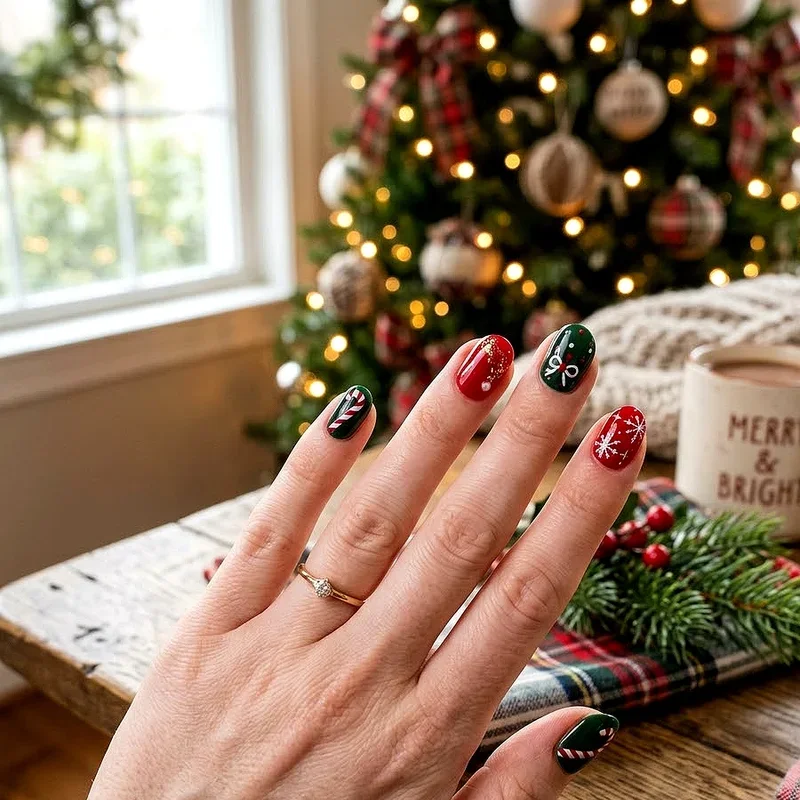
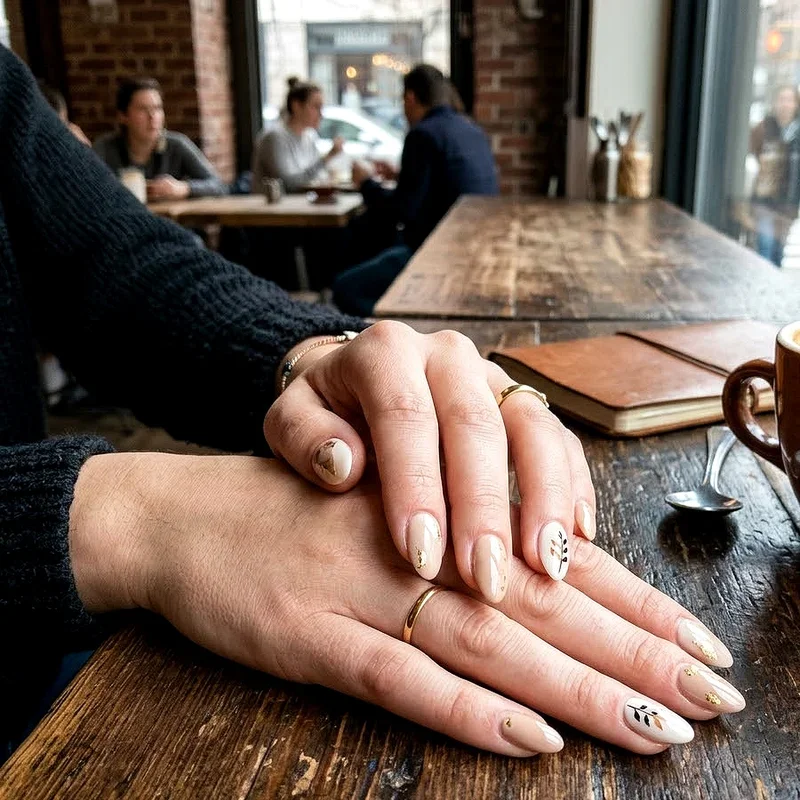
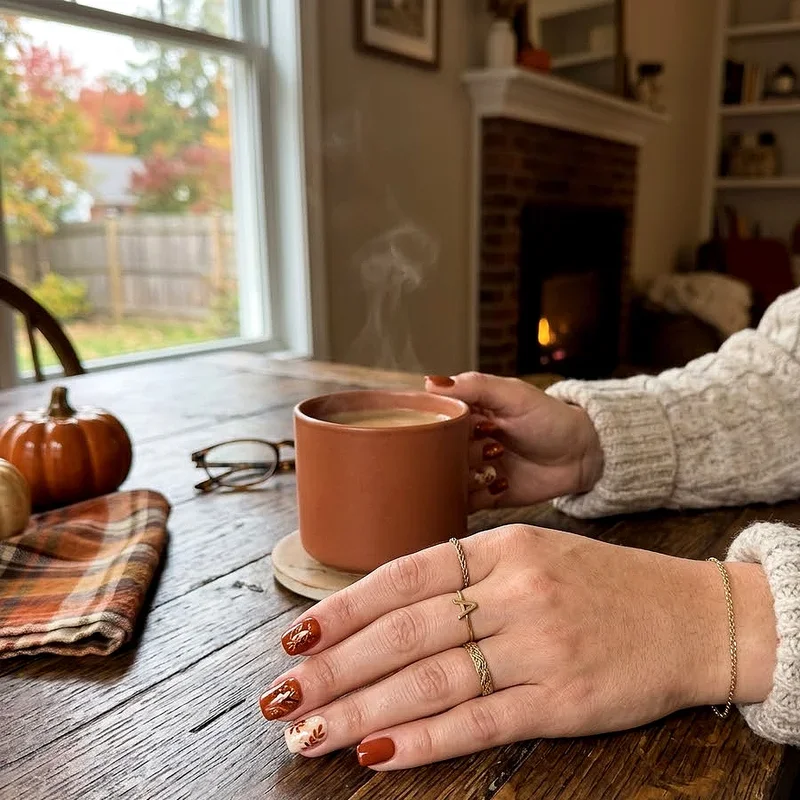
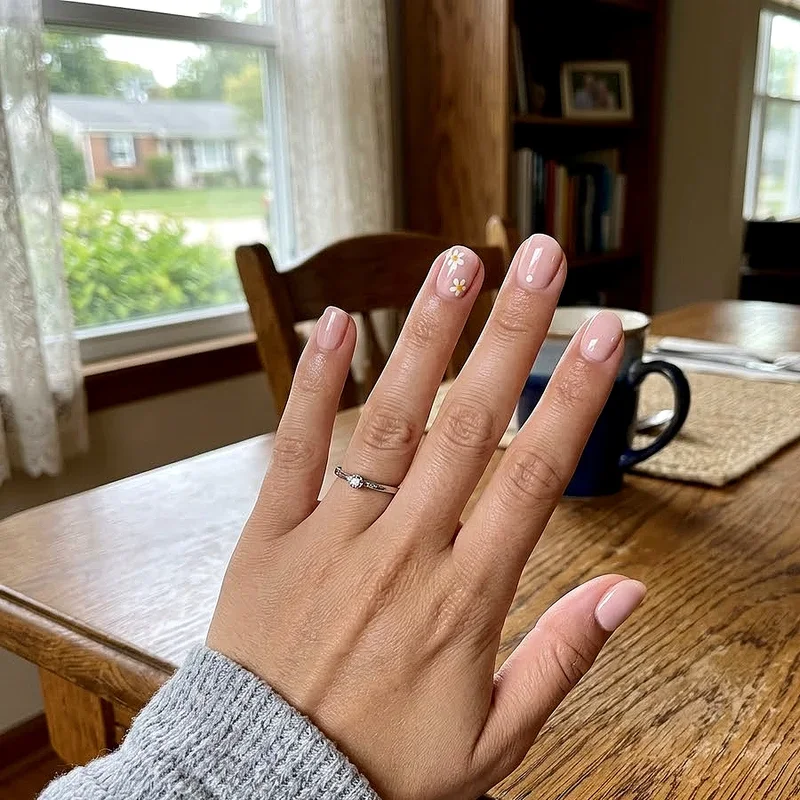
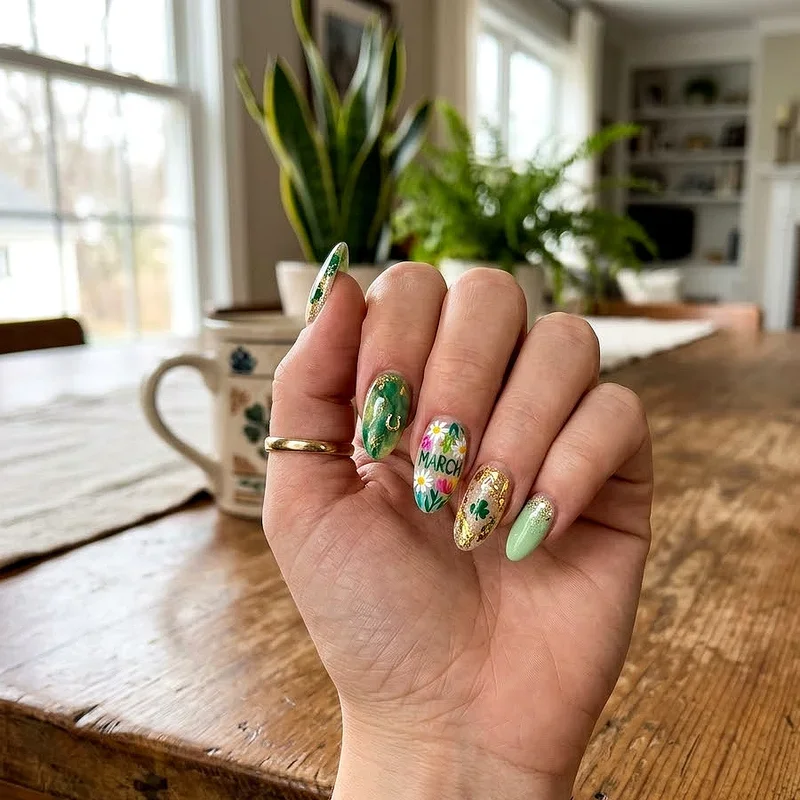
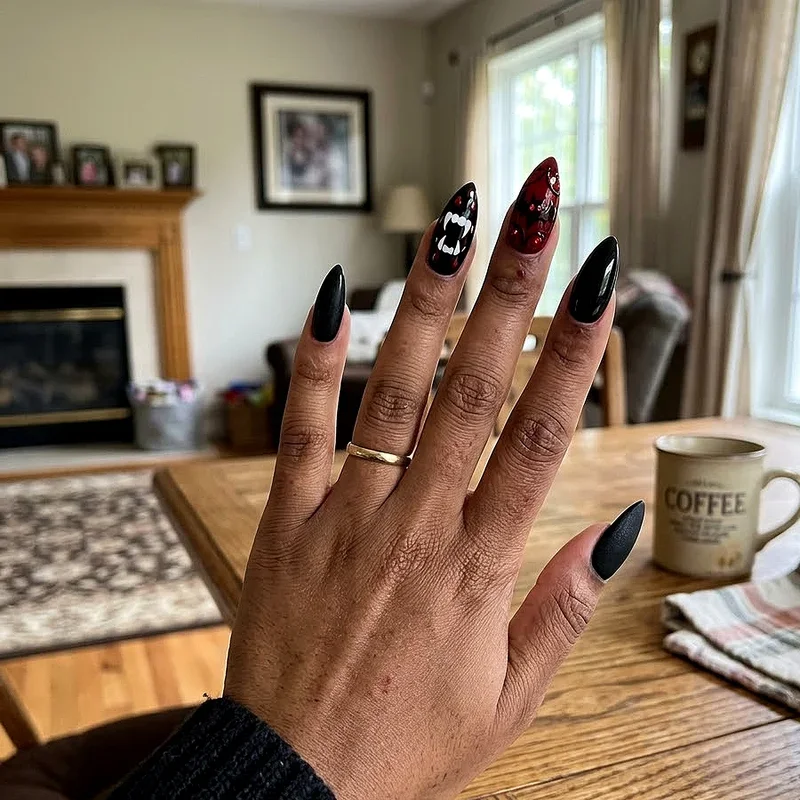
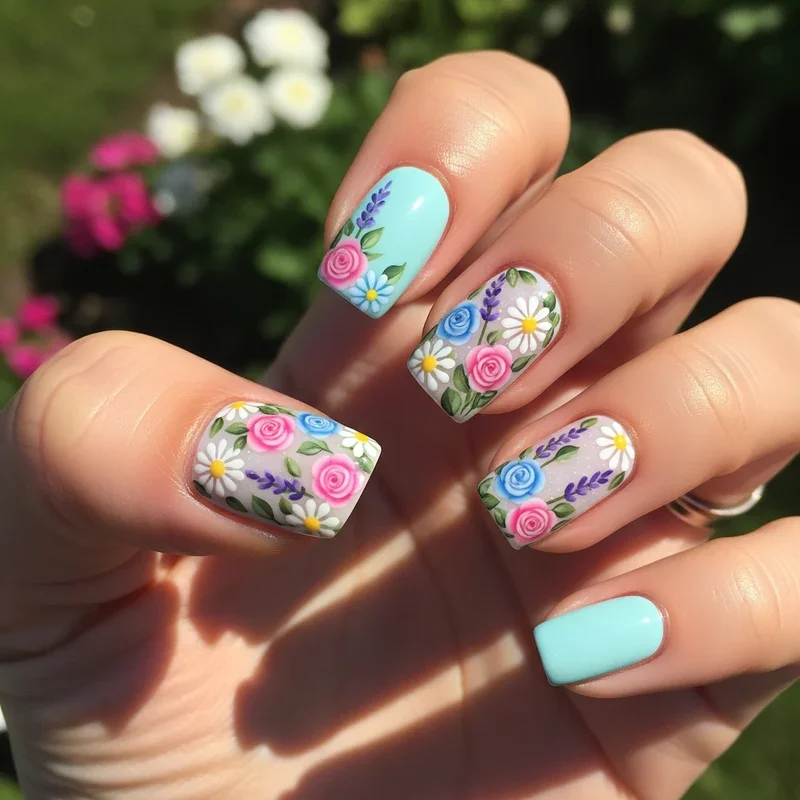
7. Floral Accent Nails
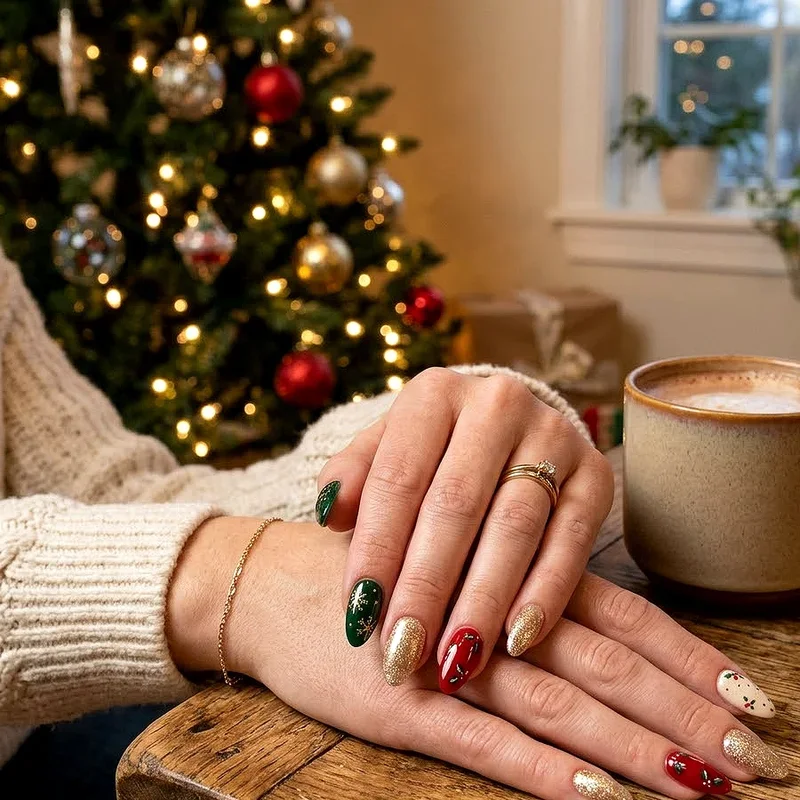
You don't need to be an artist to create beautiful floral designs. Start simple with five-dot flowers using a dotting tool or bobby pin. Make one dot for the center and four or five surrounding dots for petals. Once you master basic flowers, try adding tiny leaves with a thin brush or toothpick. The trick is to choose an accent nail or two rather than attempting flowers on all ten fingers. This keeps the design from looking overwhelming and actually makes more of a statement. Pastel flowers on a white base scream spring, while deep burgundy blooms on nude nails perfect for fall. Remember, flowers in nature aren't perfect, so embrace any wonky petals as part of the charm!
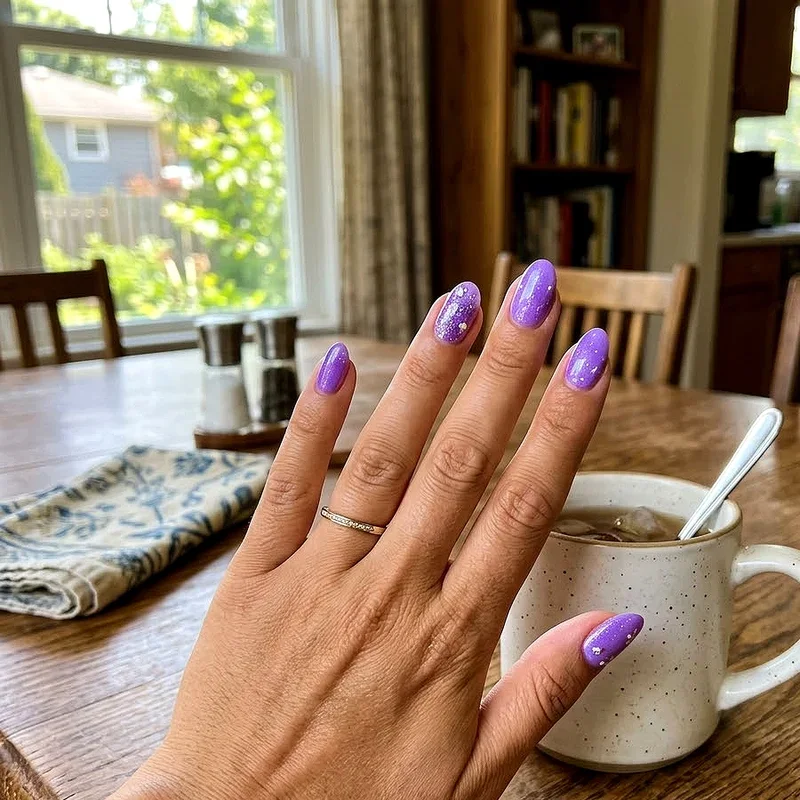
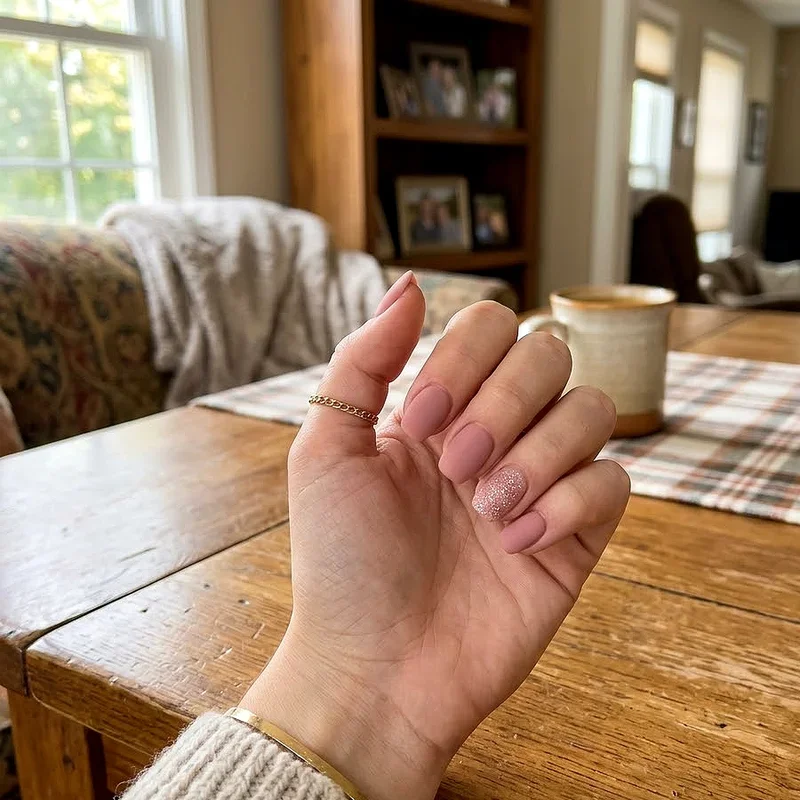
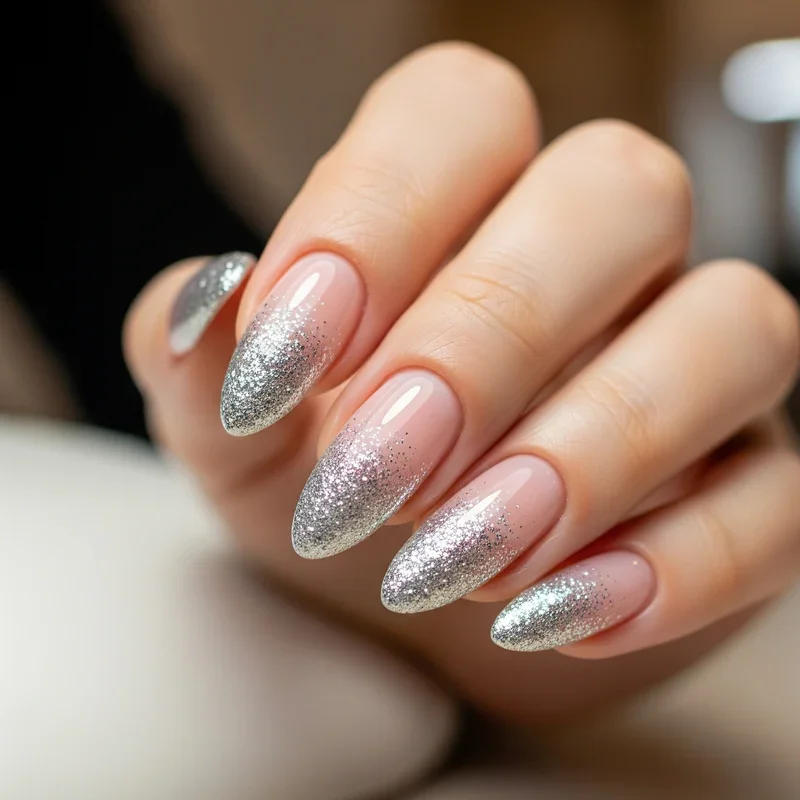
8. Glitter Gradient Tips
Who doesn't love a little sparkle? Glitter gradient tips combine elegance with just the right amount of glam. Start with your favorite base color, then use a makeup sponge to dab glitter polish starting from the tips and fading toward the middle of your nail. The key is building up the glitter gradually, creating a seamless transition from solid color to full sparkle. You can use matching glitter for a subtle look or contrasting colors for more drama. This design works beautifully for special occasions but isn't so over-the-top that you can't wear it to work. Pro tip? Apply the glitter while your base color is still slightly tacky for better adhesion. Finish with two coats of top coat to smooth out the texture.
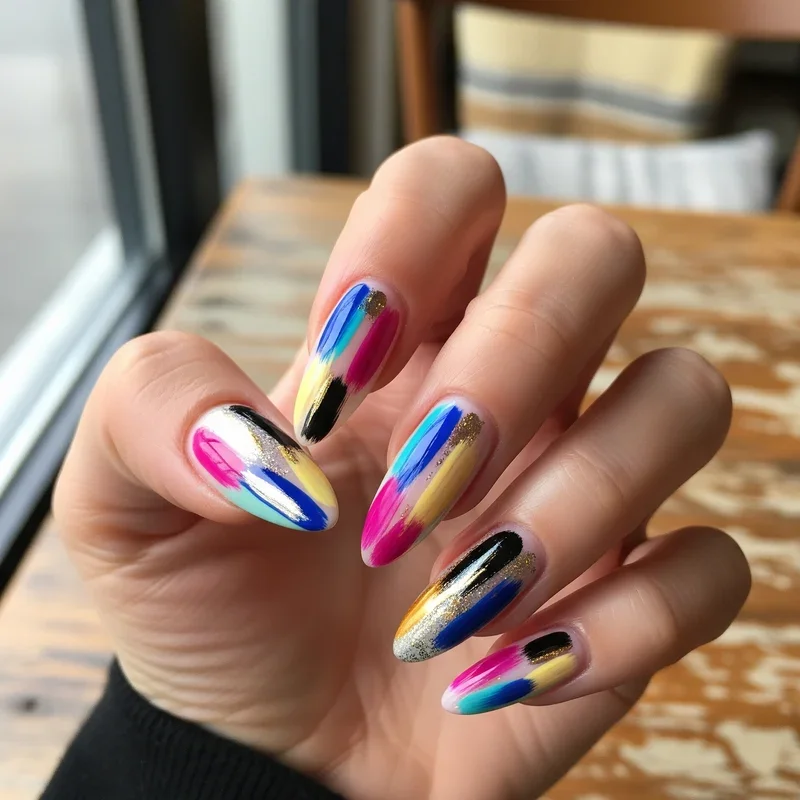
9. Abstract Brush Strokes
Channel your inner artist with abstract brush stroke designs that are impossible to mess up. Using a thin nail art brush or even a small paintbrush, create random strokes across your nails. The beauty of abstract art? There are no rules! Mix colors, overlap strokes, or keep them separate. You can go for bold, contrasting colors for a statement look or stick to similar tones for something more subtle. This design works especially well on longer nails where you have more canvas space to work with. Try black strokes on a white base for a modern art gallery vibe, or metallic strokes on dark colors for an edgy night-out look. The more random and carefree your strokes, the better the final result.
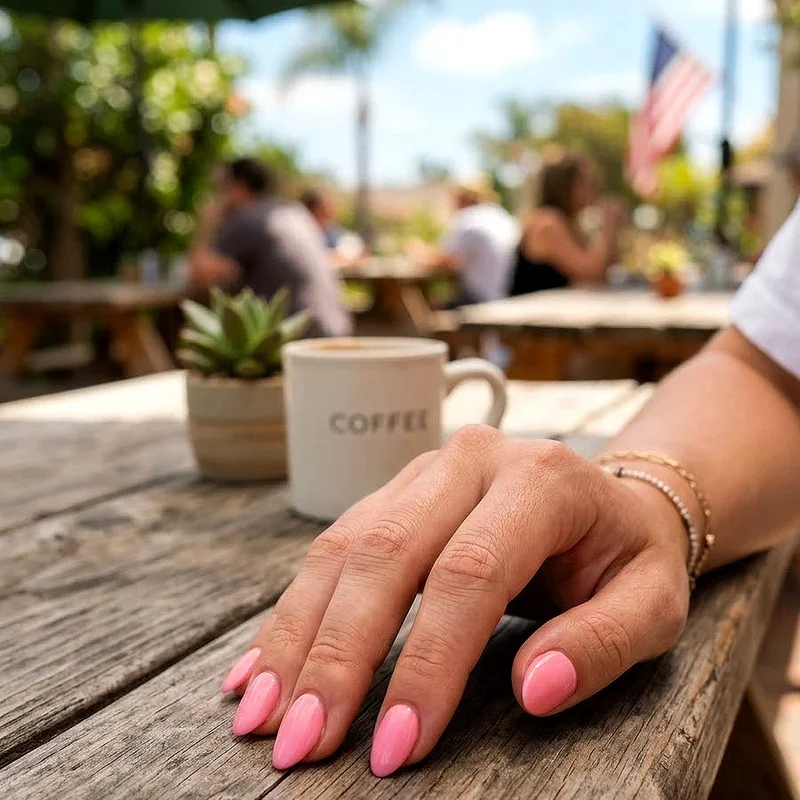
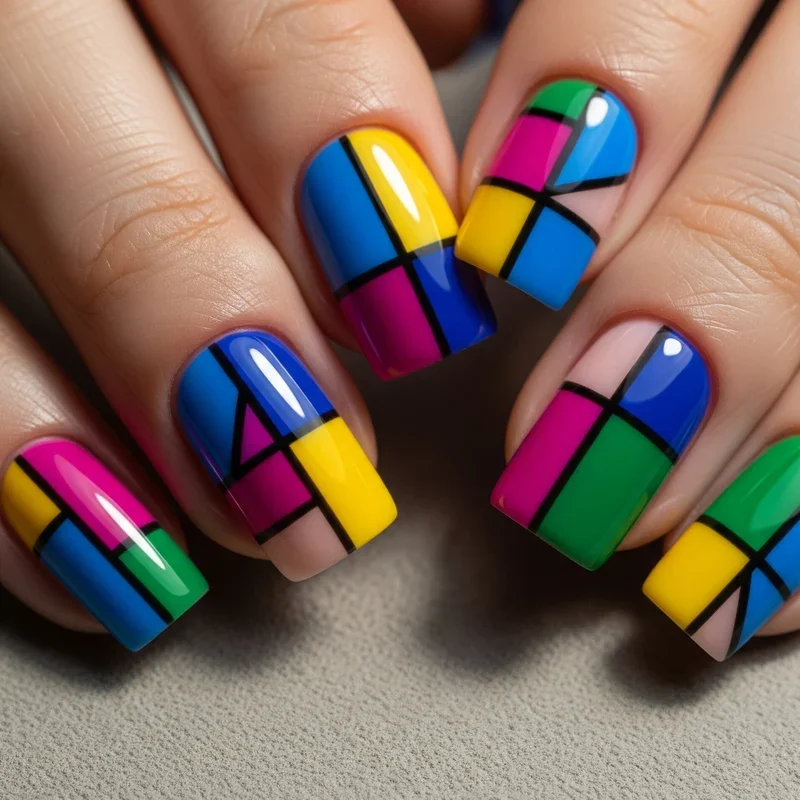
10. Color Block Designs
Color blocking brings fashion runway trends right to your fingertips. This bold design involves using two or more solid colors in distinct sections on each nail. The easiest approach? Paint each nail a different color from the same family. Want to level up? Use tape to create color blocks on individual nails. Try splitting nails diagonally, vertically, or even in thirds. The key to making color blocking work is choosing colors that complement each other. Think pink and orange, blue and green, or go for high contrast with black and white. This design makes a statement while remaining sophisticated enough for any occasion. Plus, if you're indecisive about which color to choose, why not use them all?
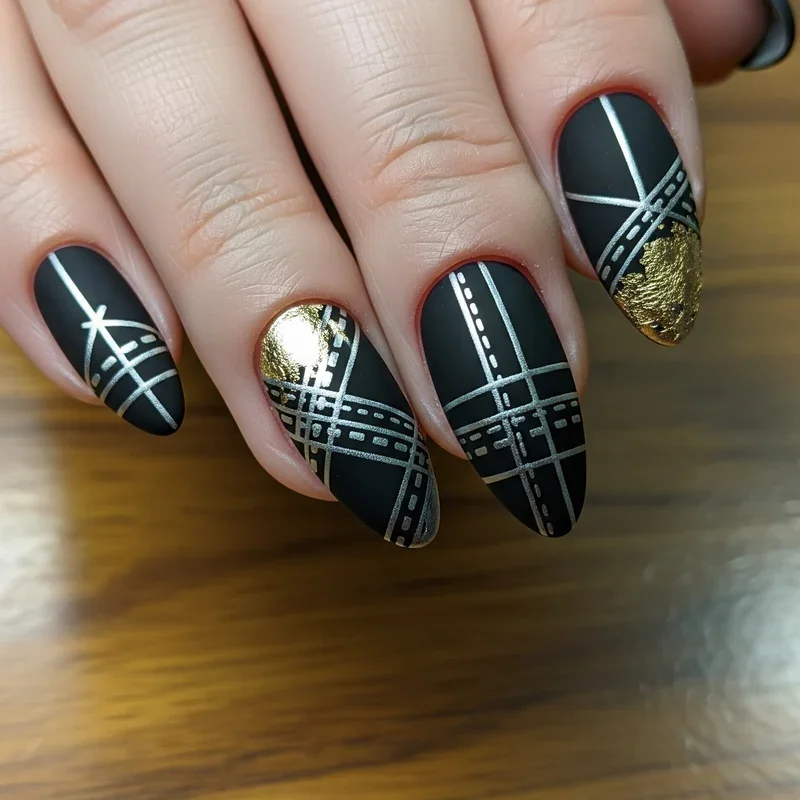
11. Metallic Accent Lines
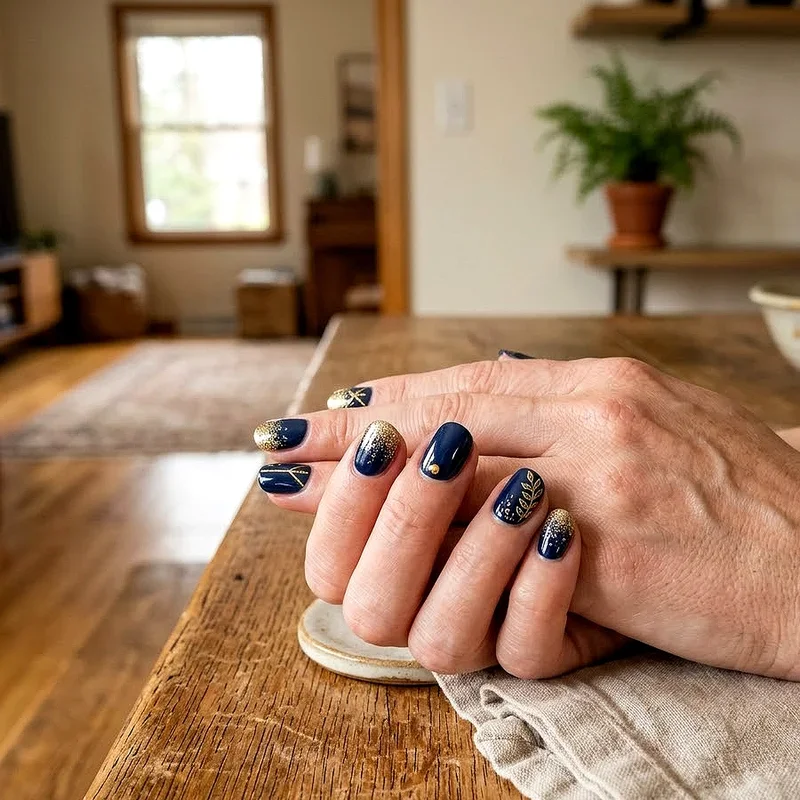
Metallic accents add instant sophistication to any manicure. Using metallic nail polish or striping tape, create thin lines across your nails for a minimalist yet striking effect. You can go for a single horizontal line across the middle, vertical stripes, or diagonal accents. Gold lines on nude nails create an expensive look, while silver on black gives off edgy vibes. The best part about this design? It requires minimal artistic skill but delivers maximum impact. If you're using polish instead of tape, a steady hand helps, but even slightly wobbly lines add character. Try mixing metals for an ultra-modern look, or stick to one metallic shade for classic elegance. This design proves that sometimes the simplest ideas make the biggest statement.
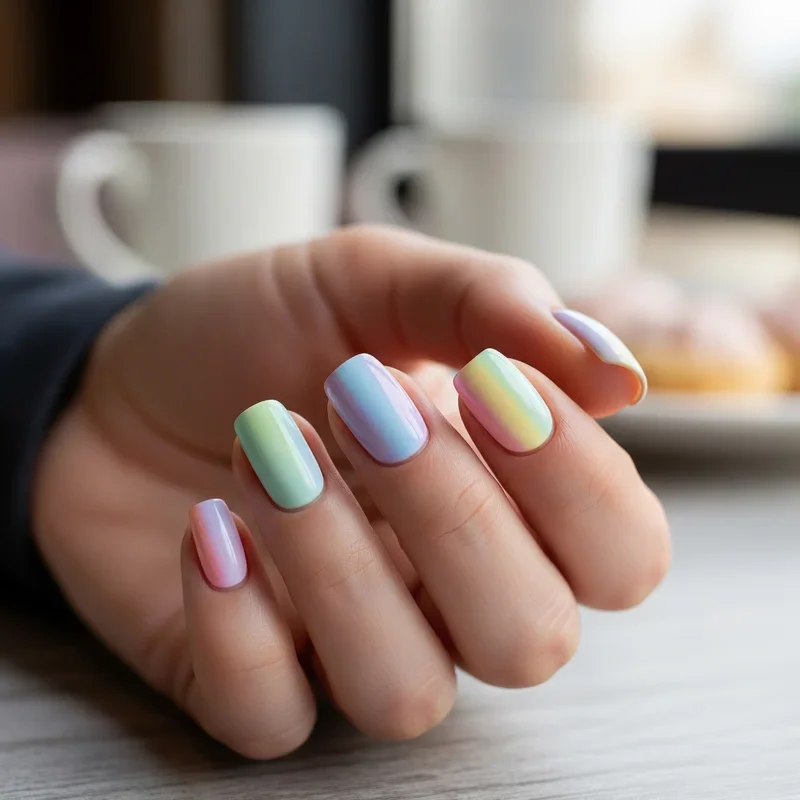
12. Pastel Rainbow Nails
Embrace your colorful side with pastel rainbow nails that are cheerful without being childish. Instead of bright, primary colors, opt for soft pastels like lavender, mint, baby blue, pale yellow, and blush pink. You can paint each nail a different pastel shade or create rainbow stripes on each nail using thin brushes or tape. The muted tones keep the look sophisticated while still being fun and playful. This design works beautifully in spring and summer but can brighten up any gloomy day year-round. For extra dimension, try adding a matte top coat to some nails while keeping others glossy. The contrast in finishes adds visual interest without requiring any additional design skills. Who says rainbows are just for kids?
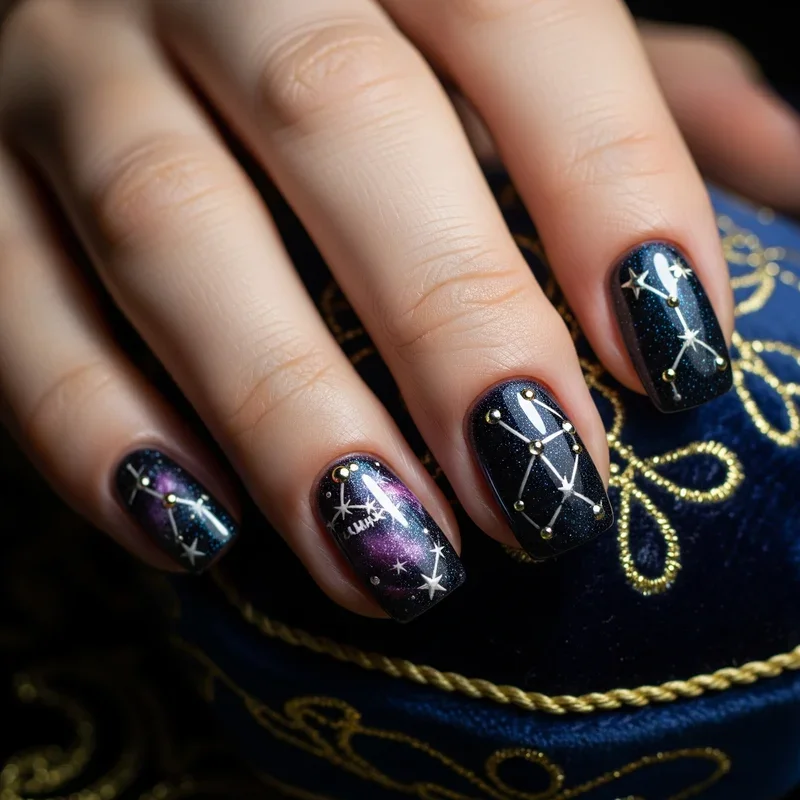
13. Constellation Star Patterns
Bring the night sky to your nails with constellation designs that are out of this world. Start with a dark base like navy, black, or deep purple. Using a dotting tool or toothpick dipped in white or silver polish, create small dots to represent stars. Connect some dots with thin lines to form actual constellations, or just scatter stars randomly for a galaxy effect. Add variety by making some dots larger than others, just like real stars vary in brightness. For extra magic, add a touch of glitter polish over some stars to make them twinkle. This design looks especially stunning on shorter nails where the dark base doesn't overwhelm. It's perfect for those who want something unique but not too flashy.
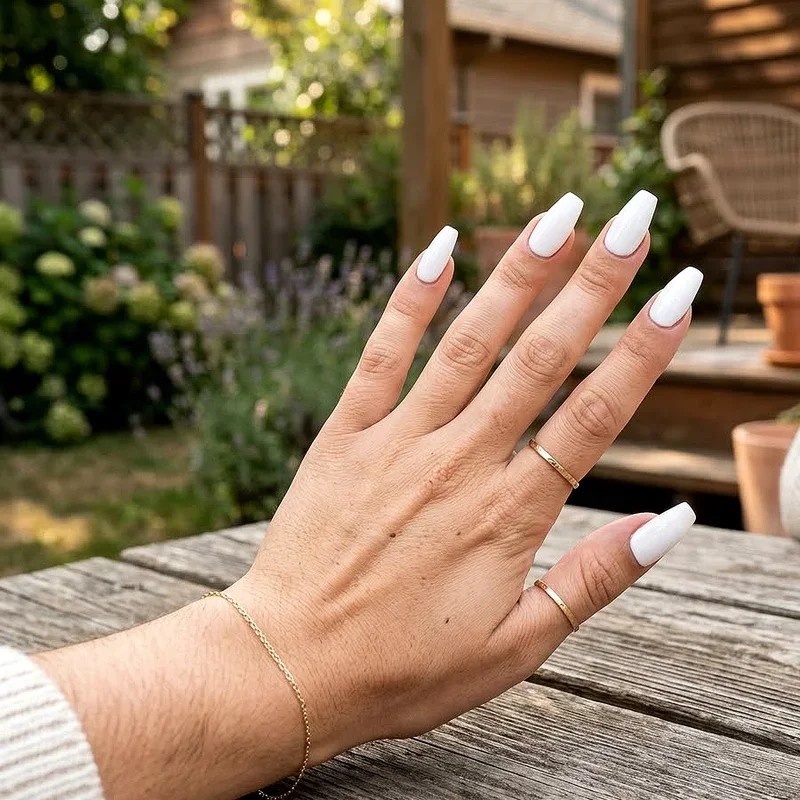
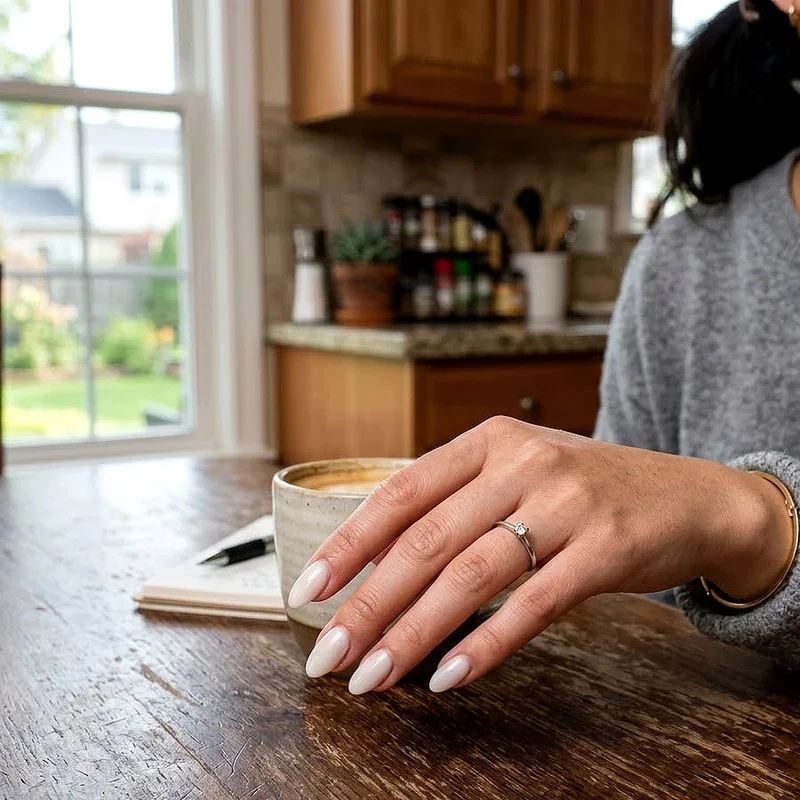
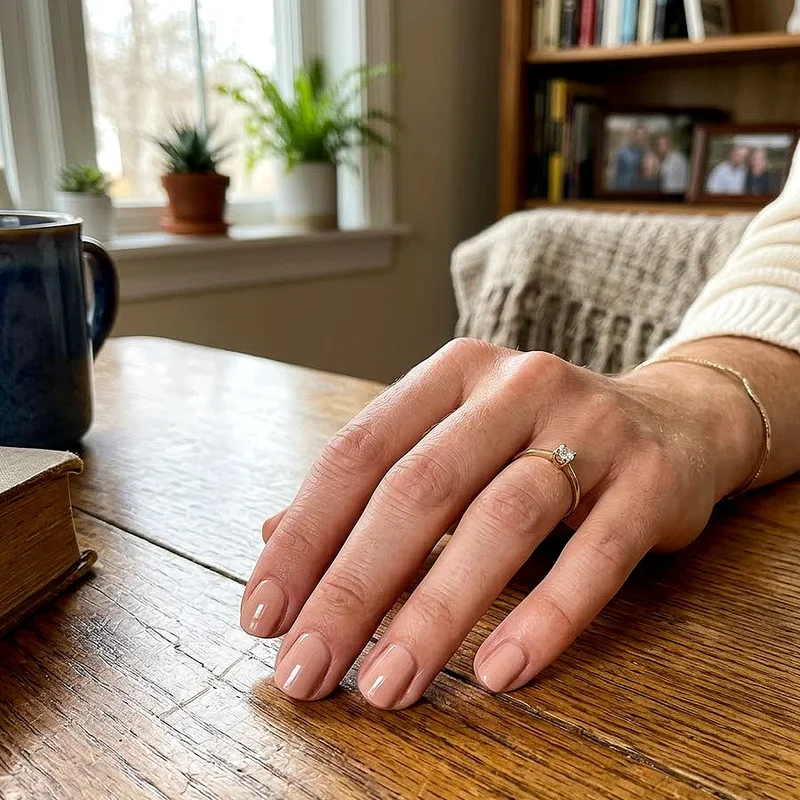
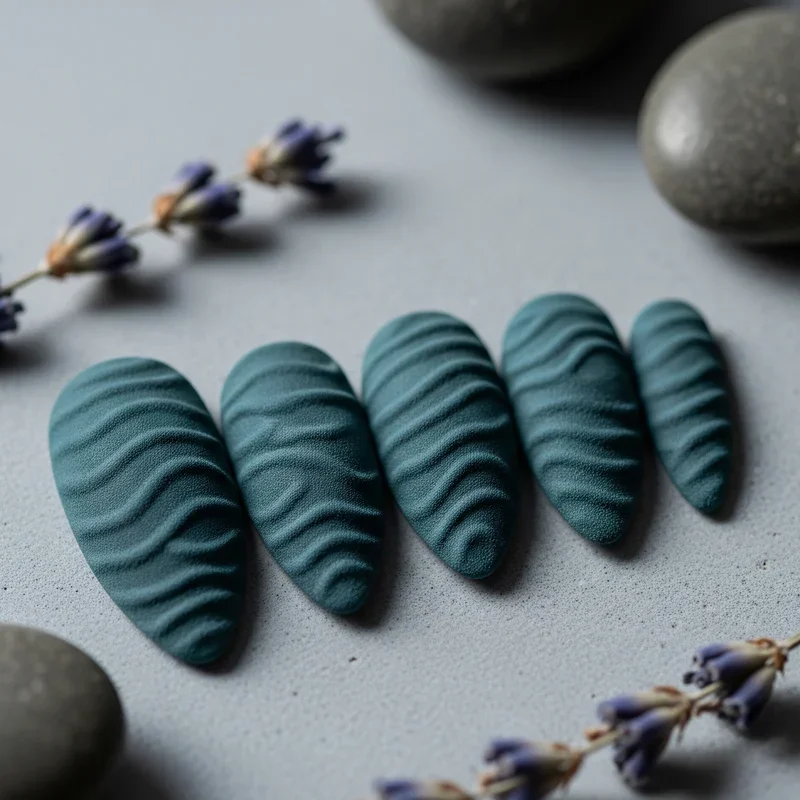
14. Textured Matte Finish
Matte nails have taken the beauty world by storm, and creating this trendy texture is easier than ever. Simply apply your regular polish and finish with a matte top coat instead of glossy. The transformation is instant and dramatic. But why stop there? Create contrast by keeping some nails glossy and others matte, even in the same color. Or try matte base with glossy designs on top using a regular top coat and a thin brush. Deep colors like burgundy, forest green, and navy look especially luxurious in matte, while pastels take on a sophisticated, velvet-like quality. This technique works with any color or design, making it incredibly versatile. Plus, matte polish tends to dry faster, making it perfect for those always on the go.
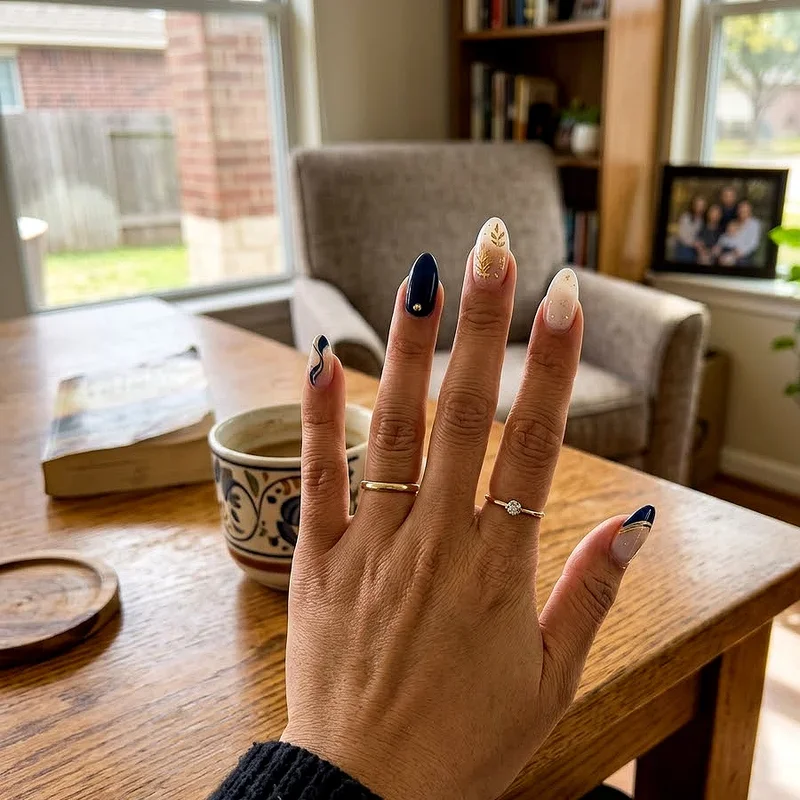
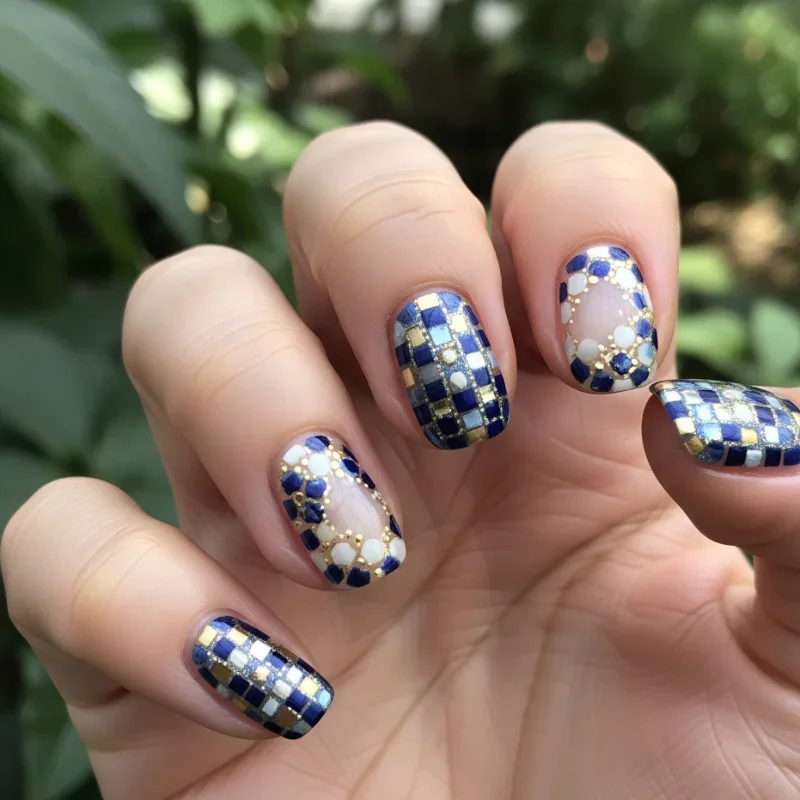
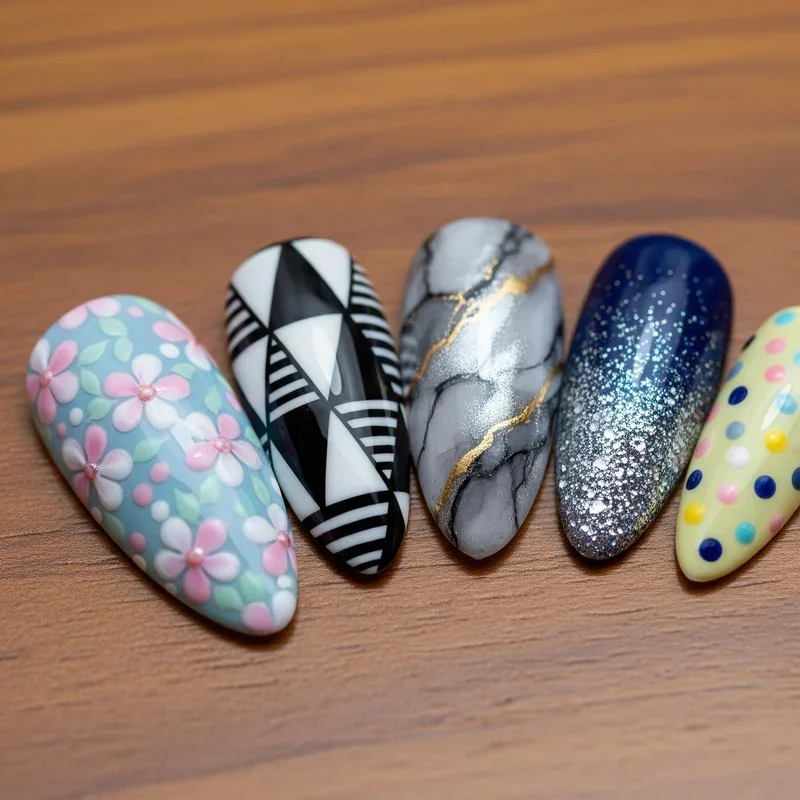
15. Mixed Pattern Combinations
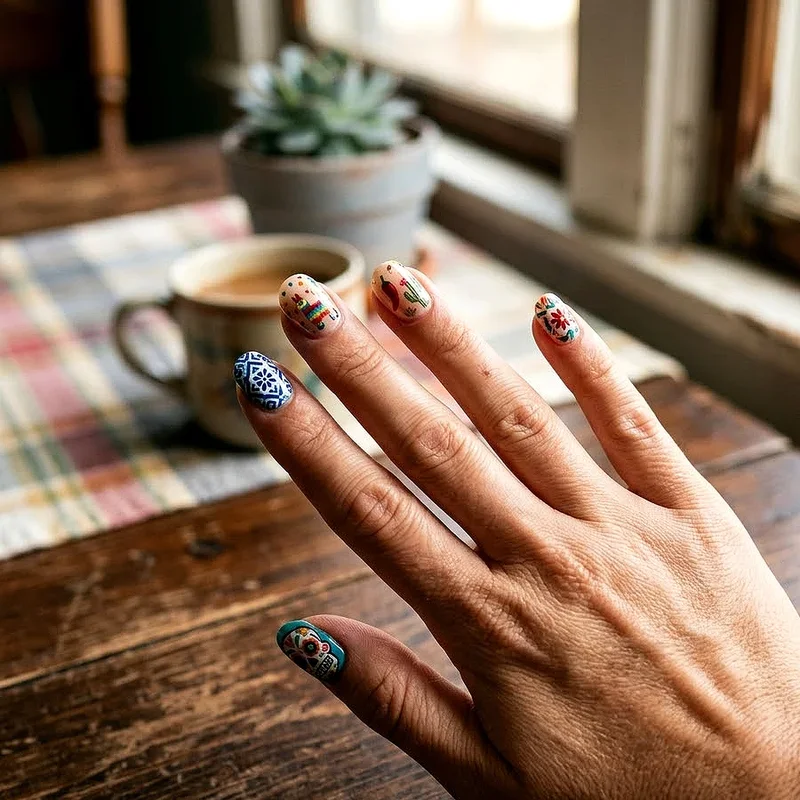
Why choose one design when you can have them all? Mixed pattern manicures let you showcase different techniques on each nail while maintaining a cohesive look. The trick is using a consistent color palette throughout. Try polka dots on your thumb, stripes on your index finger, solid color on the middle, negative space on the ring finger, and glitter on your pinky. As long as you stick to two or three colors maximum, the varied patterns create visual interest without looking chaotic. This approach is perfect for those who can never decide on just one design. It's also great for testing out new techniques; if one nail doesn't turn out perfect, it just adds to the eclectic charm of the overall look.
Conclusion
Creating beautiful nail designs doesn't require expensive tools or professional training. With these 15 easy yet stylish ideas, you can transform your nails into personal works of art. Whether you prefer minimalist elegance or bold statements, there's something here for every style and skill level. Remember, practice makes perfect, and even imperfect designs have their own unique charm. So grab your favorite polishes and start experimenting!
Read next: 15 Acrylic Nail Ideas to Elevate Your Look
Frequently Asked Questions
Q1: How long do these nail designs typically last?
A1: With proper base and top coat, most designs last 5-7 days.
Q2: What tools do I need to start creating nail art?
A2: Basic tools include dotting tools, tape, and thin brushes.
Q3: Can these designs work on short nails?
A3: Yes, most designs adapt beautifully to shorter nail lengths.
Q4: How do I prevent smudging while creating designs?
A4: Always let each layer dry completely before adding more.
Q5: What's the best way to remove nail art?
A5: Use acetone-based remover and soak for easier removal process.
Stay up to date with our latest ideas!