How to Remove Gel Nail Polish at Home Safely
Learn how to remove gel nail polish at home safely with easy steps, expert tips, and damage-free techniques for healthy, beautiful nails.

Well, here's the thing about gel manicures: they're absolutely gorgeous when fresh, but boy oh boy, removing them can feel like solving a Rubik's cube blindfolded! If you've ever tried peeling off that stubborn gel polish (guilty as charged!), you know it's a recipe for disaster. But hang on, there's good news! Learning how to remove gel nail polish at home safely isn't rocket science, and with the right know-how, you'll save both your nails and your wallet.
Let's face it, we've all been there. Your once-pristine gel manicure starts chipping after two weeks, and suddenly you're stuck between a rock and a hard place. Should you book another salon appointment? Or maybe, just maybe, you could tackle this at home? Well, I'm here to tell you that yes, you absolutely can remove gel polish safely in the comfort of your own home, and I'll show you exactly how to do it without turning your nails into a hot mess.
Why Proper Gel Polish Removal Matters
Before diving into the nitty-gritty of removal techniques, let's talk about why proper removal is such a big deal. You see, gel polish bonds to your nail plate differently than regular polish. It's like comparing superglue to a Post-it note! When you peel or pick at gel polish, you're not just removing the color; you're potentially ripping off layers of your actual nail. Ouch!
The consequences of improper removal can be pretty gnarly:
Thin, weak nails that bend like paper
Painful nail bed damage
Increased risk of infection
Rough, uneven nail surfaces
Months of recovery time
Trust me, I learned this the hard way when I first started wearing gel polish. My impatience led to nails so thin, they'd practically wave in the breeze!
Essential Tools and Supplies You'll Need
Alright, let's gather our arsenal! Having the right tools makes all the difference between a smooth removal process and a frustrating nightmare. Here's what you'll need:
Must-Have Supplies:
100% pure acetone (not just nail polish remover!)
Cotton balls or pads
Aluminum foil cut into 10 small squares
Nail file (180-grit works best)
Cuticle pusher or orange stick
Nail buffer
Cuticle oil
Hand cream
Optional but Helpful:
Gel removal clips (if you don't want to use foil)
Small glass bowl
Timer
Nail strengthener
Hand towel
Pro tip: Don't try to substitute acetone with regular nail polish remover. It's like trying to clean grease with water; it just won't work!
Step-by-Step Guide: How to Remove Gel Nail Polish at Home Safely
Now comes the fun part! Well, maybe "fun" is stretching it, but at least it's satisfying when done right. Here's your foolproof guide to removing gel polish without damaging your precious nails.
Step 1: File Down the Top Coat
First things first, you've gotta break through that shiny armor! Using your nail file, gently buff away the top coat of your gel polish. You don't need to file down to your natural nail; just rough up the surface enough to let the acetone penetrate. Think of it as giving the acetone a VIP pass to do its job!
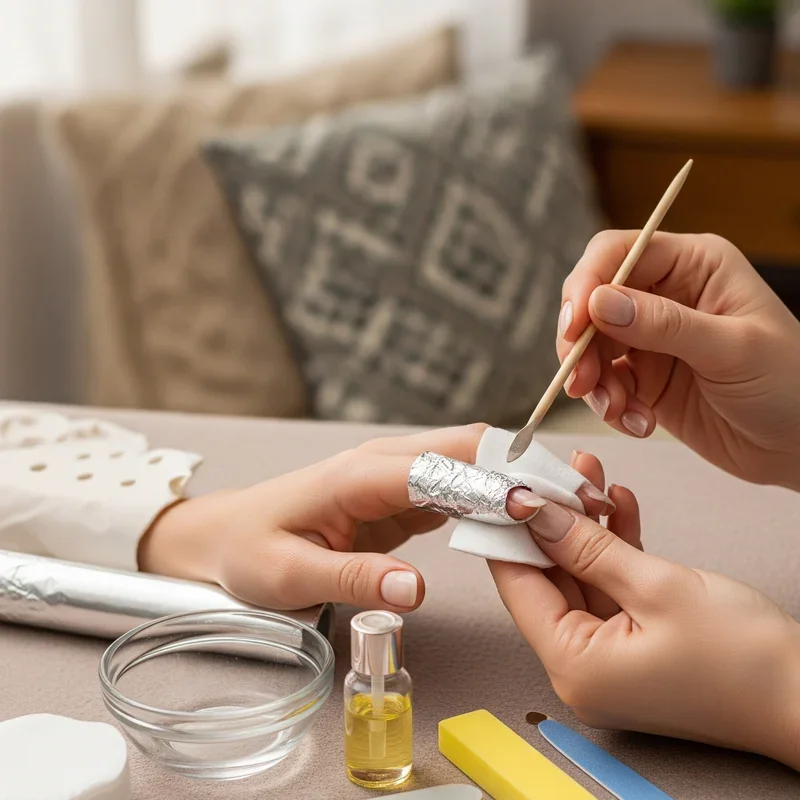
Step 2: Protect Your Skin
Here's a trick I wish I'd known sooner: apply a thick layer of cuticle oil or petroleum jelly around your nails before the acetone bath. Why? Because acetone is super drying, and your skin will thank you for this protective barrier. It's like wearing sunscreen before hitting the beach!
Step 3: Soak Cotton in Acetone
Saturate your cotton balls or pads with acetone. And when I say saturate, I mean really soak 'em! They should be dripping wet. Place one soaked cotton ball on each nail, making sure it covers the entire nail surface.
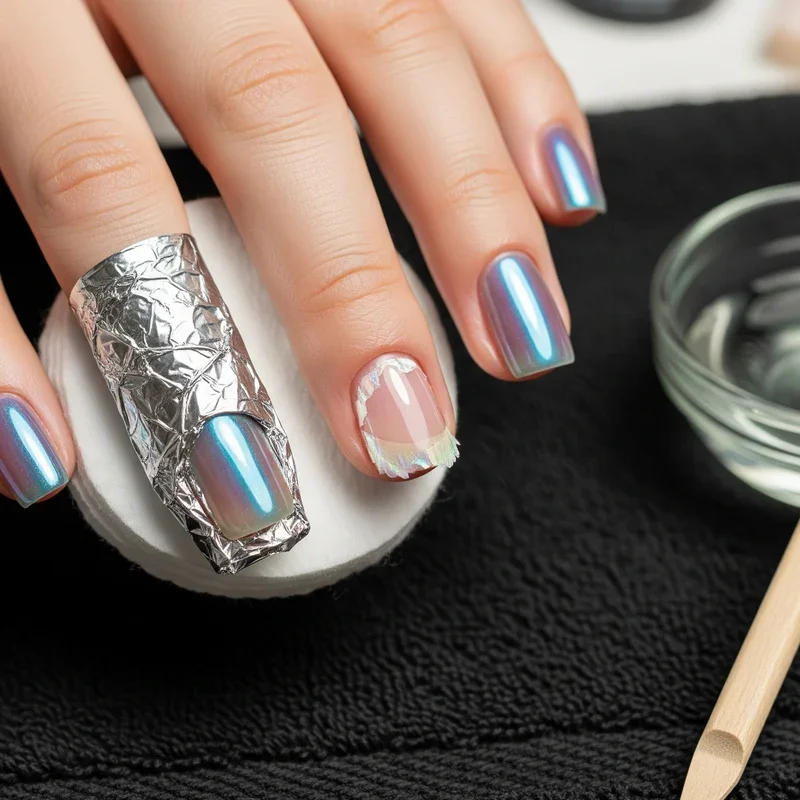
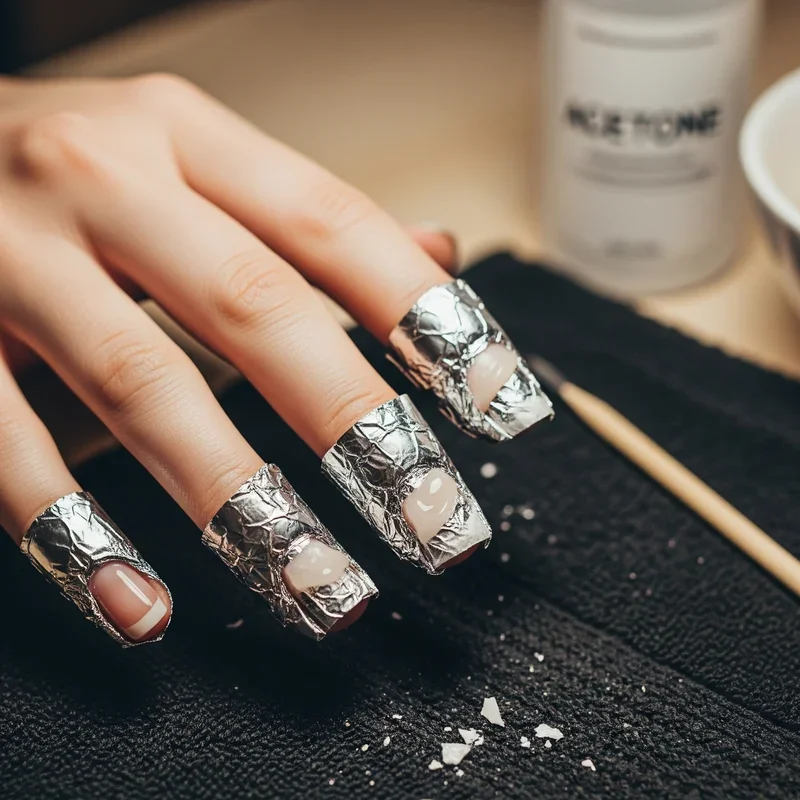
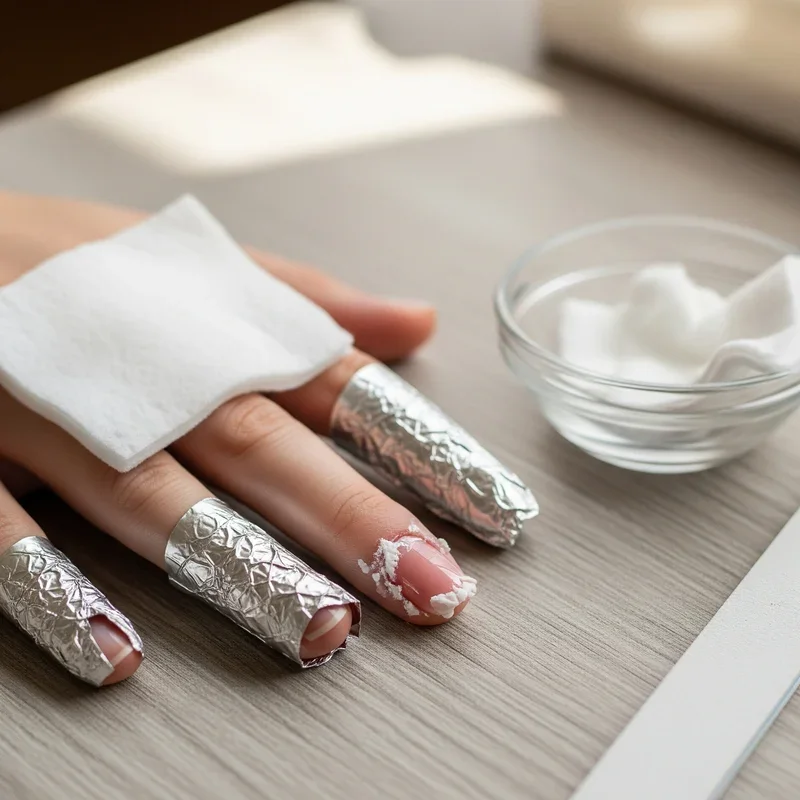
Step 4: Wrap with Aluminum Foil
This is where things get a bit sci-fi looking! Wrap each finger with a small square of aluminum foil, securing the cotton ball in place. The foil creates a little oven effect, trapping heat and helping the acetone work more effectively. You'll look like you're ready to receive alien transmissions, but hey, beauty is pain... or in this case, slightly ridiculous!
Step 5: Wait Patiently (The Hardest Part!)
Set your timer for 10-15 minutes and resist the urge to peek! I know, I know, patience isn't exactly fun when you're sitting there looking like a tin foil monster. But trust the process! Use this time to catch up on your favorite show or scroll through social media with your non-foiled hand.
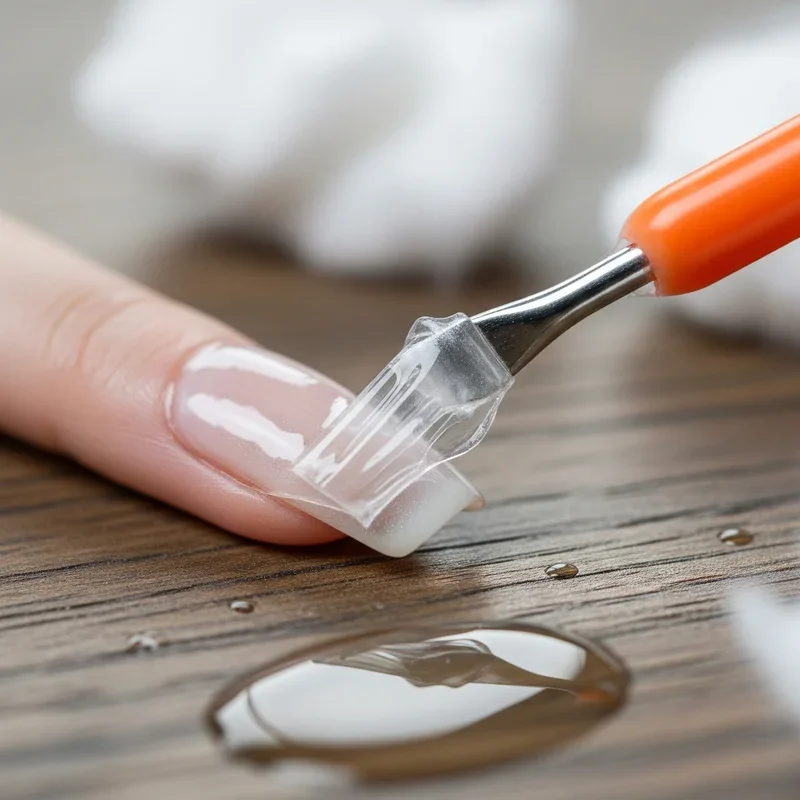
Step 6: Gently Push Off the Polish
After the waiting game, remove one foil wrap at a time. The gel polish should look wrinkled and loose, practically sliding off your nail. Using your cuticle pusher or orange stick, gently push the polish off, starting from the cuticle area and working toward the tip. If it's not coming off easily, rewrap and wait another 5 minutes. Never, and I mean never, force it off!
Step 7: Clean Up Any Residue
Got some stubborn bits hanging on for dear life? Dip a cotton pad in acetone and gently buff away any remaining polish. This isn't the time to go crazy with the file; be gentle with your nails!
Step 8: Buff and Shape
Once all the polish is gone, use your buffer to smooth out any rough spots on your nails. Shape them with your file if needed, but remember, they might be a bit fragile right now, so handle with care!
Step 9: Hydrate, Hydrate, Hydrate!
This step is absolutely crucial! Your nails and cuticles have just been through an acetone marathon, so they're probably drier than the Sahara Desert. Massage in some cuticle oil, letting it really soak in. Follow up with a rich hand cream, and your hands will feel human again!
Alternative Methods for Removing Gel Polish
While the foil method is the gold standard, there are other ways to skin this cat (though I definitely recommend sticking with the tried-and-true method above).
The Soaking Method
Fill a small bowl with acetone and soak your nails for 10-15 minutes. Some folks swear by this method, but honestly? It uses way more acetone and can be messier than a toddler's birthday party. Plus, your whole finger gets the acetone treatment, not just the nail.
Gel Removal Kits
These pre-packaged kits often include special wraps and sometimes even a heating element. They're convenient, sure, but they're also pricier than DIY methods. If you're removing gel polish regularly, though, they might be worth the investment.
Steam Method
Some people place a bowl of acetone in warm water to create acetone vapor. While it sounds fancy, it's not significantly more effective and can be a bit hazardous with all those fumes floating around.
Common Mistakes to Avoid
Let me save you from the mistakes I've made (and seen others make) over the years:
Peeling or picking: This is the cardinal sin of gel removal! It's tempting when you see a little edge lifting, but resist!
Using non-acetone remover: Regular polish remover won't cut it. You need the strong stuff!
Rushing the process: Good things come to those who wait. Trying to speed things up only leads to damage.
Forgetting aftercare: Your nails need some TLC after gel removal. Don't skip the moisturizing!
Filing too aggressively: You're not trying to sand down a piece of furniture here!
Post-Removal Nail Care Tips
Your nails have been through a lot, so showing them some love is essential. Here's how to nurse them back to health:
Give your nails a break from polish for at least a week
Apply cuticle oil daily (make it a bedtime ritual!)
Use a nail strengthener if your nails feel weak
Keep nails shorter while they recover
Wear gloves when cleaning or doing dishes
Eat foods rich in biotin and protein for nail health
When to Seek Professional Help
Sometimes, despite our best efforts, things don't go as planned. Head to a professional if:
Your nails are extremely damaged or painful
You notice signs of infection (redness, swelling, pus)
The gel polish won't budge after multiple attempts
You're dealing with nail extensions or builder gel
You're just not comfortable doing it yourself (and that's totally okay!)
Maintaining Healthy Nails Between Gel Manicures
Want to keep your nails in tip-top shape? Here's the secret sauce:
Space out your gel manicures: Give your nails at least a week or two between applications
Moisturize religiously: Healthy nails start with hydrated nails
Take biotin supplements: They really do help strengthen nails
Use a base coat: When you do get gel polish, a good base coat protects your natural nail
Choose quality products: Cheap gel polish might save money upfront but can damage nails long-term
How to Remove Gel Nail Polish at Home Safely: Quick Tips
For those of you who like things short and sweet, here's the CliffsNotes version:
Always use 100% acetone
File the top coat first
Soak for at least 10-15 minutes
Never force or peel the polish off
Moisturize thoroughly afterward
Give your nails a break between applications
Conclusion
There you have it, folks! Learning how to remove gel nail polish at home safely doesn't have to be intimidating or damaging to your nails. With patience, the right tools, and proper technique, you can achieve salon-quality results from your couch. Remember, healthy nails are always in style, so treat them with the respect they deserve. Happy removal, and may your nails stay strong and fabulous!
Read next: How to Remove Dip Nails at Home Without Damage
Frequently Asked Questions
Q1: Can I use regular nail polish remover instead of acetone?
A: No, regular remover won't effectively break down gel polish bonds.
Q2: How often can I safely wear gel polish?
A: Every 2-3 weeks with breaks between applications is ideal.
Q3: Why do my nails feel thin after removal?
A: Over-filing or improper removal can cause temporary nail thinning.
Q4: Is it safe to remove gel polish while pregnant?
A: Consult your doctor, but ensure good ventilation if proceeding.
Q5: Can I reuse the aluminum foil squares?
A: Yes, clean foil squares can be reused multiple times.
Stay up to date with our latest ideas!