How to Remove Gel Nails Safely Without Damaging Them
Learn how to remove gel nails safely without damaging them. Step-by-step guide with tips, tricks & FAQs for healthy nail removal at home.
So, you've been rocking those gorgeous gel nails for weeks, but now it's time for them to go. Here's the thing though, yanking them off like you're opening a stubborn jar of pickles isn't gonna cut it! Whether you're dealing with chipped polish that's seen better days or you're just ready for a fresh canvas, knowing how to remove gel nails safely without damaging them is absolutely crucial for maintaining healthy, beautiful nails. Look, we've all been there. Sitting on the couch, mindlessly picking at that tiny lifted edge, thinking "just this little bit won't hurt." But oh boy, does it hurt! Not only your nails but your wallet too when you need to repair the damage later. The good news? With the right approach and a smidge of patience, you can bid farewell to your gel manicure without turning your nails into a disaster zone.
Why Proper Gel Nail Removal Matters
Before diving headfirst into the removal process, let's talk about why this whole shebang matters in the first place. Gel polish, unlike its regular cousin, bonds tightly to your nail plate. It's basically like super glue's sophisticated sibling who went to beauty school. This strong adhesion is what gives you those weeks of chip-free wear, but it also means removal requires some finesse.
Improper removal can lead to:
Thin, weak nails that bend like wet cardboard
Painful peeling and splitting
White spots and ridges
Increased risk of infection
Months of recovery time for severely damaged nails
Trust me, taking shortcuts now means paying the price later. Your future self will thank you for doing this right!
What You'll Need for Safe Gel Nail Removal
Alright, let's get down to brass tacks. Gathering your supplies beforehand makes the whole process smoother than butter on hot toast. Here's what you'll need in your arsenal:
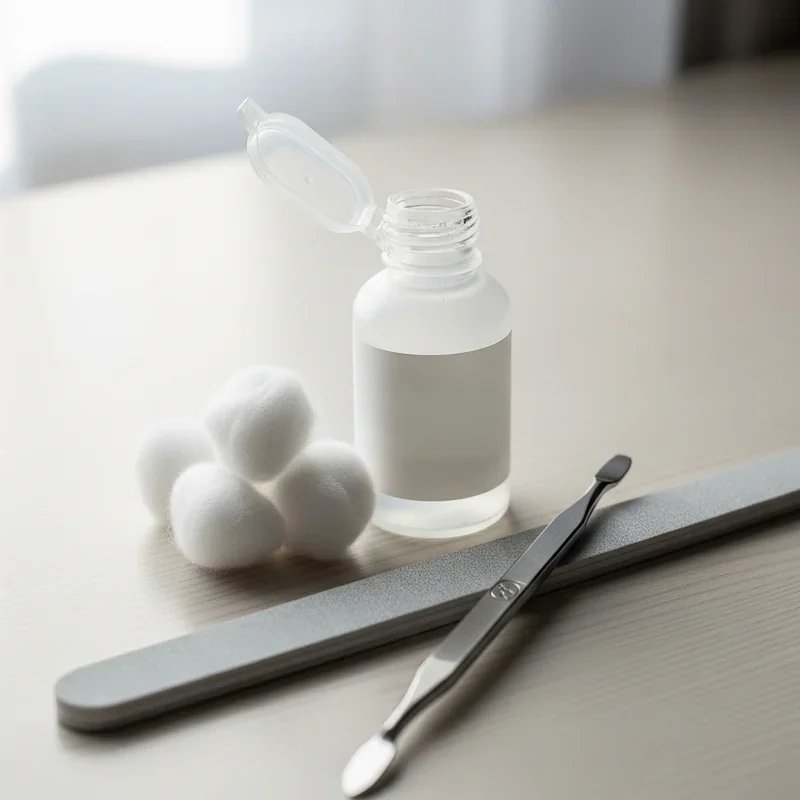
Essential Supplies
100% pure acetone (the real deal, not the watered-down stuff)
Cotton balls or pads (10 pieces, one for each finger)
Aluminum foil cut into 10 squares (about 3x3 inches each)
A nail file (100/180 grit works best)
Cuticle oil or moisturizer
A timer or clock
Orange wood stick or metal cuticle pusher
Nail buffer
Hand cream
Optional But Helpful Items
Small glass bowl (if you're going the soaking route)
Petroleum jelly or thick cream
Nail strengthener
Towel for your work surface
Good lighting or desk lamp
How to Remove Gel Nails Safely Without Damaging Them: The Step-by-Step Process
Step 1: File Down the Top Coat
First things first, you've gotta break through that shiny armor. Using your nail file, gently buff away the top coat until the shine completely disappears. Don't go crazy here; you're not trying to file down to your natural nail! Just rough up the surface enough so the acetone can penetrate. Think of it like sanding wood before painting, except way more delicate.
This step is crucial because gel polish has multiple layers, and that top coat is specifically designed to seal everything in. Without breaking through it, you'll be sitting there with acetone-soaked fingers until the cows come home, wondering why nothing's happening.
Step 2: Protect Your Skin
Here's a pro tip that'll save your cuticles from looking like the Sahara Desert: apply a thick layer of petroleum jelly or heavy cream around your nails. Acetone is fantastic at removing polish, but it's also incredibly drying. Your skin will absorb it like a sponge, leaving you with dry, irritated fingers if you're not careful.
Just dab it around the edges of your nails, avoiding the nail plate itself. You want the acetone to work on the polish, not slide off because of the barrier cream!
Step 3: The Acetone Soak Method
Now comes the main event! There are two ways to go about this, and honestly, both work like a charm.
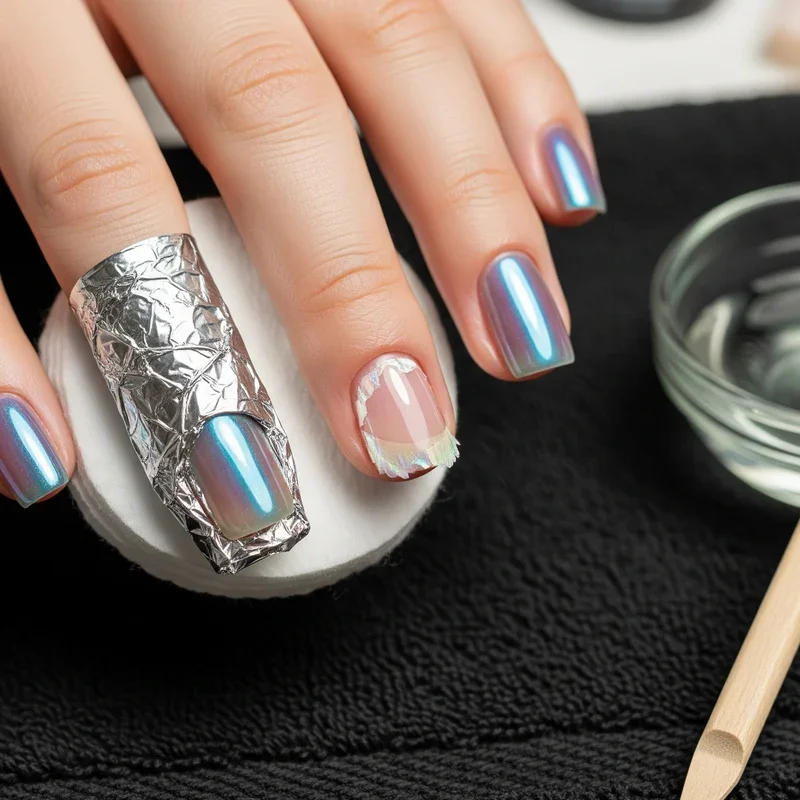
The Foil Wrap Method (Most Popular)
Soak a cotton ball or pad in acetone until it's dripping wet
Place it directly on your nail
Wrap each finger tightly with aluminum foil
Set your timer for 10-15 minutes
Kick back and relax (maybe catch up on that show you've been meaning to watch)
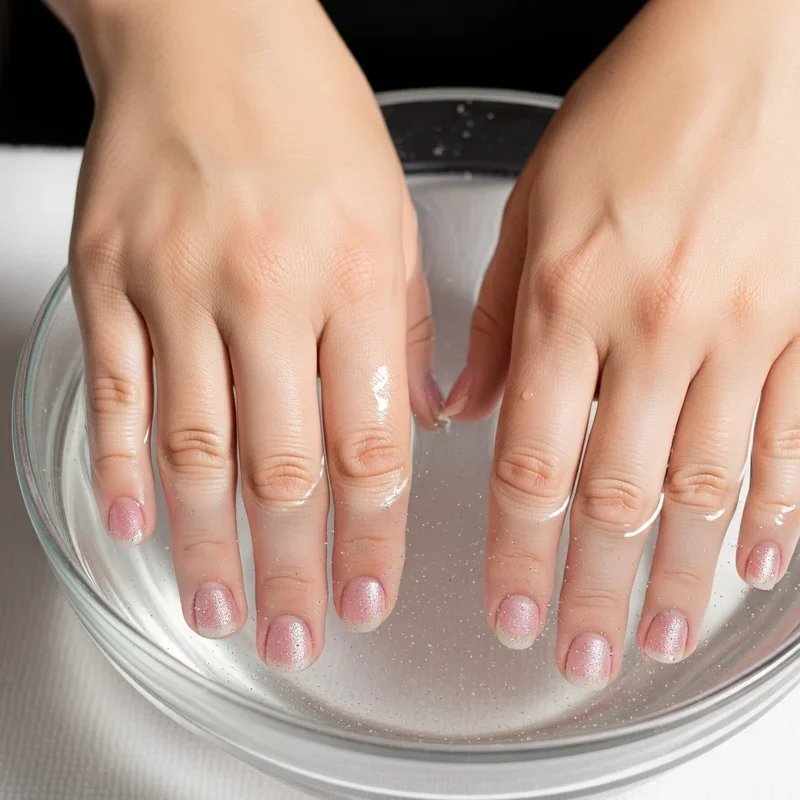
The Bowl Soak Method
Pour acetone into a small glass bowl
Apply extra petroleum jelly to protect your fingertips
Soak your nails for 10-15 minutes
Keep your hands as still as possible
Whichever method you choose, patience is key. Don't rush this process! The acetone needs time to break down those chemical bonds.
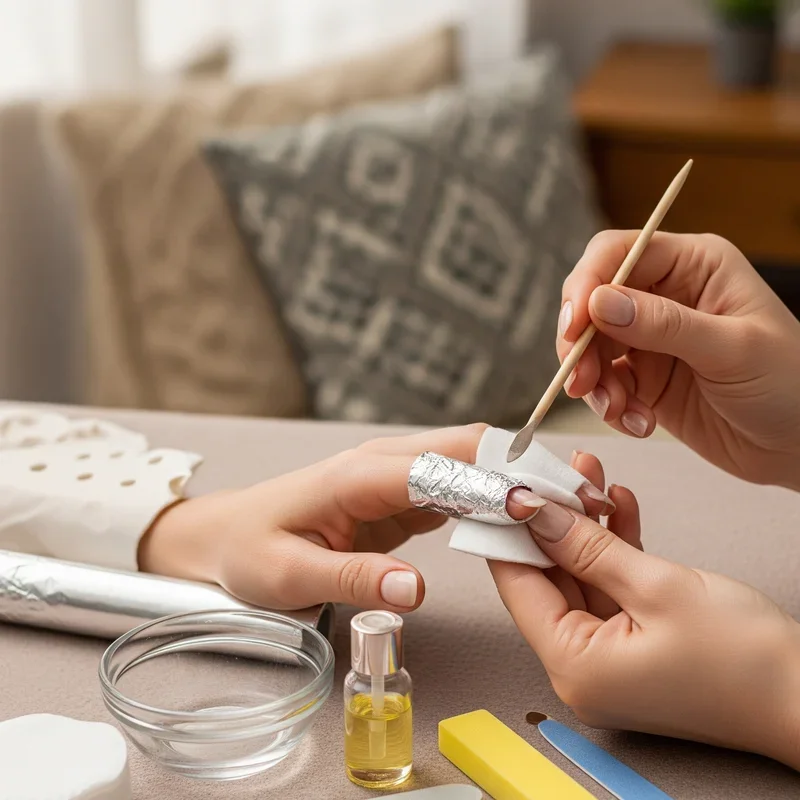
Step 4: Check and Gently Push
After your timer goes off, remove one foil wrap to check the progress. The gel should look like it's bubbling up or sliding off the nail. If it's ready, use your orange stick or cuticle pusher to gently nudge the polish off. It should slide away easily, like butter melting off warm bread.
If it's putting up a fight, don't force it! Rewrap that finger and give it another 5 minutes. Some gels are more stubborn than others, especially if they've been on for a while or if multiple coats were applied.
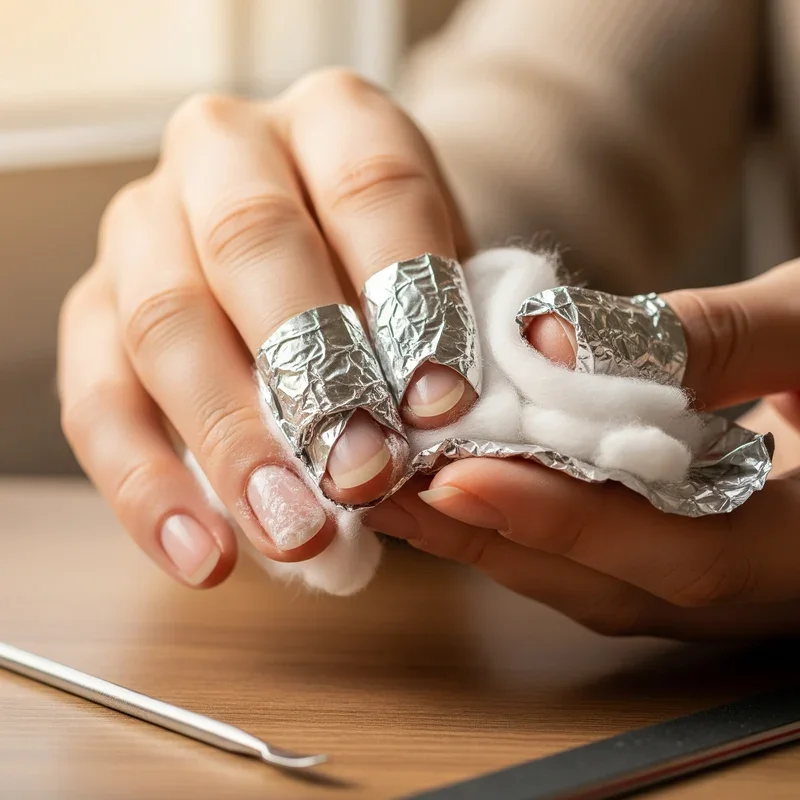
Step 5: Remove Residual Polish
Even after the bulk of the polish comes off, you might notice some clingy bits hanging around like party guests who don't know when to leave. Here's where gentle persistence pays off:
Soak a fresh cotton pad with acetone
Gently rub any remaining patches
Use the orange stick to carefully scrape away stubborn spots
Avoid aggressive scraping or picking
Remember, we're going for "gentle encouragement," not "hostile takeover" when dealing with leftover polish!
Post-Removal Nail Care
Congratulations! You've successfully mastered how to remove gel nails safely without damaging them. But hold your horses, we're not done yet! Your nails have just been through quite an ordeal, and they need some TLC.
Immediate Aftercare
Right after removal, your nails might look a bit rough around the edges. That's totally normal! Here's what to do:
Gently buff away any remaining residue with a nail buffer
Wash your hands thoroughly with soap and warm water
Apply cuticle oil generously and massage it in
Follow up with a rich hand cream
Give your nails a break from polish for at least a few days
Long-term Recovery Tips
If your nails are feeling a bit worse for wear, don't panic! With proper care, they'll bounce back in no time:
Keep nails short while they recover
Apply strengthening treatments daily
Stay hydrated (your nails will thank you)
Take biotin supplements if you're into that sort of thing
Wear gloves when cleaning or doing dishes
Moisturize religiously, especially before bed
Common Mistakes to Avoid
We've all got that friend who insists on peeling off their gel polish like it's a temporary tattoo. Don't be that friend! Here are the biggest no-nos when it comes to gel removal:
Peeling or Picking
This is the cardinal sin of gel nail removal. When you peel off gel polish, you're taking layers of your actual nail with it. It's like ripping off a band-aid, except the band-aid is super-glued to your skin. Ouch!
Using Non-Acetone Polish Remover
Regular polish remover is about as effective as trying to clean grease with water. You need the heavy-duty stuff (100% acetone) to break down gel polish properly. Don't waste your time with anything less!
Rushing the Process
Patience, young grasshopper! Trying to speed things up by forcing the polish off will only lead to damage. Good things come to those who wait, and healthy nails come to those who follow the proper removal process.
Skipping the Aftercare
Your nails are vulnerable after gel removal, like a hermit crab between shells. Skipping the moisturizing and strengthening steps is asking for trouble down the road.
When to Seek Professional Help
Sometimes, despite our best efforts, DIY just isn't cutting it. Here's when you should throw in the towel and head to the salon:
If you have multiple layers of gel or dip powder
When dealing with nail extensions or tips
If you notice any signs of infection or severe damage
When the gel won't budge after multiple attempts
If you're dealing with builder gel or hard gel systems
There's no shame in calling in the pros! They've got professional-grade tools and experience that can save your nails from unnecessary trauma.
Alternative Removal Methods
While the acetone method is tried and true, there are a few other approaches floating around the internet. Let's separate fact from fiction:
The Steam Method
Some folks swear by using steam to loosen gel polish. While it might help slightly, it's not nearly as effective as acetone and can take forever. Plus, all that moisture isn't great for your nails.
Oil-Based Removal
There are claims that soaking nails in oil can remove gel polish. Spoiler alert: it doesn't work. Save your olive oil for cooking!
Non-Acetone Gel Removers
These products exist, but they often contain other harsh chemicals and take much longer to work. Stick with good old acetone for the best results.
Maintaining Healthy Nails Between Gel Manicures
If you're a gel polish devotee, giving your nails regular breaks is essential. Think of it like crop rotation for farmers, except you're farming fabulous nails! Here's how to keep them in tip-top shape:
Take a breather between applications (at least a week)
Keep nails trimmed and filed
Invest in quality nail care products
Consider using nail strengtheners during breaks
Stay consistent with cuticle care
Eat a balanced diet rich in protein and vitamins
Conclusion
There you have it, folks! Now you know exactly how to remove gel nails safely without damaging them. With the right tools, techniques, and a dash of patience, you can maintain gorgeous, healthy nails while still enjoying the long-lasting beauty of gel manicures. Remember, taking those extra few minutes to do it properly saves you weeks of recovery time and keeps your nails looking their absolute best!
Read next: How to Remove Gel X Nails Safely and Effectively
Frequently Asked Questions
Q1: How often can I safely wear gel nail polish?
A: Every 2-3 weeks with proper removal and care breaks.
Q2: Can I reuse the aluminum foil wraps?
A: Yes, if they're not torn or heavily acetone-soaked.
Q3: Why does acetone make my nails white?
A: It's temporary dehydration that goes away with moisturizing.
Q4: Is it safe to remove gel nails while pregnant?
A: Consult your doctor, but ensure good ventilation if approved.
Q5: How long should I wait before applying new gel polish?
A: Wait at least 3-7 days for nails to recover.
Stay up to date with our latest ideas!