15 Holographic Nail Ideas That Shine from Every Angle
Discover 15 stunning holographic nail ideas that capture rainbow light from every angle. Get inspired by these dazzling designs today.
Have you ever watched sunlight dance across a prism and wished you could wear that magic on your fingertips? Holographic nails make that dream a reality, transforming your manicure into a mesmerizing light show that captivates everyone who catches a glimpse. These stunning designs have taken the nail art world by storm, and honestly, it is easy to see why. The way holographic polish shifts through every color of the rainbow as your hands move creates an almost hypnotic effect that never gets old. Whether you prefer subtle shimmer or full-on disco ball vibes, there is a holographic look waiting for you. From casual coffee runs to elegant evening events, these prismatic beauties adapt to any occasion while making you feel like you are carrying your own personal rainbow wherever you go.
1. Classic Silver Holographic Nails
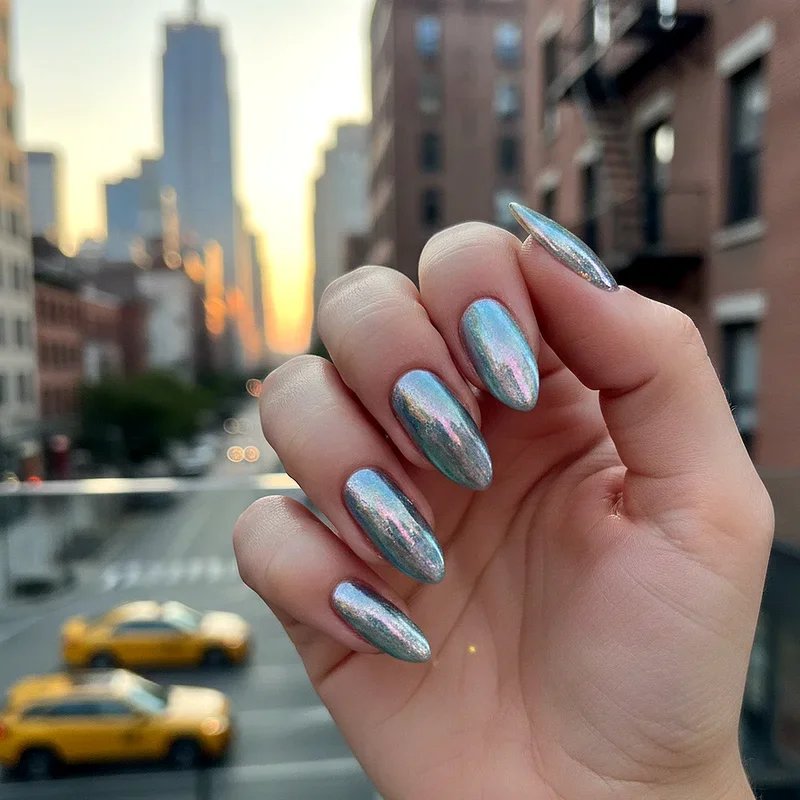
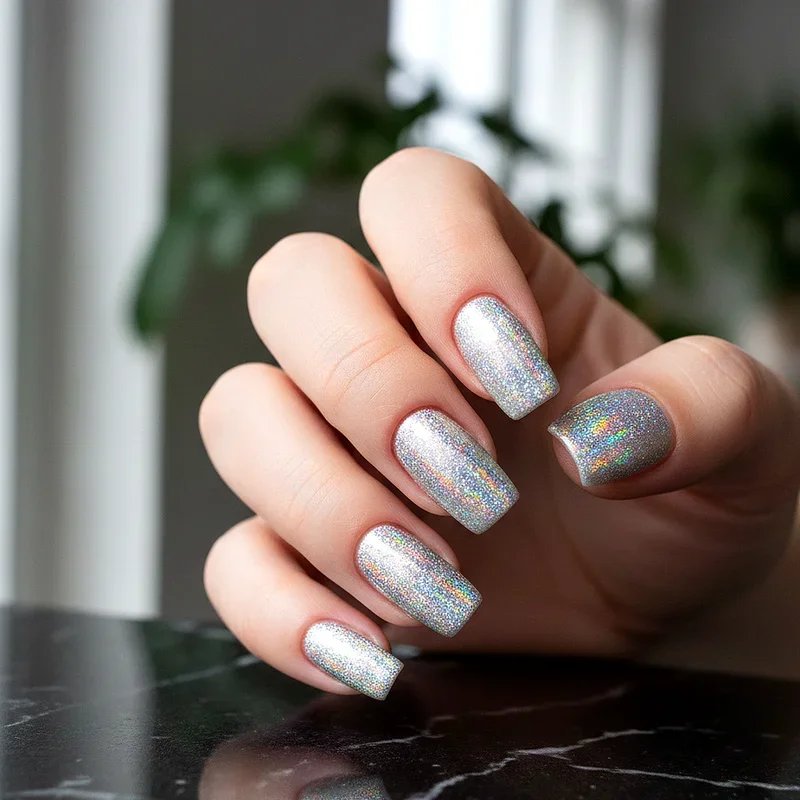
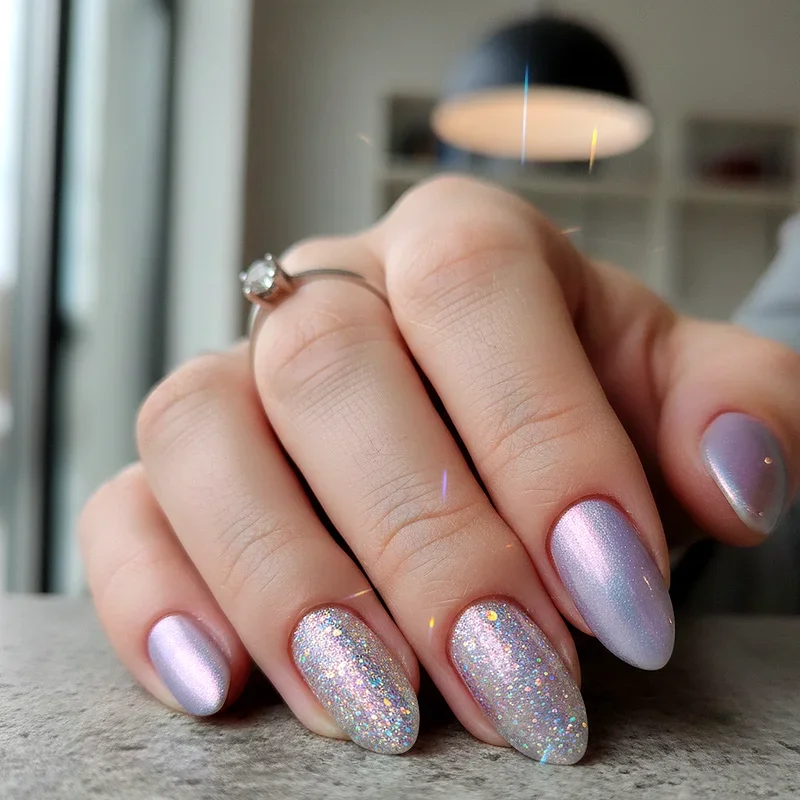
The timeless silver holographic manicure remains the queen of prismatic nail art for good reason. This versatile shade works like a blank canvas that catches every wavelength of light and scatters it into thousands of tiny rainbows across your nails. Picture molten mercury mixed with crushed diamonds, and you are getting close to the visual feast this look delivers. Silver holographic polish pairs beautifully with literally everything in your wardrobe, from jeans and a t-shirt to your fanciest little black dress. The particles in these polishes are so finely milled that they create a seamless, almost liquid effect that looks different from every angle. Apply two thin coats over a sticky base coat for maximum adhesion, and seal everything with a quick-dry topcoat to protect that gorgeous shimmer.
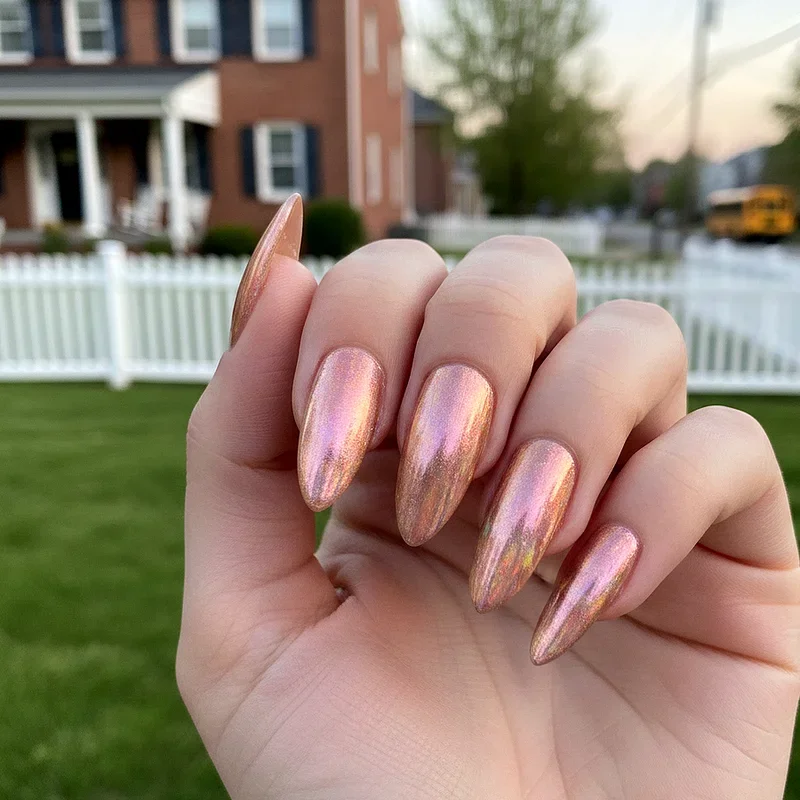
2. Rose Gold Holographic Dreams
Rose gold has captured hearts across the beauty world, and when you add holographic magic to this beloved shade, something truly extraordinary happens. This warmer take on holographic nails flatters every skin tone while projecting soft pink and golden light that feels romantic and modern simultaneously. Think of it as sunset captured in a bottle, with all those peachy pinks and warm champagne tones dancing together on your fingertips. The rose gold base provides enough pigmentation to maintain depth while the holographic particles add that ethereal quality we all crave. This shade works particularly well for weddings, date nights, and any occasion where you want to look put together without being too flashy. The subtle warmth makes your hands look healthy and radiant even on the grayest winter days.
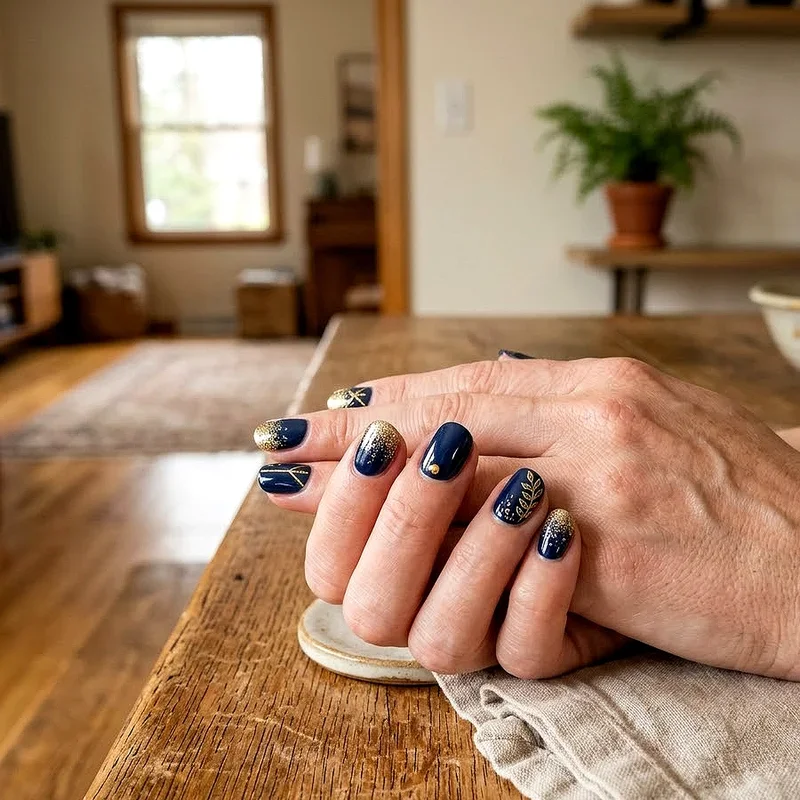
3. Midnight Galaxy Holographic Design
Transform your nails into tiny windows to the cosmos with this enchanting dark holographic style that mimics the night sky. Deep navy or black holographic polishes create a backdrop that makes those rainbow particles pop like actual stars scattered across the universe. You can take this look further by adding small constellation designs using white nail art pens or tiny rhinestones placed strategically to represent your favorite star patterns. The contrast between the dark base and the brilliant holographic shift creates drama that demands attention without screaming for it. This design works beautifully for evening events, concerts, or whenever you want your nails to tell a story bigger than themselves. Layer a glossy topcoat to enhance that wet, dimensional look that makes people want to stare at your hands all night long.

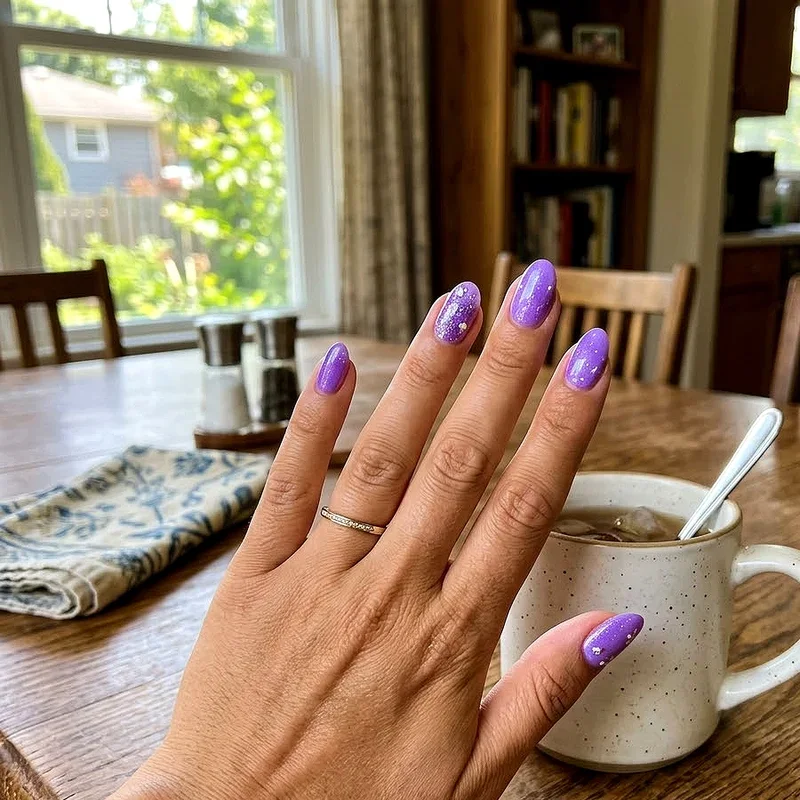
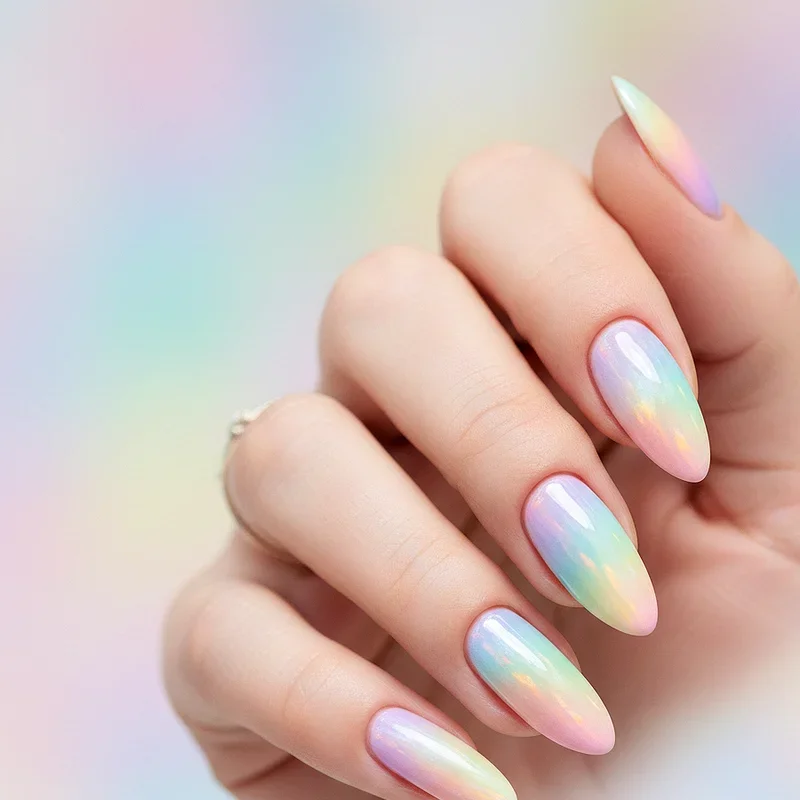
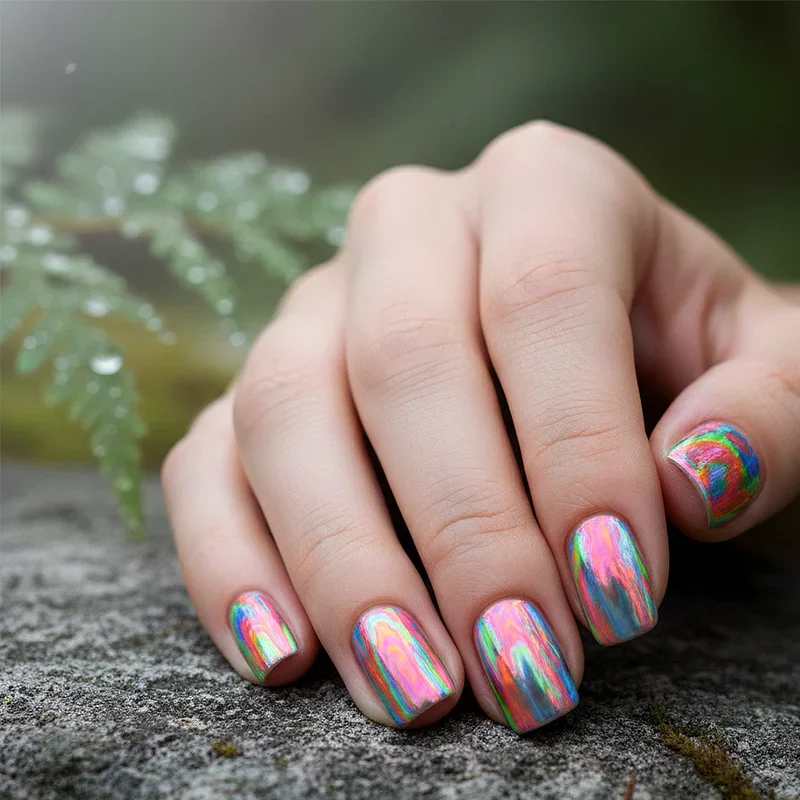
4. Pastel Rainbow Holographic Gradient
Why choose one color when you can wear them all in soft, dreamy pastel tones that blend together like cotton candy clouds? This gradient technique uses multiple pastel holographic polishes that transition smoothly from one nail to the next or even across each individual nail. Start with lavender on your thumb, move through mint, baby pink, butter yellow, and finish with soft blue on your pinky for a full rainbow effect. The holographic particles in each shade connect the colors visually, creating continuity even as the base tones change. Alternatively, sponge multiple colors onto each nail for an ombre effect that looks professionally done but is surprisingly achievable at home. The pastel approach keeps this bold concept feeling approachable and wearable for everyday situations where full-intensity color might feel like too much.
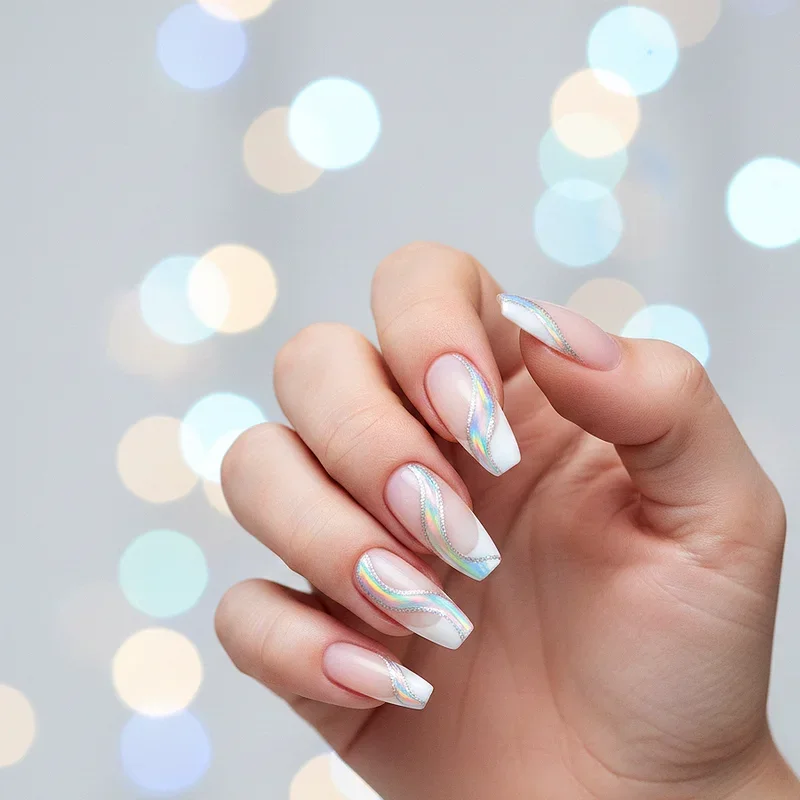
5. Holographic French Tip Twist
Give the classic French manicure a futuristic upgrade by replacing that traditional white tip with brilliant holographic polish that catches light like liquid diamonds. This modern interpretation keeps the elegant structure of the original design while injecting serious wow factor that turns heads wherever you go. You can opt for a sharp, straight smile line for a sleeker look, or try a deeper V-shaped tip for added drama and nail-lengthening effects. The naked or nude base provides beautiful contrast that lets the holographic tips really shine as the star of the show. This design bridges the gap between office-appropriate and party-ready, making it perfect for people who want versatility from their manicure. Try using a thin striping brush or French tip guides to achieve clean lines that make this look truly polished and professional.
6. Chrome and Holographic Fusion
Combine two powerhouse nail trends by pairing mirror-like chrome finishes with holographic toppers for an otherworldly effect that seems impossible until you see it. The chrome base provides that liquid metal smoothness while the holographic particles add dimension and rainbow reflections that chrome alone cannot achieve. This combination works especially well in silver tones, where the chrome creates depth and the holographic particles float on top like a thousand tiny prisms catching light. The layering technique matters here, so apply your chrome as directed, cure or dry completely, then add your holographic polish on top for maximum impact. This look screams futuristic glamour and works beautifully for fashion-forward events, photo shoots, or whenever you want your nails to look like they belong in a science fiction movie.
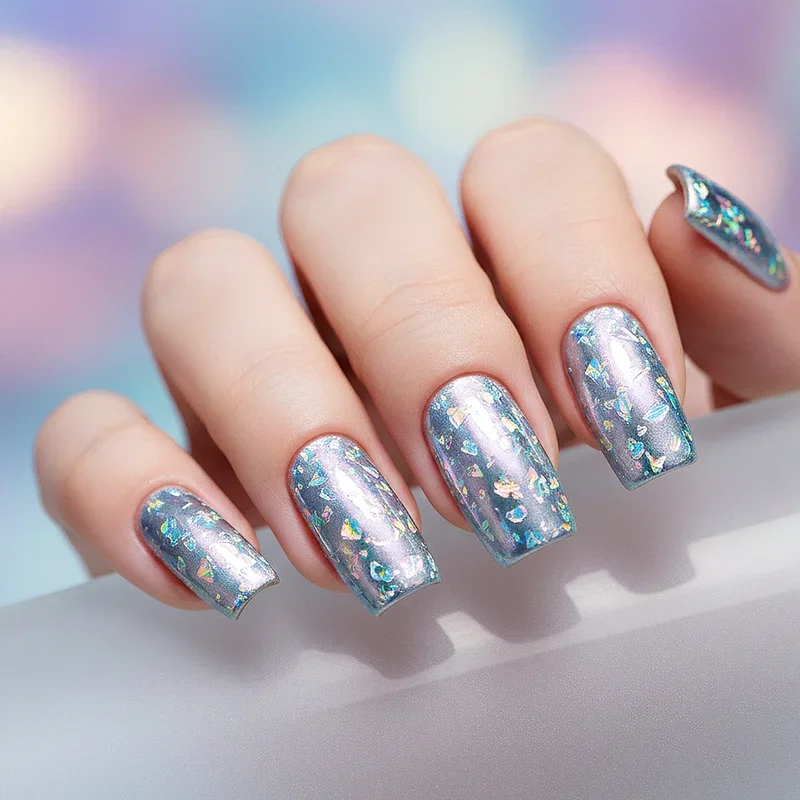
7. Holographic Glitter Accent Nails
Sometimes more is more, and adding chunky holographic glitter to one or two accent nails creates a balanced design that still delivers serious sparkle. Choose your ring finger or thumb as your statement nail and cover it completely with large holographic glitter particles while keeping other nails in a coordinating solid shade. This approach lets you enjoy the excitement of glitter without committing to the higher maintenance that full glitter nails require during removal. The accent nail concept also works wonderfully for those just dipping their toes into holographic territory, offering a taste without full immersion. Mix different sizes of holographic glitter for added dimension, or stick with uniform particles for a cleaner look. Encapsulate your glitter properly with thick topcoat layers to prevent catching and prolong the wear time of your sparkly masterpiece.
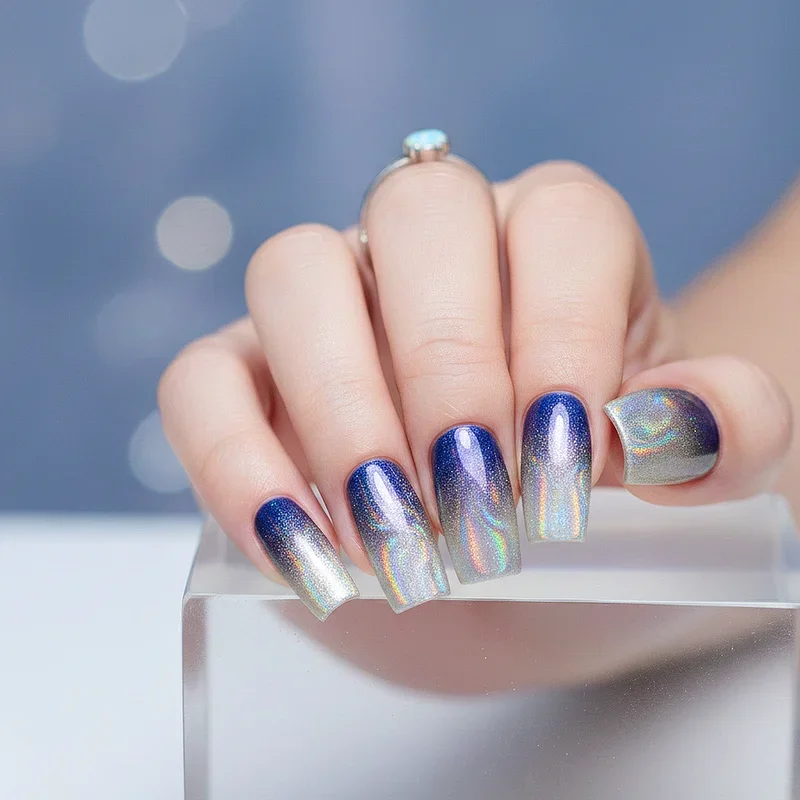
8. Ombre Holographic Fade
Master the art of gradient with this stunning technique that transitions from dense holographic coverage at the tips to subtle shimmer near the cuticles. This design creates beautiful movement and dimension that makes your nails look professionally done even when you create them at home with a simple sponge technique. The fade effect elongates nails visually and adds sophistication that straight holographic coverage cannot quite match on its own. Start by applying your base color, then load a makeup sponge with holographic polish and dab it onto the tip area, building intensity gradually with multiple applications. The key is patience and allowing each layer to dry slightly before adding more product to avoid muddiness. This versatile look works in any color family, from classic silver fading into nude to bold blue transitioning into soft lavender.
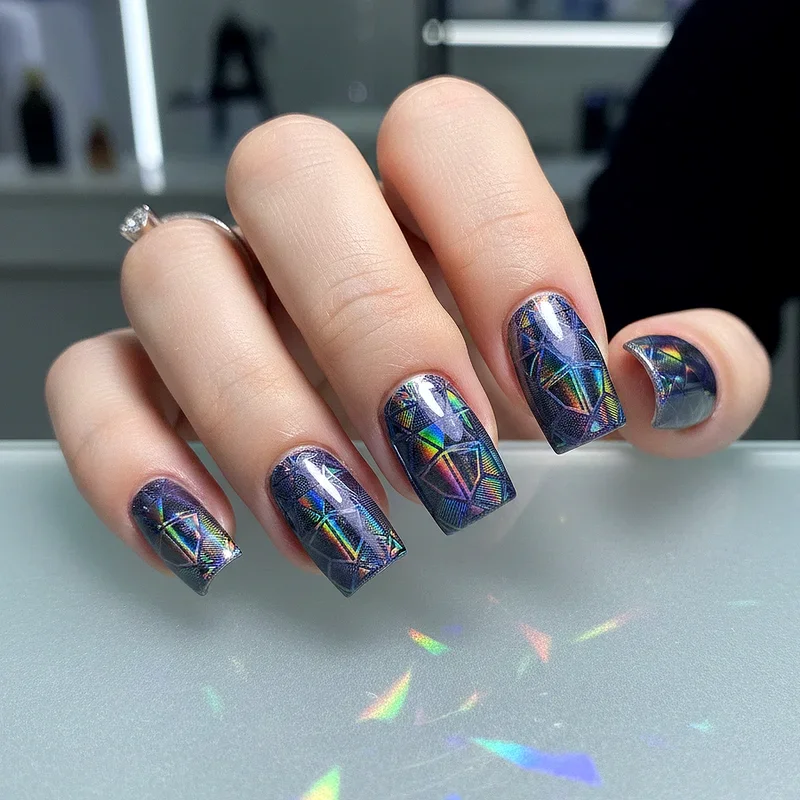
9. Geometric Holographic Patterns
Unleash your inner architect by creating precise geometric designs using holographic polish against matte or cream-colored backgrounds for striking visual contrast. Triangles, chevrons, negative space patterns, and even complex tessellations all look absolutely stunning when executed with that rainbow-shifting holographic goodness. Use striping tape or nail vinyls to achieve crisp lines that make your geometric patterns look laser-cut and intentional rather than wobbly and amateur. The contrast between the flat, calm background and the dazzling holographic sections creates visual interest that keeps people looking longer. Plan your design beforehand, sketching it out if helpful, because precision matters enormously with geometric styles. This more artistic approach shows off your creative side while still riding the holographic wave that has captured the nail art community.
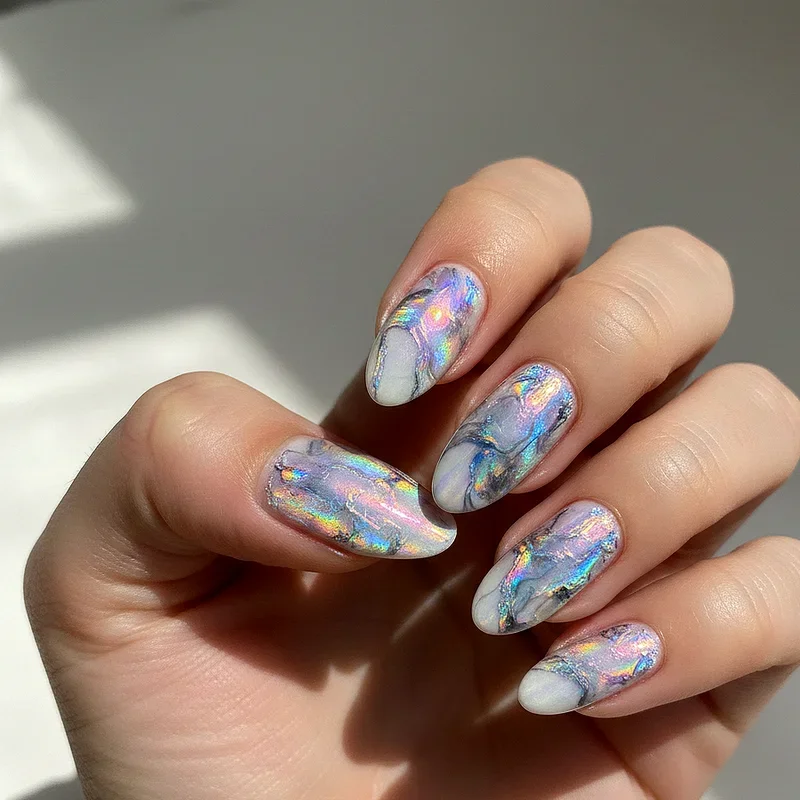
10. Holographic Marble Effect
Blend holographic magic with the timeless elegance of marble patterns for a sophisticated look that feels both classic and thoroughly modern at once. Create swooping veins of holographic polish over a white or gray base to mimic natural stone, or reverse the concept with holographic base and white veining for extra drama. The water marble technique works beautifully here, dropping holographic polish into water and swirling patterns before dipping your nails for organic, unrepeatable results each time. Alternatively, use a thin brush to paint veins freehand, which gives you more control over the final design. The key to convincing marble effects lies in keeping the veining delicate and natural-looking rather than too uniform or heavy-handed. This elegant style works perfectly for formal events, professional settings, and anyone who wants their holographic nails to whisper rather than shout.
11. Neon Holographic Pop
Turn up the volume by combining electrifying neon base colors with holographic topcoats for a look that practically glows with energy and excitement. Hot pink, electric orange, lime green, and vibrant yellow all take on new life when holographic particles add their rainbow dimension to already-intense shades. This bold combination absolutely dominates in summer months, at music festivals, pool parties, and anywhere else that calls for maximum visual impact and zero subtlety. The neon base pushes forward while the holographic effect adds complexity that prevents the look from feeling flat or one-dimensional. Layer carefully because neons can be tricky, often requiring white base coats to achieve true color payoff before adding your holographic topper. This is not a look for wallflowers, but if you want your manicure to match your bold personality, nothing else quite compares.
12. Holographic Butterfly Wings
Channel your inner ethereal creature by recreating the iridescent quality of butterfly wings using holographic polish and careful nail art technique. This design typically features wing shapes painted on one or two accent nails, with the holographic shift mimicking how real butterfly wings change color as light hits them. Use a fine detail brush to create wing outlines in black, then fill sections with different holographic shades that blend where they meet for realistic effect. Add thin black veining lines after the holographic polish dries to complete the butterfly wing illusion with added dimension and authenticity. This whimsical design works beautifully in spring and summer or whenever you need a reminder of transformation and natural beauty. The artistry required makes this more challenging than simpler holographic looks, but the stunning results reward your patience and practice.

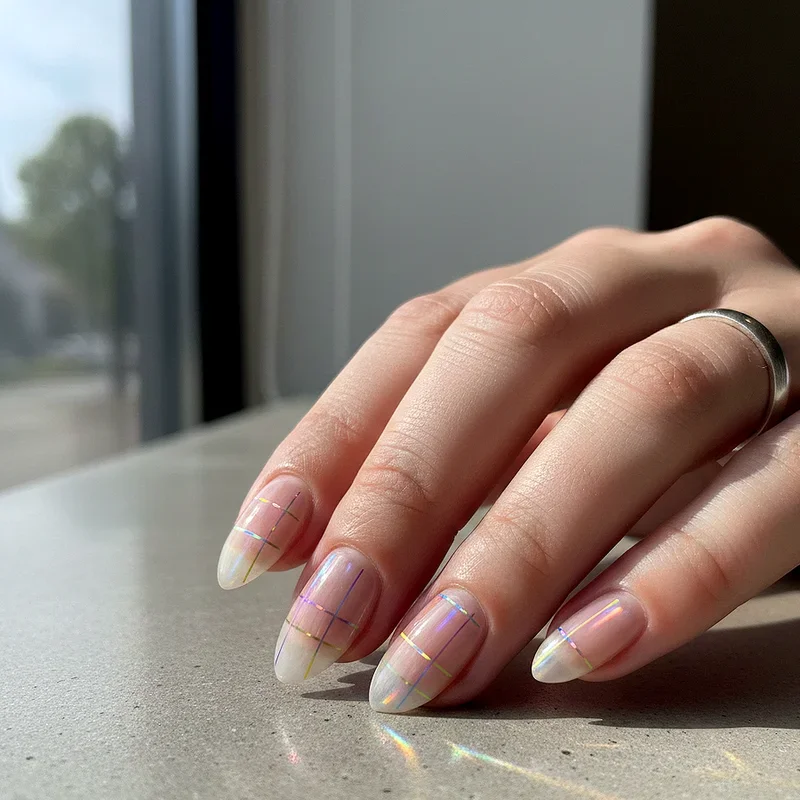
13. Minimalist Holographic Lines
Less can absolutely be more when you use thin holographic striping against neutral backgrounds for understated elegance that still sparkles when light hits just right. Single vertical lines, horizontal stripes, or simple geometric accents using holographic striping tape create clean, modern designs that work in professional environments where full holographic coverage might feel too bold. The negative space approach lets your natural nail or nude polish show through, grounding the design while those holographic lines add just enough magic to keep things interesting. This style proves that you do not need to cover every millimeter of nail to achieve beautiful holographic effects that catch attention. Placement matters enormously here, so consider asymmetrical designs or off-center lines for added visual interest beyond basic centered stripes. The restraint shown in minimalist holographic designs often reads as more sophisticated than maximalist approaches.
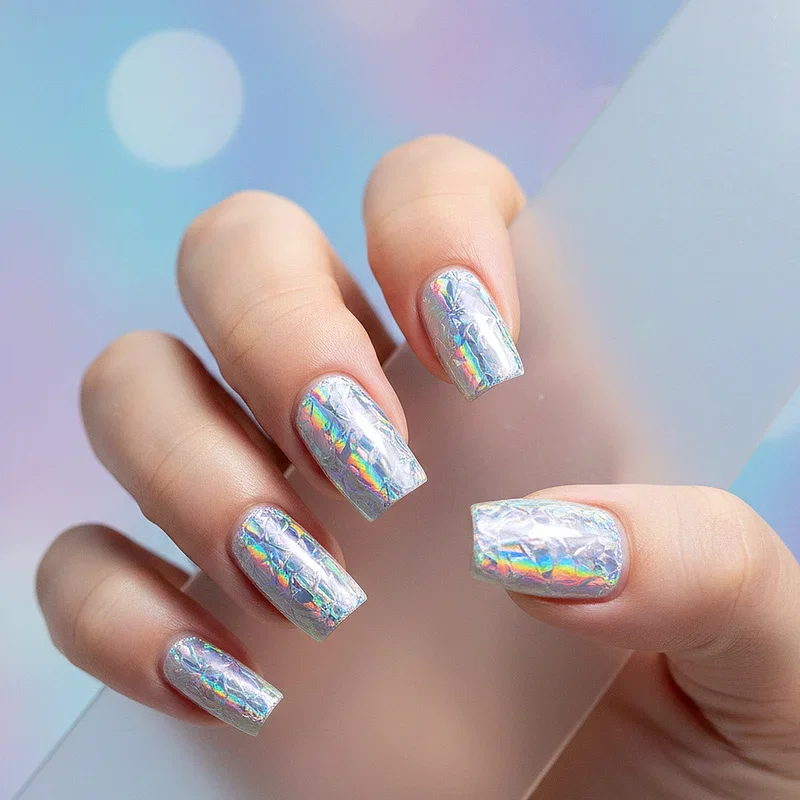
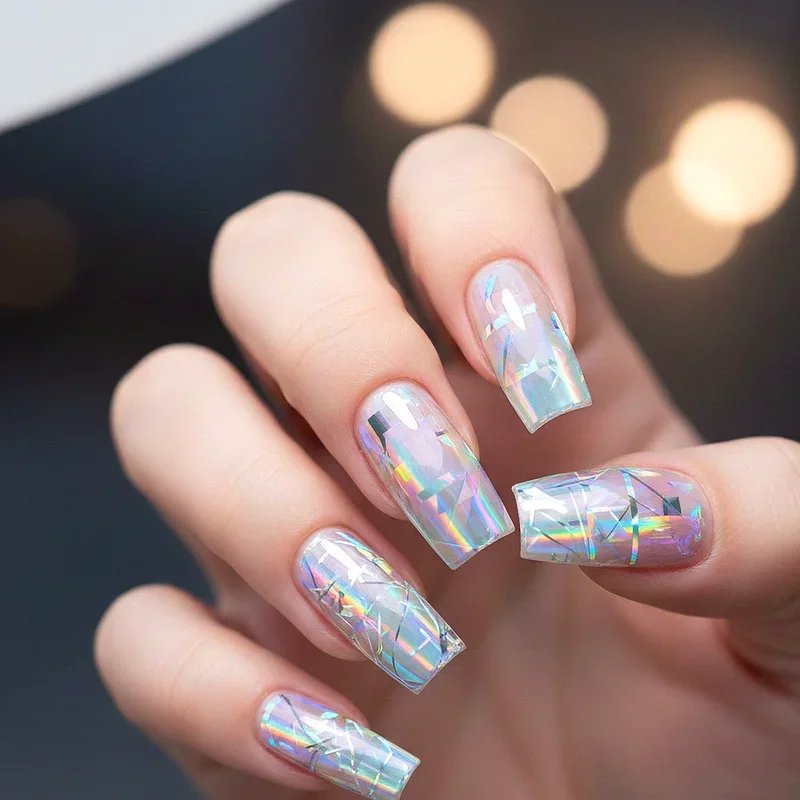
14. Holographic Foil Art
Nail foils offer a different texture and effect than traditional holographic polish, creating crackled, shattered, or smooth metallic holographic finishes that feel distinctly modern and edgy. Apply foil adhesive to your nails, wait until tacky, then press holographic foil sheets against the surface and peel away to reveal transferred rainbow patterns beneath. The random nature of foil transfer creates unique results on every single nail, ensuring your manicure truly becomes one of a kind and unrepeatable. You can cover entire nails with foil for full impact or use foil strategically as accents over colored base coats for more controlled designs. The fragmented, almost shattered glass appearance of foil art provides textural interest that smooth holographic polish cannot replicate no matter how many coats you apply. Seal foil designs with generous topcoat applications to prevent peeling and extend the wear time of these delicate but stunning creations.
15. 3D Holographic Nail Designs
Push boundaries by combining holographic finishes with three-dimensional nail art elements like gems, beads, and sculpted decorations for maximum visual impact. Holographic base colors provide the perfect backdrop for raised elements because they add movement and interest to the negative space between decorations that might otherwise look flat. Consider placing large holographic gems at the cuticle area, creating cascading designs down toward the tips that catch light from every possible angle and elevation. Sculpted flowers, bows, or abstract shapes covered in holographic powder offer another avenue for three-dimensional exploration that blends texture with rainbow shine. This high-impact style requires more skill and patience than simpler looks, but the Instagram-worthy results make excellent investments of your time and creativity. Reserve this elaborate approach for special occasions when you want your nails to serve as wearable art pieces.
Conclusion
Holographic nails offer endless possibilities for expressing your personal style while wearing rainbow magic right at your fingertips. From subtle minimalist lines to dramatic galaxy designs, there is a holographic look perfect for every personality and occasion waiting to be discovered. These prismatic beauties have earned their place in nail art history by delivering consistent wow factor that never fails to impress. Experimenting with different techniques helps you find your signature holographic style that feels authentically you. Start with designs matching your comfort level and gradually build toward more complex creations as your skills develop.
Frequently Asked Questions
Q1. How long do holographic nails typically last?
A: Holographic nails last about one to two weeks with proper base and topcoat application.
Q2. Can I create holographic nails at home without special tools?
A: Yes, holographic polishes work just like regular polish with standard nail brushes.
Q3. Do holographic nails work on short nails?
A: Absolutely, holographic effects look stunning on any nail length or shape preference.
Q4. How do I prevent my holographic polish from chipping quickly?
A: Apply thin layers, wrap the tips, and use quality base and topcoat products.
Q5. Are holographic nails appropriate for professional work environments?
A: Subtle holographic designs and minimalist styles work perfectly for most office settings.
Stay up to date with our latest ideas!