Why Does Nail Polish Bubble? Common Causes Explained
Discover why does nail polish bubble and learn common causes explained plus easy fixes to achieve flawless, smooth manicures every single time.
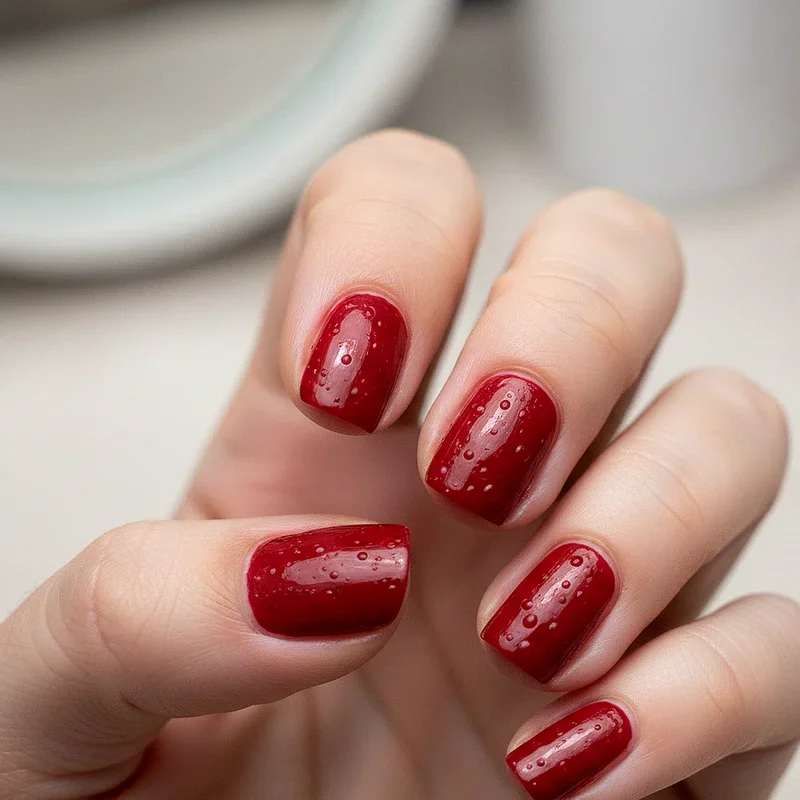
So you have just spent a good chunk of your afternoon painting your nails to perfection, and what happens next? Those annoying little bubbles pop up out of nowhere, ruining your beautiful manicure. Honestly, it is one of the most frustrating things that can happen when you are trying to pamper yourself at home. You are not alone in this struggle, trust me. Countless nail enthusiasts have thrown their hands up in despair after discovering their freshly painted nails looking more like a bumpy road than a smooth, glossy surface. Here is the thing though. Understanding why does nail polish bubble and the common causes explained in detail can save you from this heartache time and time again. Once you know what is going wrong, fixing the problem becomes a whole lot easier.
Understanding the Science Behind Nail Polish Bubbles
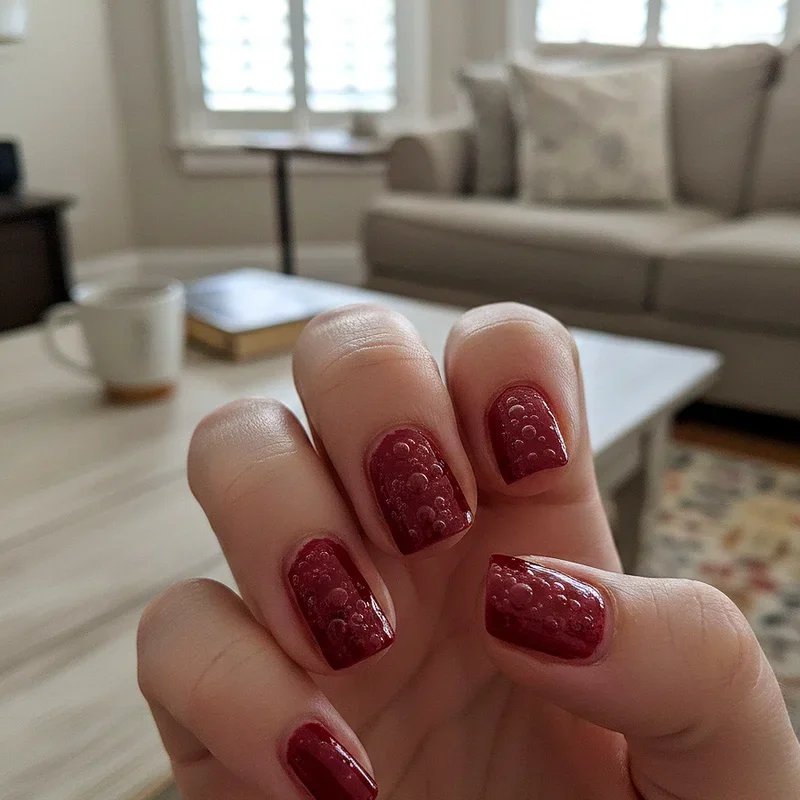
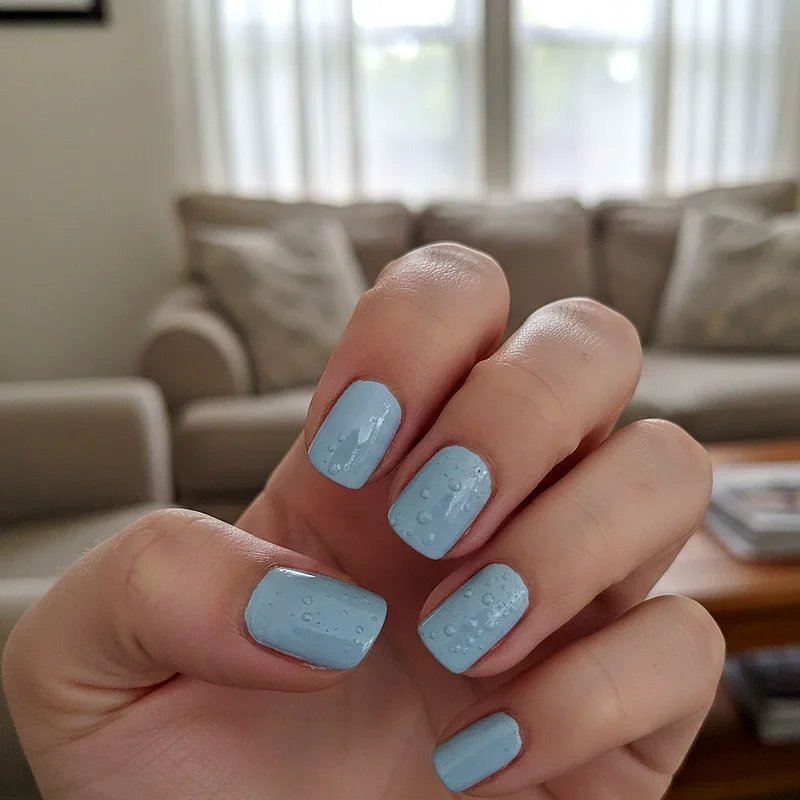
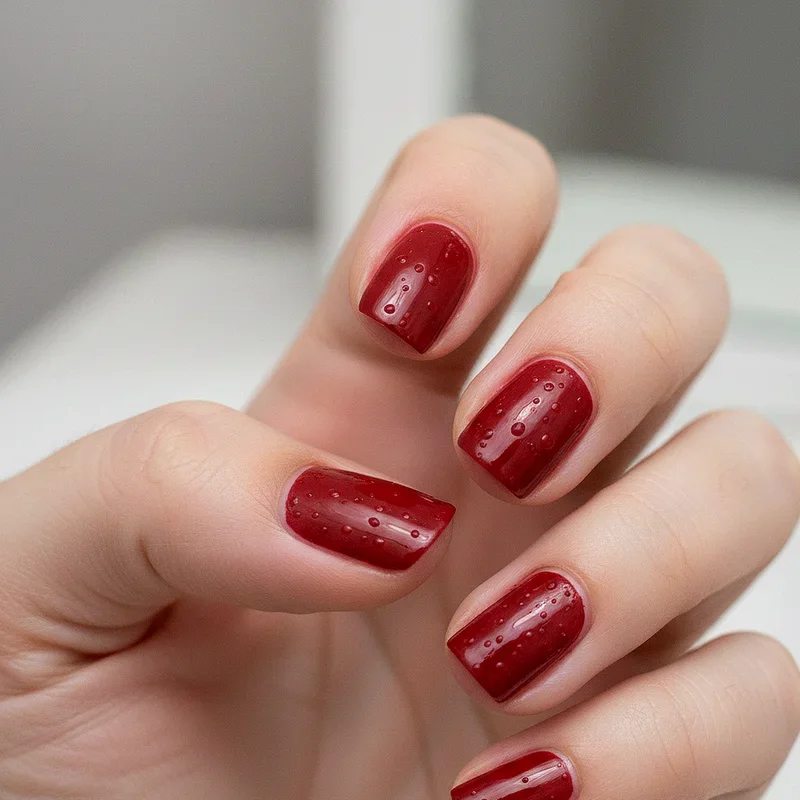
Before we jump into the causes, it helps to understand what is actually happening when bubbles form. Essentially, bubbles occur when air or gas gets trapped underneath or within the layers of your nail polish. As the polish dries and the solvents evaporate, this trapped air has nowhere to go. The result? Those unsightly little bumps that make your manicure look less than perfect.
Think of it like baking a cake, in a way. If you mix the batter too vigorously, you incorporate lots of air bubbles that show up in your finished cake. Nail polish works similarly. Any air that gets introduced during application or drying will make itself known in the most inconvenient way possible.
Thick Coats Are Your Worst Enemy
One of the biggest culprits behind bubbling nail polish is applying coats that are way too thick. We have all been there, trying to get full coverage in just one swipe. But here is the deal. When you slap on a thick layer of polish, the top surface starts drying while the underneath layers are still wet. The solvents trapped below need to escape, and when they push through that partially dried top layer, bubbles form.
Instead of going heavy handed, try applying thin, even coats. Yes, it means you will need two or three coats to get that opaque look, but patience really does pay off here. Thin layers dry more evenly, allowing solvents to evaporate properly without creating those dreaded bubbles. It might take a bit longer, but your nails will thank you for it.
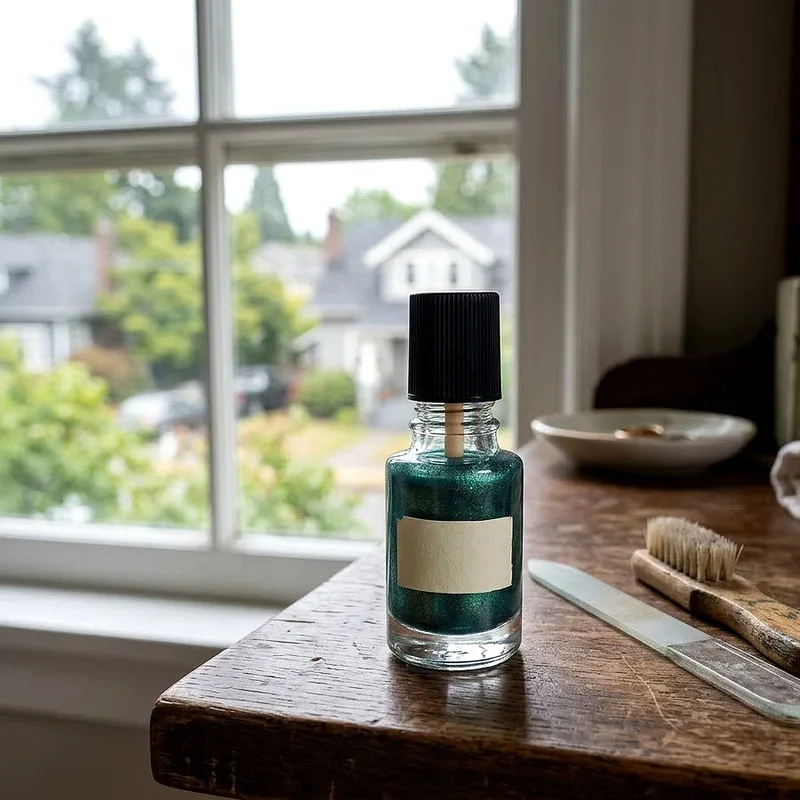
Shaking the Bottle Creates Problems
Okay, this one might surprise you because shaking the bottle before use seems like such a natural thing to do. However, when you shake your nail polish vigorously, you are introducing tons of tiny air bubbles into the formula. When you then apply that freshly shaken polish to your nails, all those bubbles come along for the ride.
So what should you do instead? Roll the bottle gently between your palms. This motion mixes the polish just as effectively without incorporating all that unwanted air. It is a simple switch that can make a world of difference in your final results. Give it a try next time and see for yourself.
Why Does Nail Polish Bubble: Environmental Factors at Play
The environment where you are doing your nails matters more than you might think. High humidity levels can wreak havoc on your manicure. When there is too much moisture in the air, it can get trapped under your polish as it dries, leading to, you guessed it, bubbles. Similarly, extreme temperatures can cause issues too.
If your room is too hot, the polish might dry too quickly on the surface while staying wet underneath. Too cold, and the formula becomes thick and gloppy, making smooth application nearly impossible. The sweet spot is a room temperature environment with moderate humidity. If you live somewhere particularly humid, consider doing your nails in an air conditioned room for best results.
Old or Expired Polish Causes Trouble
That bottle of nail polish you have had sitting in your drawer for three years? It might be time to let it go. Over time, nail polish can separate, thicken, and generally just not perform the way it used to. Old polish often leads to uneven application and, you guessed it, more bubbles.
Check your polish before using it. If it has become thick, stringy, or separates quickly after mixing, it is probably past its prime. While nail polish thinner can help revive slightly old polish, there comes a point where replacement is the better option. Fresh polish applies more smoothly and dries more evenly, giving you better results overall.
Oily Nail Beds Prevent Proper Adhesion
Here is something many people overlook. The condition of your nails before you start painting makes a huge difference. If your nail beds have any oil, lotion, or residue on them, the polish will not adhere properly. This poor adhesion can trap air between your nail and the polish, causing bubbles to form.
Always prep your nails properly before applying polish. Wash your hands thoroughly and use a nail polish remover or rubbing alcohol to wipe down each nail. This removes any oils or residue and creates a clean surface for the polish to bond with. Skipping this step might seem like a time saver, but it often leads to disappointing results.
Applying Polish to Wet Nails
Patience is key when it comes to layering nail polish. Applying a new coat before the previous one has dried properly is a recipe for disaster. The wet layer underneath gets disturbed, and air gets trapped between the coats. What happens next is pretty predictable at this point.
Wait at least two minutes between coats, or even longer for thicker formulas. A good way to test if your polish is ready for another coat is to gently touch the edge of your nail. If it feels tacky but not wet, you are good to go. Rushing through this process almost always leads to bubbles, so take your time.
Quick Dry Products Can Backfire
It sounds counterintuitive, right? Quick dry products are supposed to help, but sometimes they can actually contribute to bubbling. Some quick dry top coats or drops cause the surface to dry so rapidly that the layers beneath do not have time to properly set. This traps solvents and creates bubbles.
This does not mean you should avoid quick dry products altogether. Just be mindful of how you use them. Wait a moment before applying them, and make sure your color coats are at least partially set. Using them on completely wet polish is where most people run into trouble.
Poor Quality Polish Makes a Difference
Not all nail polishes are created equal, and sometimes you really do get what you pay for. Lower quality polishes often have inconsistent formulas that are more prone to bubbling. They might also separate more quickly or have a texture that just does not apply smoothly.
Investing in decent quality polish can save you a lot of frustration. That does not mean you need to break the bank, but be wary of extremely cheap options that seem too good to be true. Reading reviews before purchasing can help you identify which brands and formulas work best.
Tips for Preventing Nail Polish Bubbles
Now that you understand why does nail polish bubble and the common causes explained above, let us talk prevention. Here are some practical tips to keep your manicures smooth and bubble free.
Always start with clean, dry nails that are free from oils and residue. Store your nail polish in a cool, dark place to extend its shelf life and maintain its consistency. Roll your polish bottle instead of shaking it to avoid introducing air bubbles. Apply thin, even coats and wait for each layer to dry before adding the next. Work in a room with moderate temperature and humidity levels. Use a quality base coat to create a smooth foundation for your color. Avoid using polish that has become old, thick, or separated.
What to Do When Bubbles Appear
Sometimes, despite your best efforts, bubbles still happen. If you catch them early while the polish is still wet, you can try gently brushing over the area with your polish brush to smooth things out. However, once the polish has started to dry, this approach will just make things worse.
For dried bubbles, your best bet is to wait until the polish is completely dry, then gently buff the surface with a fine nail buffer. Apply another thin coat of polish over the buffed area, and finish with a good top coat. In some cases, starting over might be the fastest route to a perfect manicure.
Conclusion
Getting a smooth, bubble free manicure at home is absolutely achievable once you understand what causes those frustrating imperfections. By applying thin coats, prepping your nails properly, working in the right environment, and using quality products, you can say goodbye to bubbles for good. Remember, patience and proper technique are your best friends when it comes to nail polish application. Take your time, follow these tips, and you will be enjoying flawless, salon worthy nails in no time.
Read next: 15 Nail Polish Storage Ideas to Declutter Your Collection
Frequently Asked Questions
Q1. Why does my nail polish bubble even when I apply thin coats?
A: Your nails might be oily, or the room humidity could be too high.
Q2. Can I fix bubbles after my nail polish has dried completely?
A: Yes, gently buff the surface and apply a fresh thin coat over it.
Q3. Does shaking nail polish really cause bubbles to form later?
A: Absolutely, shaking introduces air bubbles that transfer onto your nails during application.
Q4. How long should I wait between applying each coat of polish?
A: Wait at least two to three minutes to ensure proper drying between coats.
Q5. Will using a base coat help prevent nail polish from bubbling?
A: Yes, a good base coat creates a smooth surface and improves polish adhesion.
Stay up to date with our latest ideas!