How to Fix Cracked Nail: Simple Steps for Quick Repair
Learn how to fix cracked nails fast with simple home remedies, tea bag tricks, and expert tips for strong, beautiful nails that last.

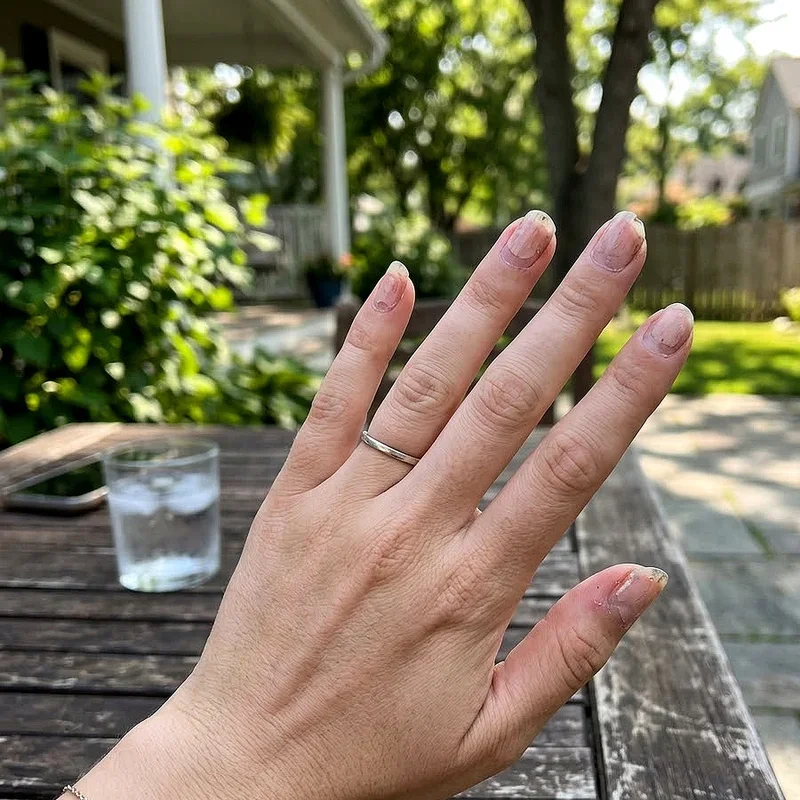
Oh no! You've just noticed a crack running down your nail, and honestly, it's driving you crazy. Whether you're getting ready for a big event or just going about your day, a cracked nail can be super frustrating and downright painful. But here's the good news: you don't need to rush to the salon or panic about it. Learning how to fix cracked nail issues is actually way easier than you might think, and you've probably got most of the supplies right at home. From tea bags to nail glue, there are tons of simple tricks that'll have your nails looking fantastic again in no time. So take a deep breath, grab your nail kit, and let's dive into the world of quick nail repairs that actually work.
Understanding Why Nails Crack in the First Place
Before jumping into repairs, it helps to know what's causing those annoying cracks. Your nails can split for all sorts of reasons, and trust me, it's not always your fault. Sometimes it's just bad luck, you know? Excessive exposure to water, harsh chemicals in cleaning products, or even that gel manicure you love so much can weaken your nails over time. Nutritional deficiencies, particularly lacking biotin or protein, might be the sneaky culprit behind those persistent cracks. And hey, if you're constantly typing away at your keyboard or doing manual work, that repetitive stress adds up. The weather plays a role too, especially during winter when the air gets super dry and your nails become more brittle. Understanding these causes helps you prevent future cracks while you're working on fixing the current one.
The Tea Bag Method for Quick Fixes
Here's where things get interesting. The tea bag trick is honestly one of the coolest DIY nail hacks out there, and it works like magic. You'll want to grab a regular tea bag, the kind you use for brewing, not the fancy silk ones. First things first, cut a small piece from the tea bag that's just big enough to cover your crack. Make sure your nail is clean and dry before you start. Apply a thin layer of clear nail glue or even super glue if that's what you've got on hand. Gently place that tea bag piece over the crack, pressing it down carefully so it adheres properly. Once it's in place, apply another layer of glue over the top, sealing everything together nicely. Let it dry completely, which usually takes about five minutes. Then comes the fun part: filing down any rough edges until the surface feels smooth. Finish with a base coat and your favorite nail polish, and voila! Nobody will even know there was a crack there.
Using Nail Glue for Immediate Results
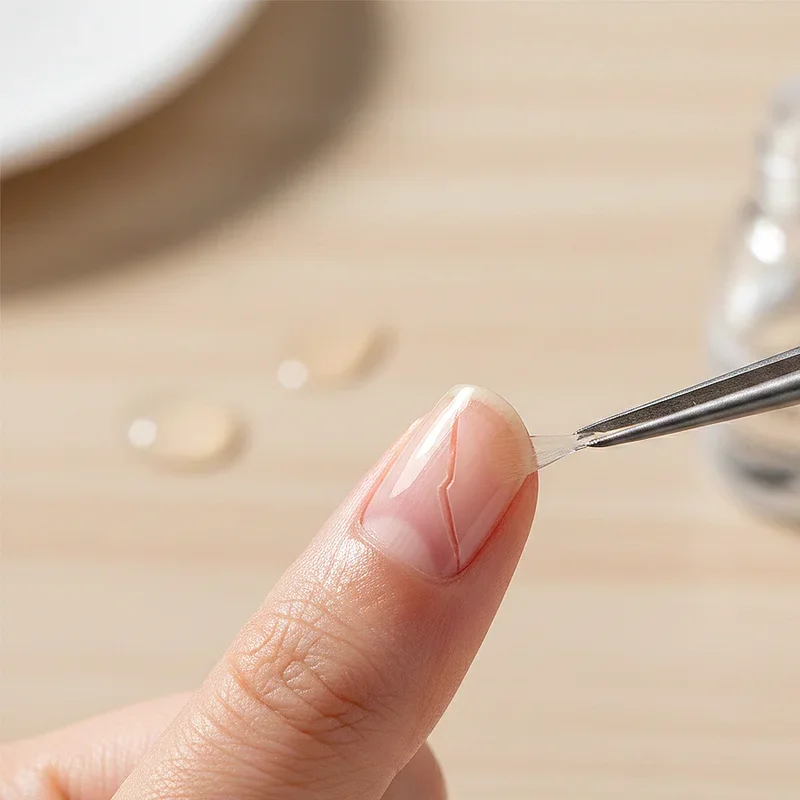
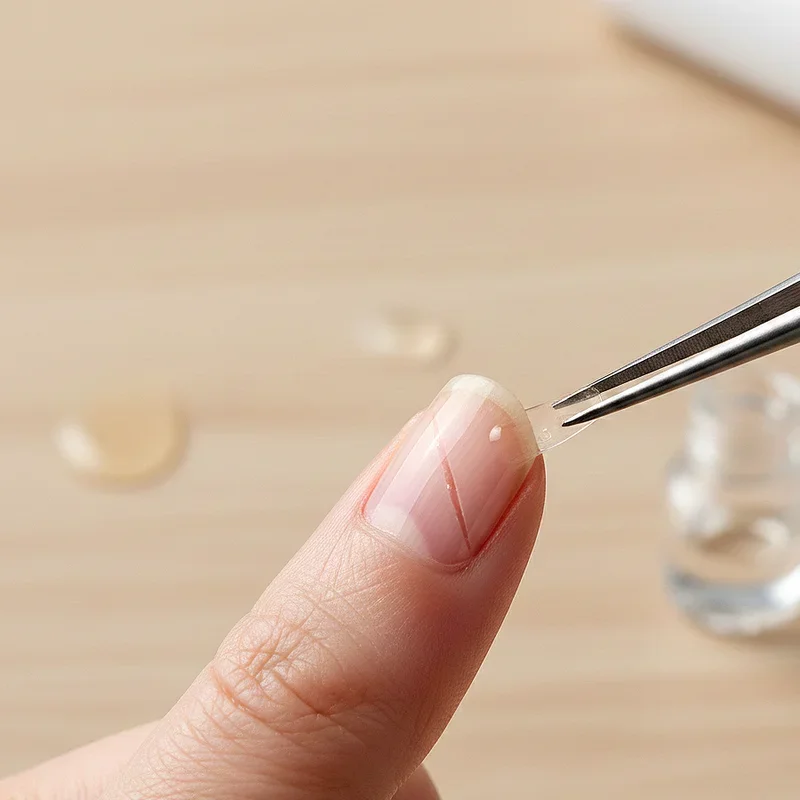
Sometimes you need a super quick fix, and that's where nail glue becomes your best friend. This method works brilliantly for small to medium cracks that haven't completely split your nail. Start by washing your hands thoroughly and pushing back your cuticles gently. Clean the cracked area with rubbing alcohol to remove any oils or debris that might interfere with adhesion. Apply a tiny drop of nail glue directly into the crack, using a toothpick if needed to work it in there properly. Press the sides of the crack together and hold them for about 30 seconds. You might feel a bit silly standing there holding your nail, but it's worth it. Once the glue has set, file the surface gently to smooth out any excess glue. Apply a strengthening base coat followed by your regular polish. This quick fix can last for days, giving your nail time to grow out naturally.
How to Fix Cracked Nail with Silk Wrap Technique
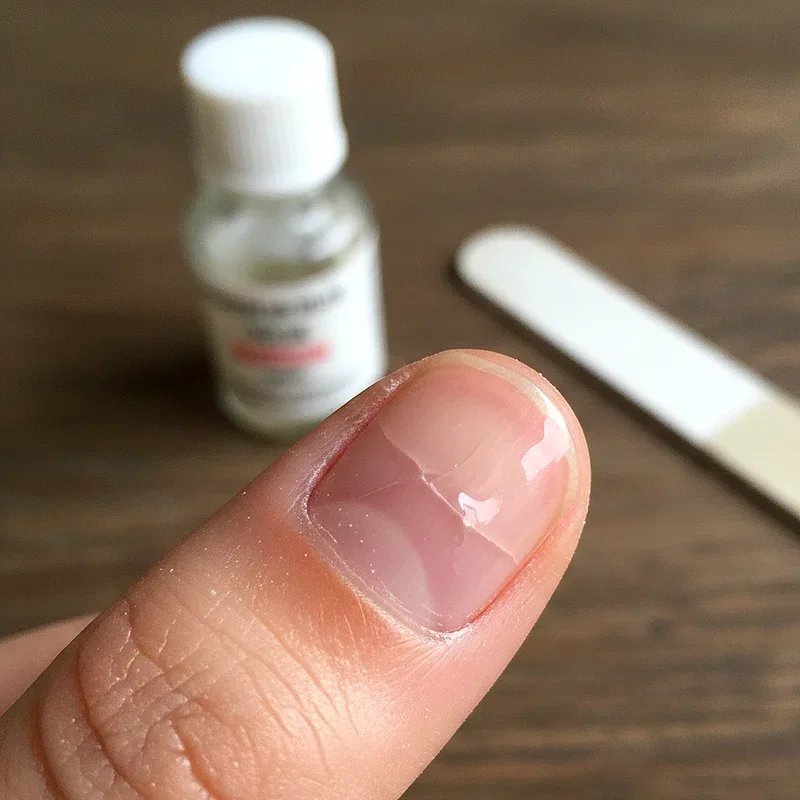
The silk wrap method is pretty much the professional version of the tea bag trick, and boy, does it work wonders. You can buy silk wrap kits at most beauty supply stores, and they're totally worth the investment. Cut a piece of silk wrap slightly larger than your crack. Buff your nail surface lightly to help the wrap adhere better. Apply a thin layer of wrap resin or nail glue to the cracked area. Place the silk wrap over the crack, smoothing it down from the center outward to avoid air bubbles. Apply another layer of resin over the top, making sure you're covering the entire wrap. Let it dry completely, which might take a bit longer than other methods. Once dry, buff the surface until it's super smooth and even with the rest of your nail. This technique creates a really strong repair that can last until your nail grows out completely. It's especially great for vertical cracks that run from the tip toward the cuticle.
The Gel Polish Reinforcement Strategy
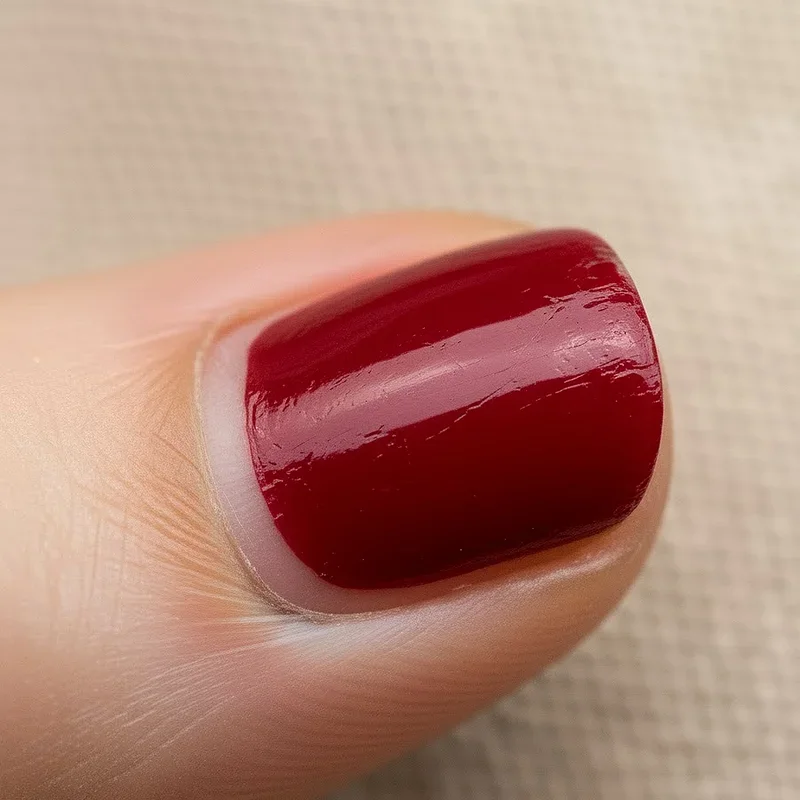
If you're already a fan of gel polish, you'll love this reinforcement method. Gel polish isn't just for pretty colors; it can actually provide structural support for cracked nails. Start with a clean, dry nail and gently buff the surface. Apply a thin layer of gel base coat, making sure to cap the free edge. Cure it under your UV or LED lamp according to the product instructions. Now here's the trick: apply a slightly thicker layer of base coat specifically over the cracked area, building up that reinforcement. Cure again. You can repeat this process two or three times, creating multiple layers of support. Finish with your colored gel polish and top coat. The beauty of this method is that gel polish is flexible yet strong, moving with your nail while holding that crack together. Plus, your manicure looks fabulous while it's doing its job.
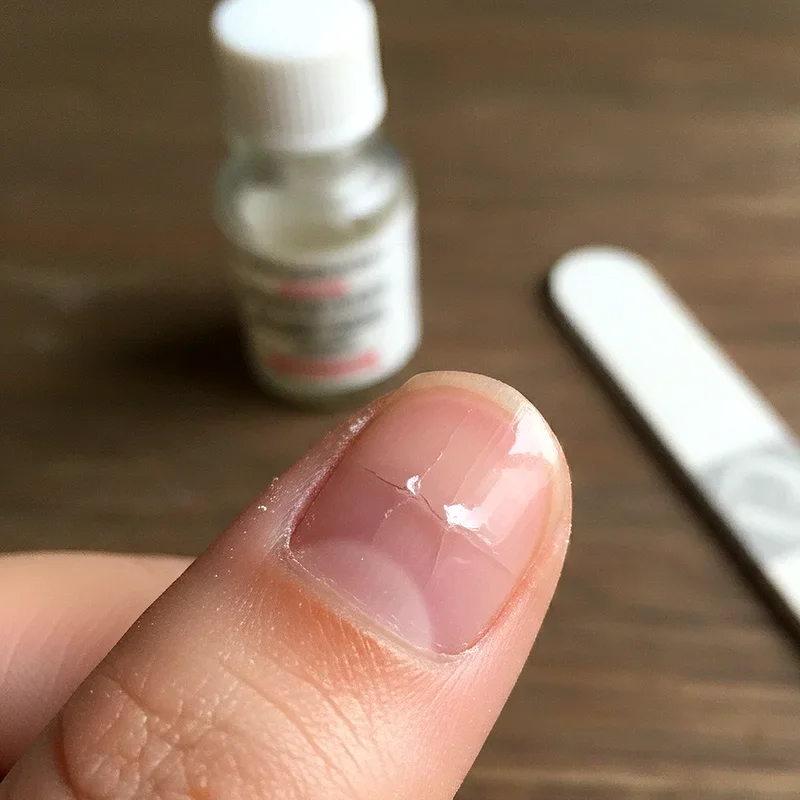
Emergency Fixes Using Household Items
Sometimes a crack happens at the worst possible moment, like right before you're heading out the door. Don't worry, your kitchen might just save the day. Clear nail polish can work in a pinch, though it's not as strong as proper nail glue. Apply several thin coats, letting each one dry between applications. A piece of tissue paper can substitute for a tea bag if that's all you've got. Even regular clear tape can provide temporary support if you're really desperate. Just wrap a small piece around your nail, covering the crack. Sure, it's not the prettiest solution, and you'll definitely want to do a proper repair later, but it'll keep things from getting worse. Some people swear by mixing a bit of clear polish with baking soda to create a paste that fills cracks. While I haven't tried this myself, it's worth a shot if you're in a bind.
Preventing Future Cracks Through Proper Care
Fixing cracks is great, but preventing them is even better, right? Your nails need some TLC to stay strong and healthy. Moisturize regularly, and I mean really commit to it. Use cuticle oil daily, massaging it into your nails and the skin around them. This keeps everything flexible and less prone to cracking. Wear gloves when you're doing dishes or cleaning, because those harsh chemicals are brutal on your nails. Keep your nails at a moderate length; super long nails are more likely to catch on things and crack. File in one direction instead of sawing back and forth, which can cause tiny fractures that eventually become bigger cracks. Give your nails breaks between manicures, especially if you're into gel or acrylic. During those breaks, use a nail strengthener to build up resilience.
Nutrition and Supplements for Stronger Nails
What you eat seriously affects your nail health, and honestly, this is something people often overlook. Biotin supplements have become super popular for a reason; they actually work for many people. You'll find biotin naturally in foods like eggs, nuts, and sweet potatoes. Protein is absolutely crucial since your nails are made of keratin, which is a protein. Include plenty of lean meats, fish, beans, and dairy in your diet. Don't forget about vitamins and minerals either. Vitamin E promotes nail health and can be found in almonds and spinach. Iron deficiency can make nails brittle, so eat your leafy greens and lean red meat. Omega-3 fatty acids from fish or flax seeds help keep nails moisturized from the inside out. Stay hydrated too; drinking enough water benefits your entire body, including your nails. While supplements can help, getting nutrients from whole foods is always best.
Professional Solutions When DIY Isn't Enough
Sometimes, despite your best efforts, a crack is just too severe for home remedies. There's absolutely no shame in seeking professional help. A nail technician can perform more advanced repairs using professional-grade products you can't get at regular stores. They might use fiberglass wraps, which are stronger than silk or tea bags. Acrylic overlays can provide serious reinforcement for badly damaged nails. If your crack is causing pain or bleeding, or if it's near the nail bed, you should definitely see a dermatologist. Recurring cracks might indicate an underlying health issue that needs medical attention. Fungal infections can weaken nails and cause cracking, requiring prescription treatment. Professional assessment can save you time, pain, and potentially more serious problems down the line.
How to Fix Cracked Nail During the Healing Process
After you've repaired your crack, the healing process is super important. Your nail needs time to grow out, and you've got to be patient with it. Keep the repaired area protected by maintaining your chosen fix method. If you used the tea bag or silk wrap technique, check it daily for any lifting or wear. Reapply clear polish or top coat every few days to reinforce the repair. Avoid activities that put stress on the cracked nail. This might mean adjusting how you type, open cans, or perform other daily tasks. Keep applying cuticle oil to promote healthy growth. As your nail grows, you'll gradually file away the damaged portion during your regular manicure routine. The entire process can take several weeks to a few months depending on how fast your nails grow. During this time, consider keeping your nails shorter to reduce the risk of catching the crack on something.
Tools and Products Worth Investing In
Having the right supplies on hand makes nail repairs so much easier. A good quality nail glue is essential, and spending a few extra bucks on a reliable brand is worth it. Keep a nail repair kit in your bathroom; these usually include silk wraps, resin, and applicators. A glass nail file is gentler on nails than traditional emery boards and won't cause micro-tears. Cuticle oil should be a daily staple; look for ones with vitamin E and jojoba oil. Nail strengtheners can help, but don't use them continuously as they can make nails too rigid. A buffer block with different grits helps smooth repairs without damaging healthy nail. Clear base and top coats protect your nails and make repairs less visible. Consider getting a small LED lamp if you're into gel repairs. These tools might seem like a lot, but once you've got them, you're prepared for any nail emergency.
Common Mistakes to Avoid When Repairing Cracks
Let's talk about what not to do, because honestly, some mistakes can make things worse. Don't ignore a small crack hoping it'll fix itself; it won't, and it'll probably get bigger. Avoid using too much glue; excess product creates lumps that are hard to file smooth. Never pull or tear at a crack, even if it's lifting. This can extend the damage into healthy nail tissue. Don't skip the buffing step; rough surfaces mean your polish won't adhere properly. Resisting the urge to peel off your repair is crucial. I know it's tempting, but you'll undo all your hard work. Don't continue with activities that stress your nails immediately after repair. Give the fix time to set properly. Avoid acetone-based removers near repairs when possible, as they can weaken glue bonds. And please, don't try to repair a nail that's showing signs of infection; that's doctor territory.
Conclusion
Dealing with a cracked nail doesn't have to ruin your day or break the bank with expensive salon visits. With simple techniques like the tea bag method, nail glue applications, or silk wraps, you can fix most cracks right at home using supplies you probably already have. Remember that prevention through proper nutrition, regular moisturizing, and gentle nail care goes a long way. While these DIY solutions work wonderfully for minor to moderate damage, don't hesitate to seek professional help for severe cracks or persistent problems.
Read next: How to Fix a Broken Nail Step-by-Step Guide
Frequently Asked Questions
Q1: Can I paint over a repaired cracked nail immediately?
A: Wait until repair is completely dry, then apply base coat before colored polish.
Q2: How long does a tea bag nail repair typically last?
A: With proper care, tea bag repairs can last one to two weeks easily.
Q3: Is it safe to use super glue on cracked nails?
A: Yes, super glue is safe for nails and actually works quite well temporarily.
Q4: Will my cracked nail eventually grow out completely?
A: Yes, nails completely replace themselves in about three to six months typically.
Q5: Can I still get a manicure with a repaired crack?
A: Absolutely, just inform your technician about the repair for proper handling care.
Stay up to date with our latest ideas!