How to Apply Nail Stickers Step by Step at Home: Your Ultimate DIY Manicure Guide
Master the art of applying nail stickers at home with our foolproof guide. Get salon-worthy nails in minutes without breaking the bank!

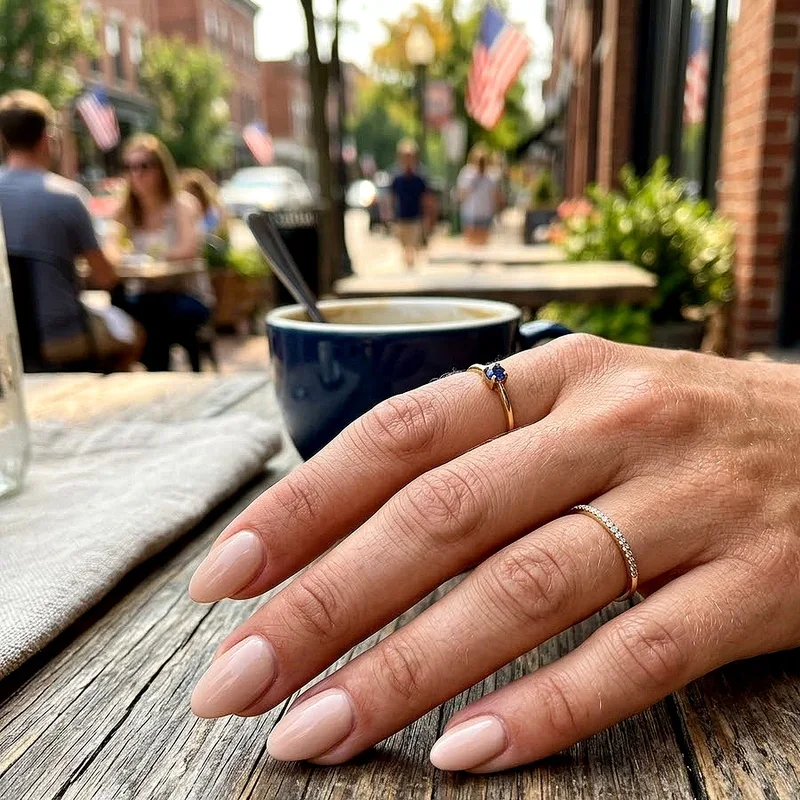
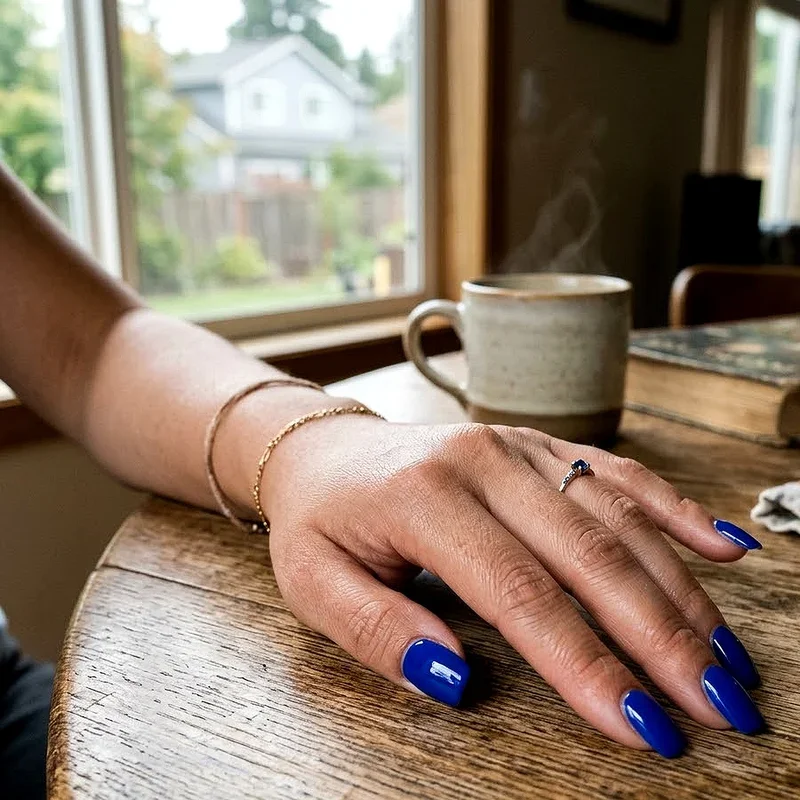
Who says you need to drop a fortune at the nail salon to get gorgeous nails? If you're anything like me, constantly scrolling through Instagram and drooling over those perfect manicures, I've got some fantastic news for you! Learning how to apply nail stickers step by step at home is about to become your new favorite skill. Trust me, once you get the hang of it, you'll wonder why you ever bothered with regular polish that chips faster than you can say "manicure Monday." Let's face it, we've all been there. You paint your nails, feeling like a total boss, only to smudge them while reaching for your phone. Or worse, they chip the very next day! Well, nail stickers are here to save the day, and honestly, they're a total game-changer.
Why Nail Stickers Are Taking Over the Beauty World
Before we dive into the nitty-gritty of how to apply nail stickers step by step at home, let's talk about why everyone and their mother is jumping on this bandwagon. First off, they're ridiculously convenient. No drying time means no more sitting around like a statue, afraid to move. Plus, the designs available nowadays? Oh boy, from minimalist chic to full-on glitter explosions, there's something for every mood and occasion.
What really gets me excited about nail stickers is how they level the playing field. You don't need steady hands or artistic skills anymore. Shaky hands? No problem! Left-handed and struggling with your right hand? Piece of cake! The beauty of nail stickers is that they make professional-looking nails accessible to everyone, regardless of skill level.
Getting Your Nails Ready: The Foundation for Success
Alright, let's get down to business! Before slapping those pretty stickers on, you've gotta prep your nails properly. Think of it like painting a wall; you wouldn't just throw paint on a dirty surface, would you? Same principle applies here.
Remove Any Old Polish
Start with a clean slate, folks! Use a good quality nail polish remover to get rid of any old polish. Even if your nails look bare, give them a quick swipe with remover to eliminate any oils or residue. Pro tip: avoid moisturizing removers for this step, as they can leave a film that prevents stickers from adhering properly.
Shape and File Your Nails
Now's the time to get your nails looking their best shape-wise. Whether you're team square, round, or somewhere in between, file those babies to perfection. Always file in one direction though, going back and forth can cause splitting and peeling. Nobody wants that!
Push Back Those Cuticles
Using a cuticle pusher or an orange stick, gently push back your cuticles. This creates more nail surface for your stickers and gives you that clean, professional look. If you've got some stubborn hangnails, now's the time to carefully trim them.
Buff and Smooth
Here's where things get interesting! Lightly buff the surface of your nails to create a slightly rough texture. This helps the stickers grip better. But hold your horses, don't go overboard! You're not trying to file your nails down to nothing, just creating a bit of texture.
Clean and Dry
Wipe your nails with rubbing alcohol or nail dehydrator. This step's crucial, y'all! Any moisture or oils left on your nails will make those stickers peel off faster than you can say "nail fail." Let them dry completely before moving on.

How to Apply Nail Stickers Step by Step at Home: The Main Event
Now for the moment you've been waiting for! Let's walk through the actual application process. Don't worry if you mess up the first time; practice makes perfect, and even I had a few wonky attempts before nailing it (pun totally intended).
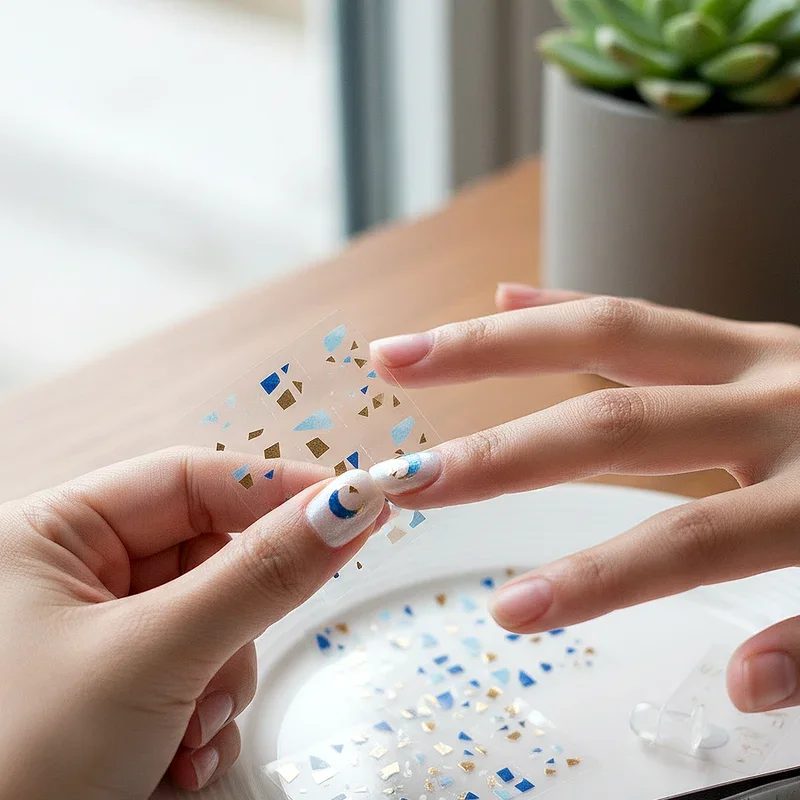
Step 1: Size Up Your Stickers
Before you start peeling anything off, hold each sticker up to your nails to find the best fit. Most sets come with multiple sizes, so take your time finding your perfect match. Too big and they'll wrinkle, too small and they'll look weird. Goldilocks had the right idea; you want them just right!
Step 2: Warm Things Up
Here's a little secret that'll make your life so much easier. Warm up your stickers slightly with a hair dryer for about 10 seconds. This makes them more flexible and easier to work with, especially if you've got curved nails. Just don't overdo it, or they'll become too stretchy!
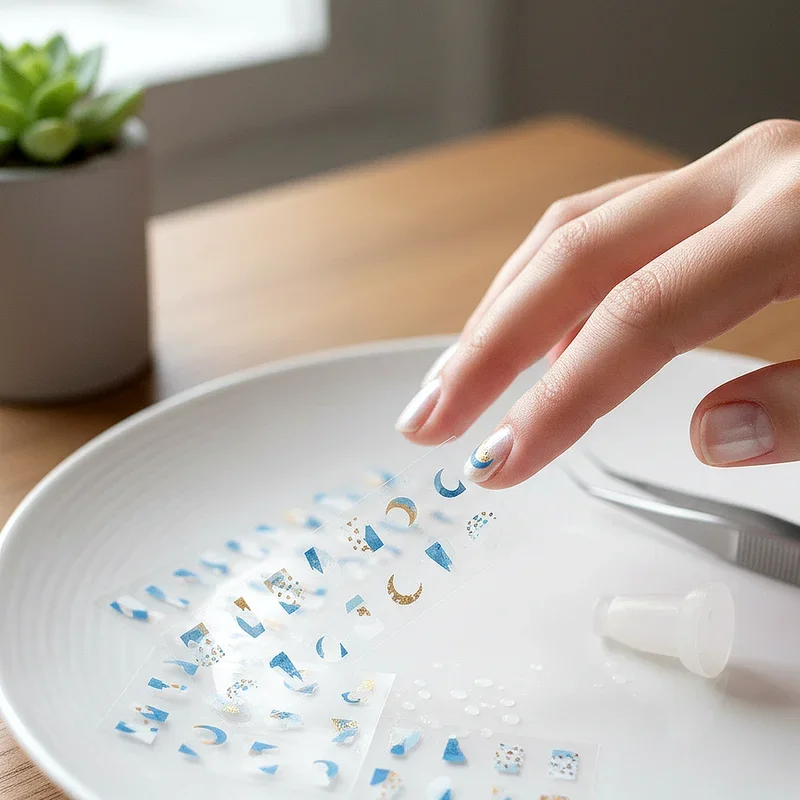
Step 3: Peel and Position
Carefully peel the sticker from its backing. Some people like using tweezers for this, but honestly, I find clean fingers work just fine. Position the sticker at the base of your nail, leaving a tiny gap from your cuticle. This prevents lifting and makes them last longer.
Step 4: Smooth It Down
Starting from the center, gently press the sticker down, working your way out to the edges. Think of it like applying a screen protector on your phone. You want to avoid air bubbles and wrinkles. If you do get a bubble, just lift that section carefully and smooth it down again.
Step 5: Trim the Excess
Using nail clippers or scissors, trim off the excess sticker hanging over your nail tip. Get as close as you can, but don't stress about being perfect. You'll file it smooth in the next step.
Step 6: File and Seal
File downward at the tip of your nail to remove any overhanging sticker and seal the edge. This is super important for longevity! File in a downward motion only; don't see-saw back and forth, or you'll lift the edges.
Step 7: Apply Base Coat or Top Coat
While not always necessary, applying a clear top coat can extend the life of your nail stickers significantly. It also adds shine and helps blend the edges seamlessly. Just make sure to cap the free edge (paint across the tip of your nail) to really seal everything in.
Pro Tips for Nail Sticker Success
Y'know what separates the nail sticker newbies from the pros? These little tricks I'm about to share with you!
Choose Quality Stickers
Not all nail stickers are created equal, folks. Investing in good quality stickers makes a world of difference. They're easier to apply, last longer, and look way better. Check reviews before buying, and don't just go for the cheapest option.
Consider Your Lifestyle
If you're rough on your hands, maybe skip the 3D embellishments and stick to flat designs. They'll last longer and won't catch on everything you touch.
Layer for Creativity
Who says you can only use one sticker per nail? Get creative! Layer different designs, mix and match, or use accent stickers over solid colors. The sky's the limit!
Store Them Properly
Keep your unused stickers in a cool, dry place. Heat and humidity can affect the adhesive, making them less sticky over time. I keep mine in a drawer away from my bathroom to avoid steam damage.
Troubleshooting Common Issues
Even with the best intentions, things can go sideways sometimes. Here's how to fix the most common nail sticker problems:
Problem: Stickers Won't Stick
Usually, this means there's oil or moisture on your nails. Go back to the cleaning step and make sure your nails are completely dry and oil-free. Sometimes using a primer or base coat designed for nail stickers can help too.
Problem: Edges Keep Lifting
This often happens when stickers are too large or weren't sealed properly. Make sure you're filing downward at the tips and using a top coat to seal everything in. Also, avoid water for at least an hour after application.
Problem: Stickers Look Bumpy
Air bubbles are the culprit here. Take your time during application, and if you notice bubbles, gently lift that section and reapply. A small pin can help pop stubborn bubbles, but be careful not to tear the sticker.
Making Your Nail Stickers Last Longer
Want your gorgeous nails to last more than a few days? Here's how to maximize their lifespan:
Wear gloves when cleaning or doing dishes
Apply cuticle oil daily to keep the edges from drying out and lifting
Avoid super hot showers immediately after application
Reapply top coat every few days for extra protection
Be gentle with your hands (easier said than done, I know!)
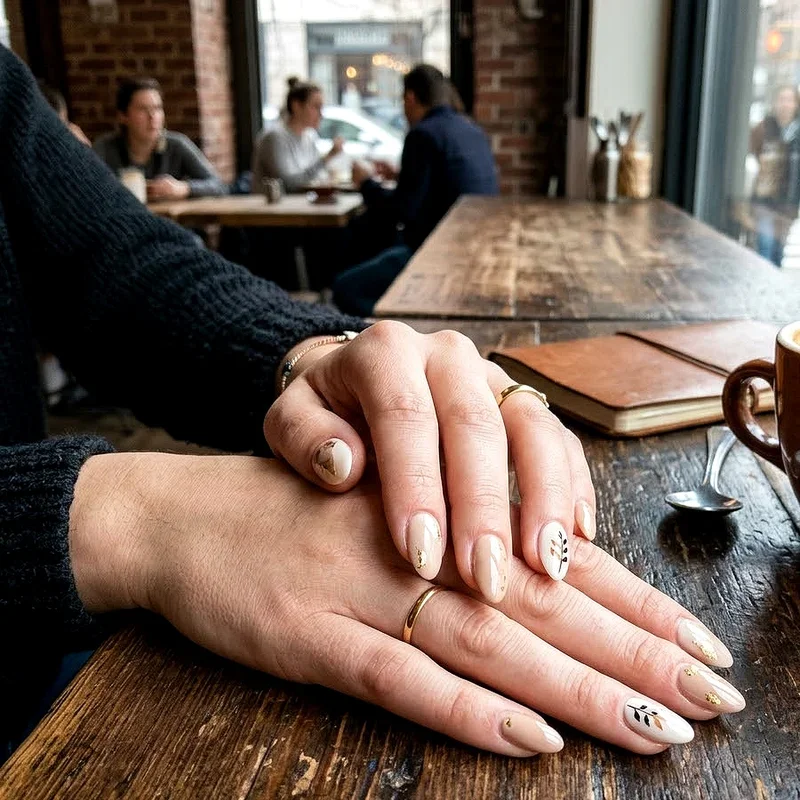
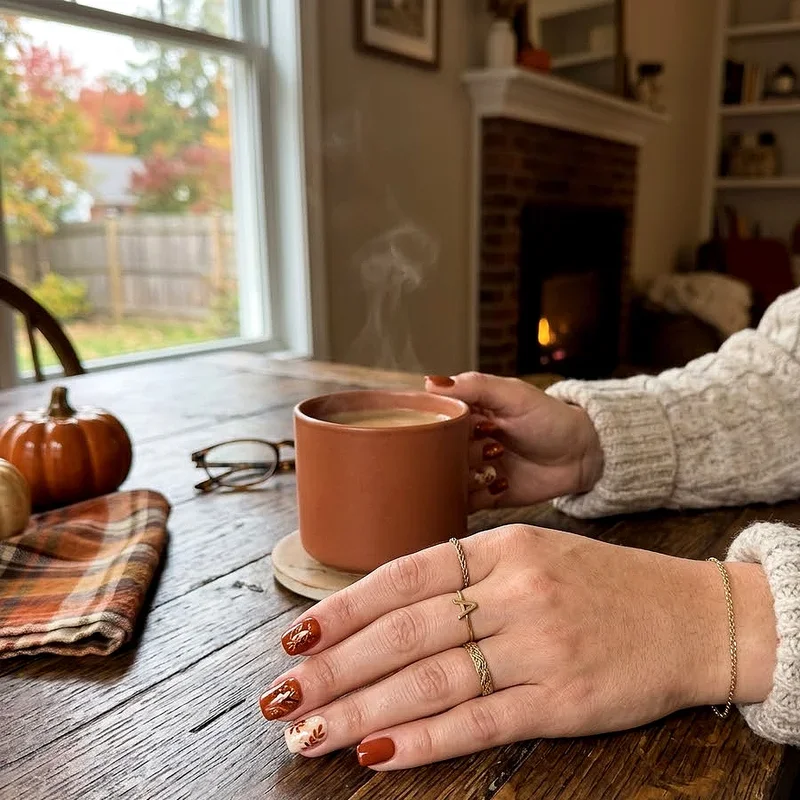
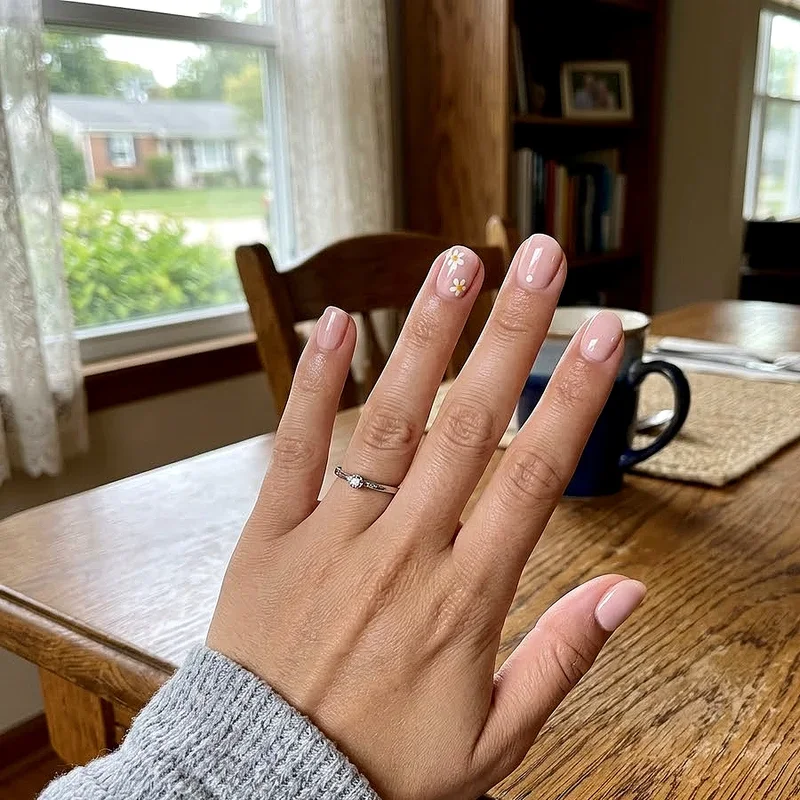
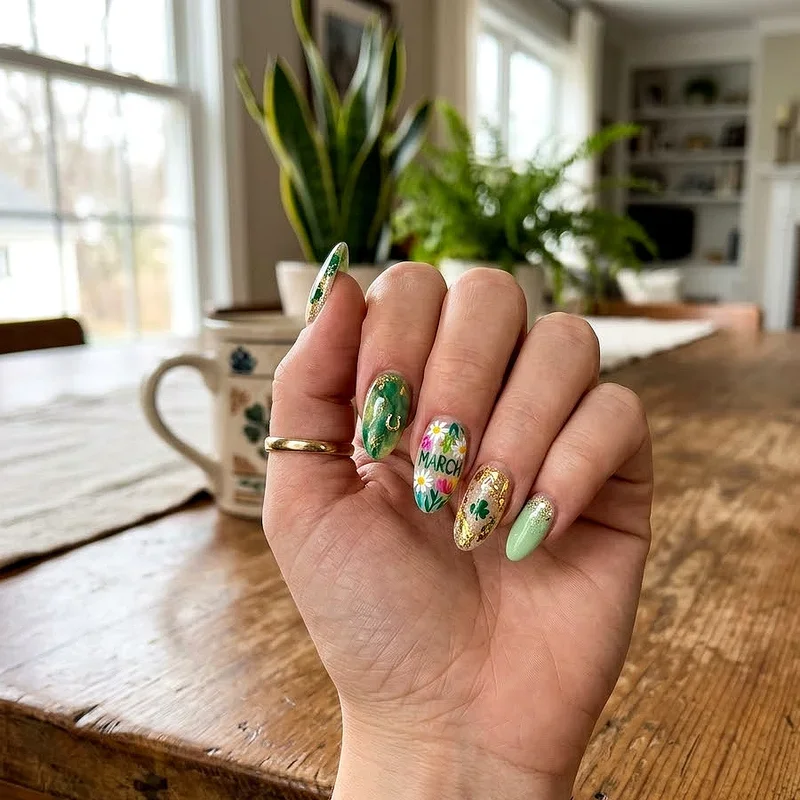
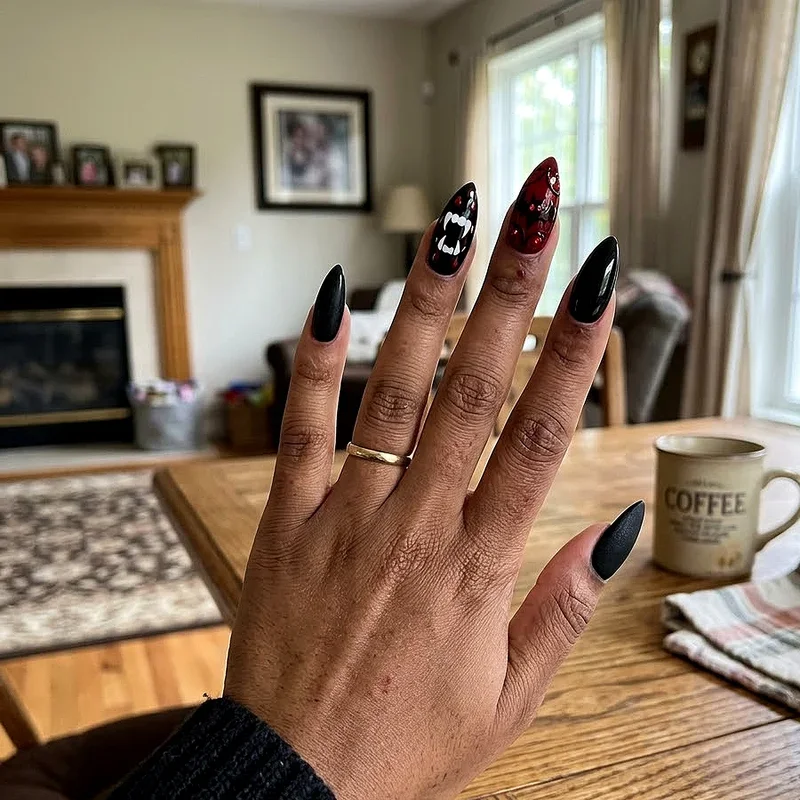
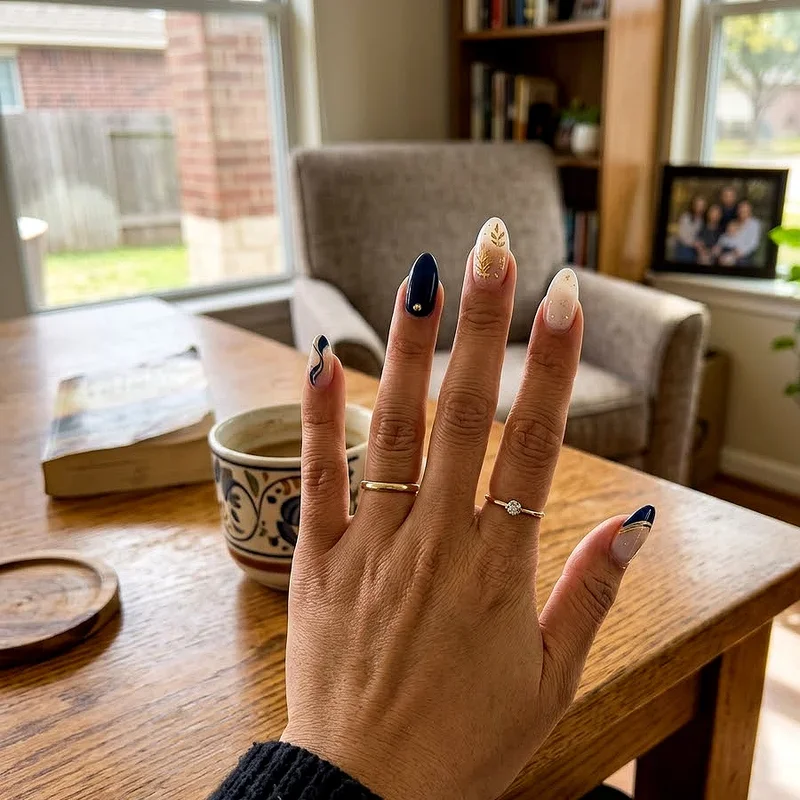
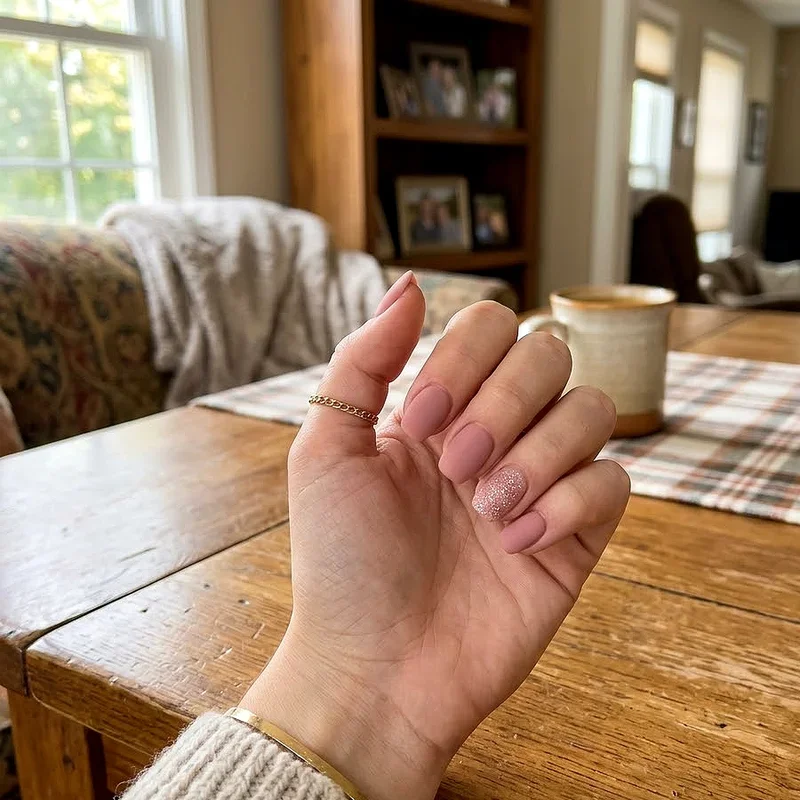
Creative Ideas and Inspiration
Once you've mastered the basics, it's time to have some fun! Try these creative ideas:
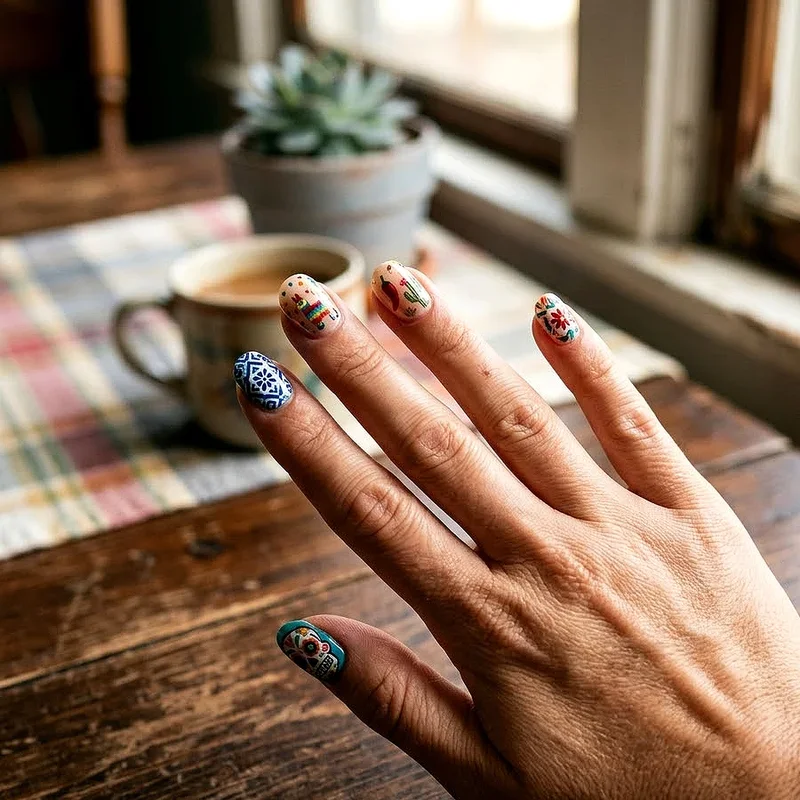
Mix and Match Patterns
Who says all ten nails need to match? Mix florals with geometrics, or alternate between two complementary designs. It's like having multiple manicures at once!
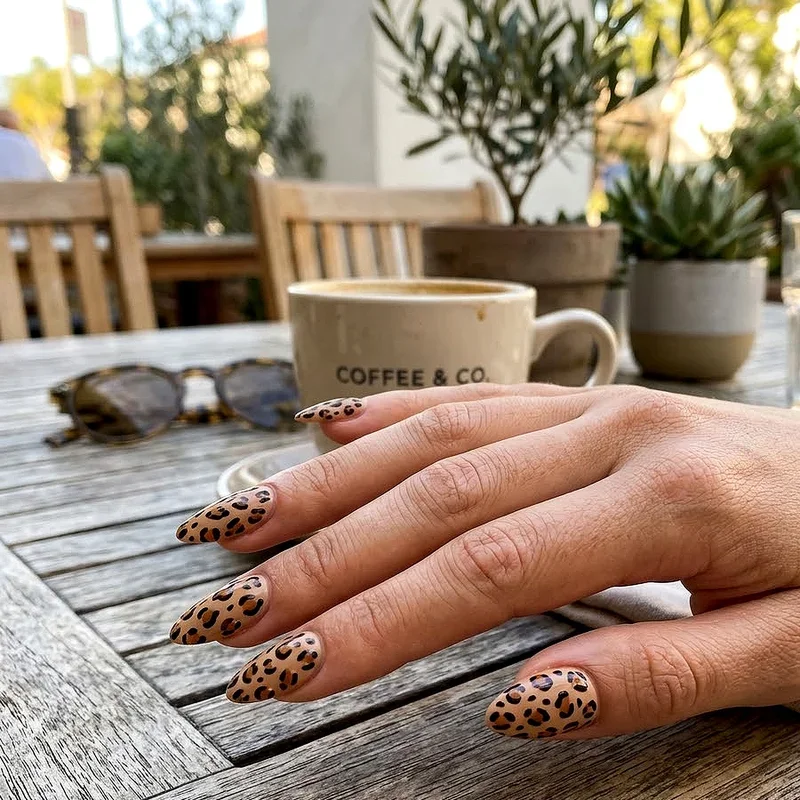
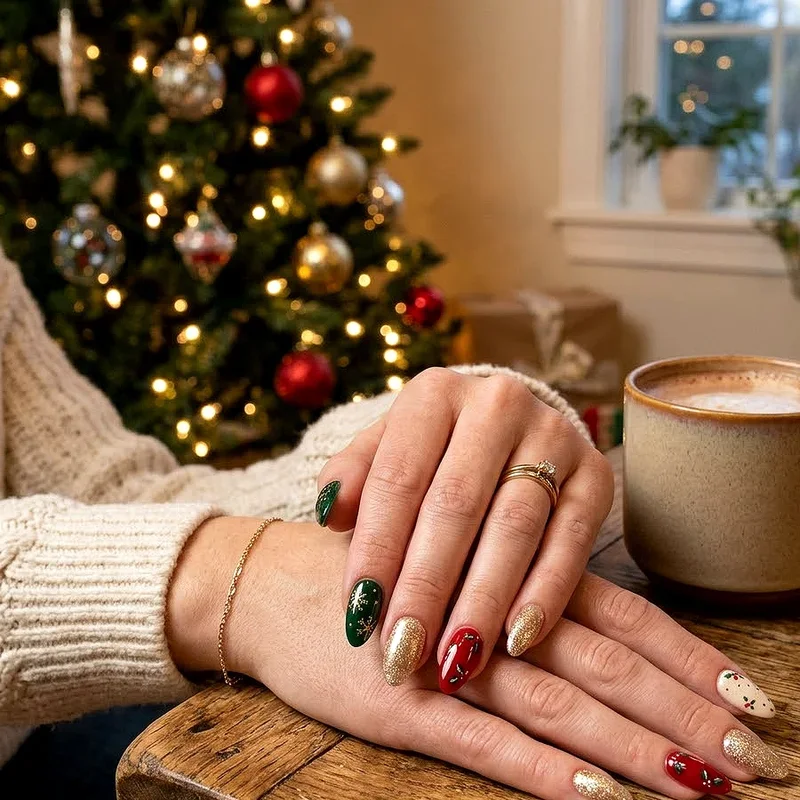
Seasonal Themes
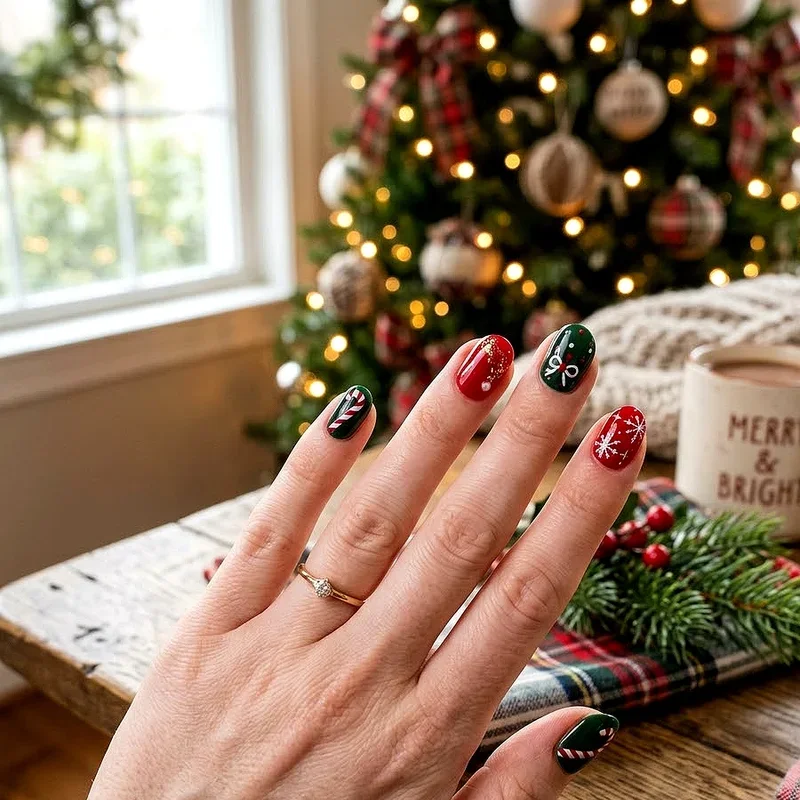
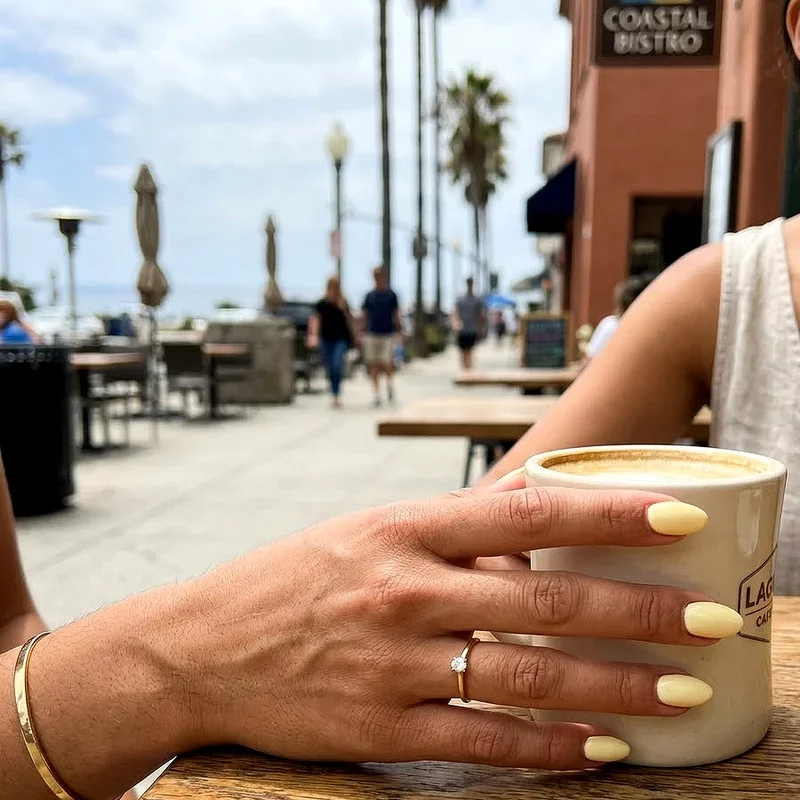
Stock up on seasonal designs and switch them out for holidays and special occasions. Halloween pumpkins, Christmas snowflakes, summer beaches, you name it!
French Manicure Alternative
Use tip stickers for a perfect French manicure every time. No more wonky lines or uneven tips!
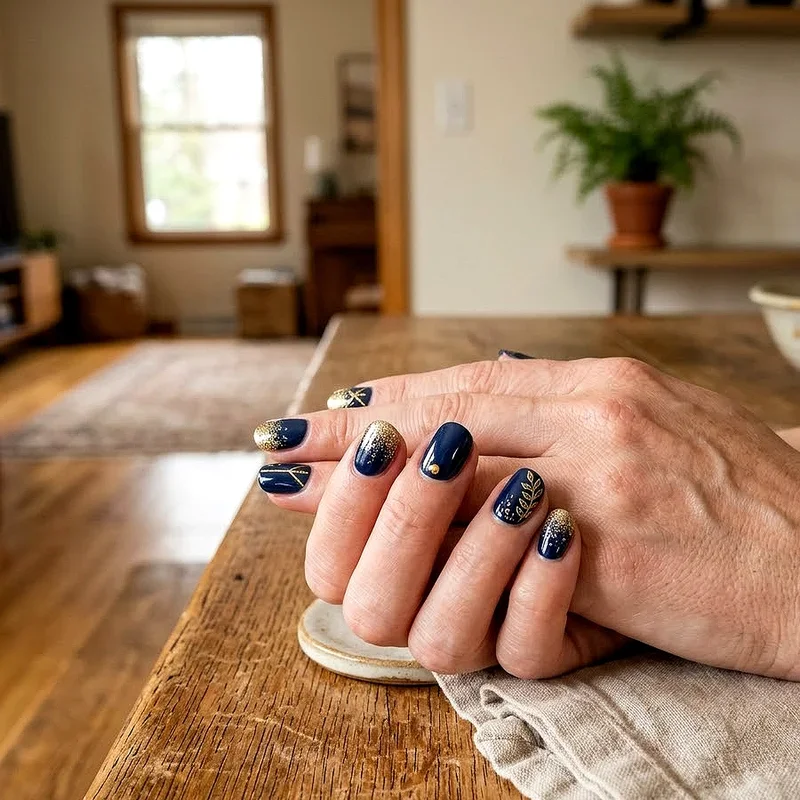
Accent Nails
Keep most nails simple with solid stickers and go wild on one or two accent nails. It's trendy and takes less time than doing all ten with intricate designs.
Conclusion
There you have it, your complete guide on mastering nail stickers at home! With these tips and tricks up your sleeve, you're ready to rock salon-worthy nails without the salon prices. Remember, practice makes perfect, so don't get discouraged if your first attempt isn't Instagram-perfect. Keep at it, experiment with different designs, and most importantly, have fun with it! Your nails are like tiny canvases just waiting for your creativity to shine.
Read next: 15 Pink Nail Ideas You’ll Want to Try Right Now
Frequently Asked Questions
Q1: How long do nail stickers typically last on nails?
A: With proper application and care, they usually last 5-7 days.
Q2: Can I use nail stickers on natural or artificial nails?
A: Yes! They work great on both natural and artificial nails.
Q3: Is it necessary to use a top coat over stickers?
A: Not required, but it extends wear time and adds shine.
Q4: Can I remove nail stickers with regular polish remover?
A: Yes, acetone or regular remover works to remove nail stickers.
Q5: Are nail stickers safe for children to use?
A: Most are safe, but check for non-toxic labels for kids.
Stay up to date with our latest ideas!